
Hello there, and welcome! I’m so happy you stopped by Frosted Fancies today. If you’ve ever craved that melt-in-your-mouth, pillowy soft bread you get at your favorite Indian restaurant but thought it was impossible to make at home, I’m here to prove you wrong. Forget about needing a fancy tandoor oven! We are making incredible **homemade naan bread** right on your stovetop today. Because I spent years as a recipe developer with a background in Food Science, I’ve broken down the guesswork here. Trust me, this recipe for soft and chewy naan delivers restaurant-quality texture reliably, every single time you try it.
- Why This Is The Best Homemade Naan Bread Recipe You Will Ever Make
- Simple Ingredients for Soft and Chewy Homemade Naan Bread
- How to Make Naan Dough: The Secret to Fluffy Indian Flatbread
- The Rise and Rest: Achieving Pillowy Flatbread Tutorial
- Stovetop Naan Cooking Instructions: Naan Bread Without Tandoor
- Finishing Your Buttery Naan Recipe with Garlic Flavor
- Tips for Success with Your Homemade Naan Bread
- Serving Suggestions: Naan for Curry and Dips
- Storage and Reheating Instructions for Homemade Indian Bread
- Frequently Asked Questions About Making Naan
Why This Is The Best Homemade Naan Bread Recipe You Will Ever Make
I’m not exaggerating when I say this is going to be the best homemade naan bread recipe you pull out for years to come. Seriously! We obsessively worked on the dough consistency to make sure achieving that perfect soft and chewy naan is totally foolproof. The goal was simple: authentic flavor and texture without any special equipment. That means fantastic results using just your skillet—we are proudly making naan bread without tandoor equipment here!
When I was first developing this, the texture was my mountain to climb. Too flat, too tough, not bubbly enough! I finally cracked the code when I realized the temperature of my kitchen during the rise wasn’t consistent. Now, I insist that you find the warmest spot in your house for the first rise. Letting that yeast work slowly and patiently for the full 90 minutes is the single biggest secret to getting that truly light, airy, and fluffy Indian flatbread lift you’re looking for. Once you see those big bubbles pop up on the skillet, you’ll know I was right!
If you want to see another fantastic example of how to nail that chewy texture, check out this great guide on making soft chewy homemade naan bread. It really emphasizes the importance of dough hydration!
Simple Ingredients for Soft and Chewy Homemade Naan Bread
One of the things I love most about making homemade naan bread is how accessible the ingredients are. You probably have most of this in your pantry already! The key to success here isn’t exotic additions; it’s using the right components—especially the yogurt—in the right proportions. These simple naan ingredients are what guarantees that beautiful tang and supreme softness. Stick to this list, and you’re halfway to serving fantastic flatbread tonight. For more inspiration on using staple items, you can check out this great full naan bread recipe linked here.
For the Basic Homemade Naan Bread Dough
- 1 teaspoon active dry yeast
- 1 teaspoon sugar
- 1 cup warm water (make sure this is between 105-115°F—if it’s too hot, you kill the yeast! I always test with my finger first.)
- 3 cups all-purpose flour, plus more for dusting
- 1 teaspoon salt
- 2 tablespoons plain yogurt, full fat (don’t skimp on the fat here; it makes the texture great!)
- 2 tablespoons milk
- 2 tablespoons melted butter or oil, plus more for brushing
For the Garlic Butter Finish (Optional Variation)
If you’re planning to make my favorite version—the buttery naan recipe loaded with flavor—you’ll need this little add-on right before serving!
- Optional: 2 cloves garlic, minced, mixed into the 2 tablespoons of melted butter reserved from above.
How to Make Naan Dough: The Secret to Fluffy Indian Flatbread
Now that we have all our wonderful ingredients ready, we jump right into the fun part: creating the dough! This is where we build the structure that gives you that incredible fluffy Indian flatbread result. Learning exactly how to make naan dough isn’t hard, but paying attention to the details during mixing and kneading makes the difference between good naan and *amazing* naan. Remember how I mentioned using full-fat yogurt earlier? The higher fat content in that yogurt, combined with the milk, coats the flour particles just right. This helps keep the dough incredibly tender inside, even as we develop that essential chewiness!
If the dough feels a little sticky when you mix it initially, don’t panic! That’s completely normal. For more insights on getting started, I always recommend checking out tutorials like this one on making easy homemade naan bread to see the process sped up if you like!
Activating Yeast and Mixing the Homemade Naan Bread Dough
First things first, we have to wake up our yeast. That’s step one! Pour your carefully measured warm water—remember, between 105-115°F—into a bowl with the yeast and sugar. Give it a little stir and just walk away for about 5 to 10 minutes. When you come back, the surface should look foamy, almost like the head on a beer. If it’s completely flat, your water was too hot or too cold, and you’ll need to start that part over, unfortunately!
Once you have that lovely foam, whisk your flour and salt together in a big bowl. Then, pour in the yeast mixture, the yogurt, and the milk. Use a sturdy spoon or a spatula and mix it all up until there are no dry flour patches left. It’s going to look messy and shaggy at this point, kind of like a lumpy mess. That’s exactly what we want before we move to the counter.
Kneading Technique for the Best Naan Recipe
Time to get your hands dirty! Dump that shaggy dough right out onto a surface lightly dusted with flour. Now, dedicate some time—about 5 to 7 minutes—to kneading. You are pushing the dough away from you, folding it over, turning it, and repeating. We are building strength here!
The goal isn’t just to mix; it’s to develop the gluten structure. That gluten network is what traps the gases from the yeast during cooking, giving you those beautiful air pockets and that satisfying chew in the final product. Keep working it until the ball of dough feels completely smooth to the touch, nice and elastic when you stretch it gently. It shouldn’t stick stubbornly to your hands anymore. That means you’ve perfectly prepared the dough for the best naan recipe!
The Rise and Rest: Achieving Pillowy Flatbread Tutorial
Okay, we’ve kneaded our dough until it’s smooth and happy, and now we have to be patient—the hardest part of baking, I know! But this resting time is absolutely non-negotiable if you want that authentic, light, gorgeous texture. This is the phase where we create the perfect environment for a pillowy flatbread tutorial success story. We really want that dough to breathe and relax before we try to roll it thin.
Go grab a clean bowl, use just a tiny smear of oil to coat the inside so the dough doesn’t stick to it, and nestle your smooth dough ball right in there. Give it a little flip so the top gets a light sheen of oil too. Cover it up tightly with plastic wrap or a damp towel—we need to keep the moisture in!
Place the bowl somewhere warm—no drafts! I often stick mine into a slightly warm (turned off!) oven with the light on. We let it bubble away for about 1 to 1.5 hours. You should see it genuinely double in size. I know, I know, it feels long, but this long rise develops essential flavor and tenderness. If you want to see how another fantastic cook handles timing, this pin on homemade garlic herb naan has great visuals of a successful rise!
Once it’s puffed up beautifully, gently punch down the dough—just deflate it, don’t mash it aggressively! Then, divide that lovely mound into 8 equal pieces. Roll each one gently between your palms until you have little balls. Now, here’s the second rest: cover those little balls loosely with a towel and let them sit for just 15 minutes. This final rest is crucial because it allows the gluten we worked so hard to develop during kneading to relax. If you skip this, the dough will fight you when you roll it out; it will just snap back into a squat circle instead of stretching into that perfect teardrop shape for cooking!
Stovetop Naan Cooking Instructions: Naan Bread Without Tandoor
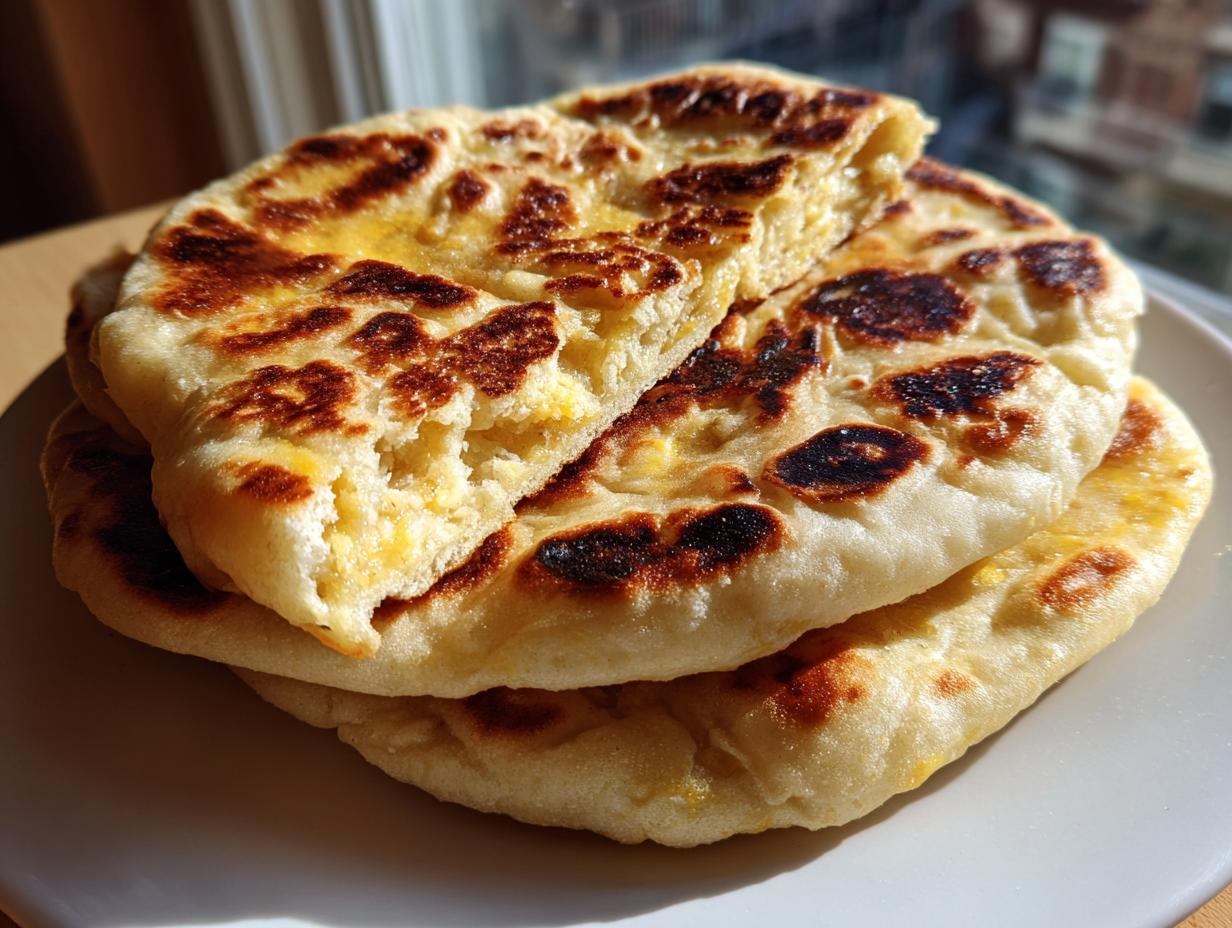
Alright, let’s talk heat! This is where we ditch the traditional clay oven and use the secret weapon every home cook already owns: a heavy-bottomed skillet or, even better, a cast-iron pan. Getting this pan screaming hot is the absolute key to achieving that amazing puff and creating the classic char spots on your homemade naan bread—it mimics the intense heat of a tandoor!
Remember, for stovetop naan, we cook it dry. No oil in the pan yet! You want the pan ripping hot over medium-high heat. While waiting for the pan to heat up, go ahead and prepare your dough balls. If you want to see some fantastic visual guides on this high-heat cooking method, this tutorial on easy homemade naan bread really shows off how fast it cooks!
Rolling Out the Homemade Naan Bread
Take one of your rested dough balls—they should feel relaxed and easy to handle now—and get them rolled out immediately. Work quickly so they don’t dry out while waiting their turn on the skillet! You are aiming for a thin sheet, about 1/8 of an inch thick. Don’t stress about perfect circles; a nice oval or teardrop shape is totally authentic for naan bread without tandoor cooking. Just make sure they aren’t too thick, or they won’t puff nicely.
Cooking Each Side for Perfect Puff and Char
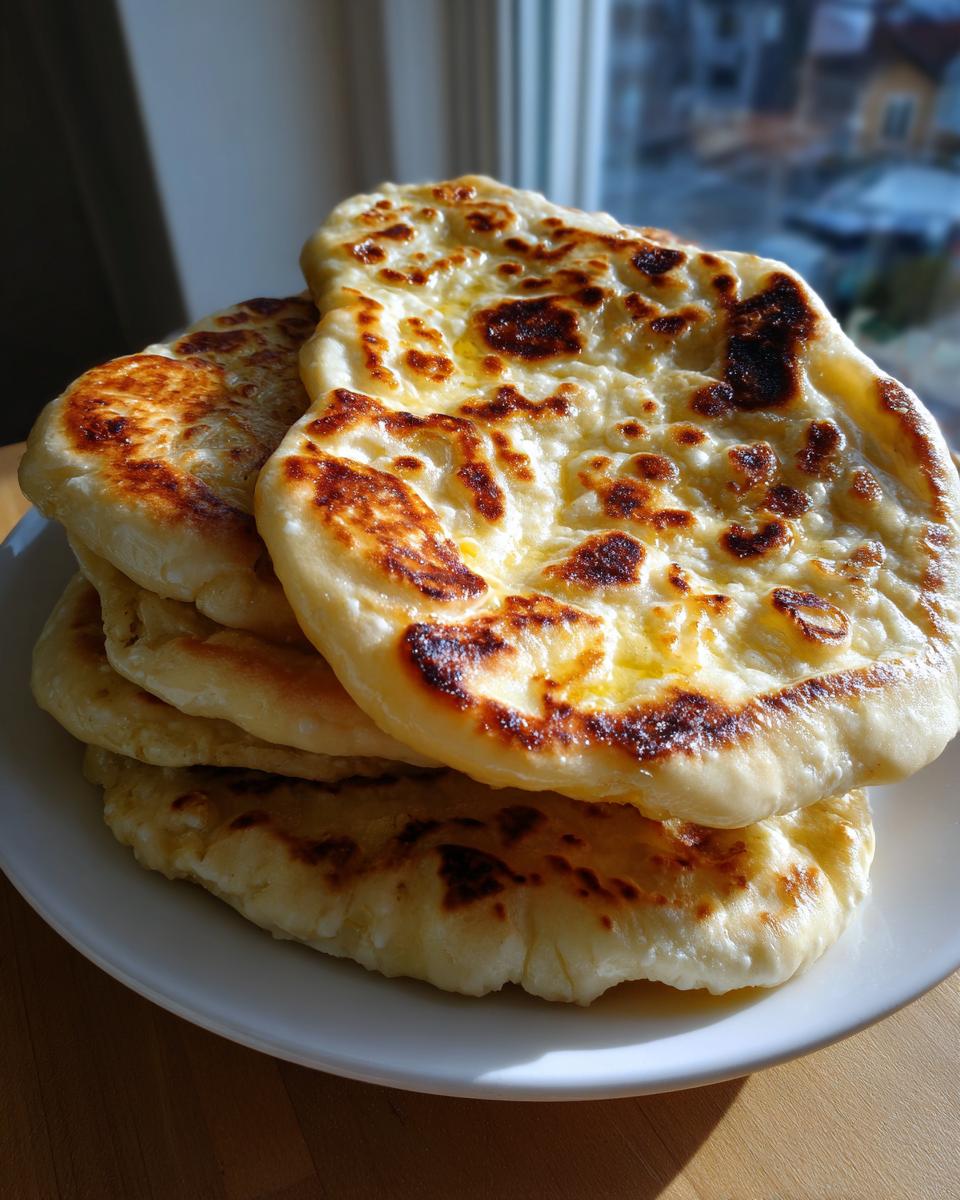
Gently lay your rolled-out bread onto that extremely hot, dry skillet. You should hear it sizzle right away! Let it cook for about 1 to 2 minutes. Watch carefully: big bubbles will start rapidly forming all over the top surface, and the bottom should be developing those lovely light brown spots. That’s the magic happening!
Once the bottom looks good, flip it over. Cook the second side for maybe just 1 minute, or until you see those signature, slightly blackened, charred spots appear. The bread should puff up significantly here—it’s so satisfying! If you really want that deep smoky flavor you sometimes get in restaurants, you can carefully transfer the cooked naan using tongs right over an open, medium gas flame for just a few seconds per side for extra charring. Be very careful if you try this!
Finishing Your Buttery Naan Recipe with Garlic Flavor
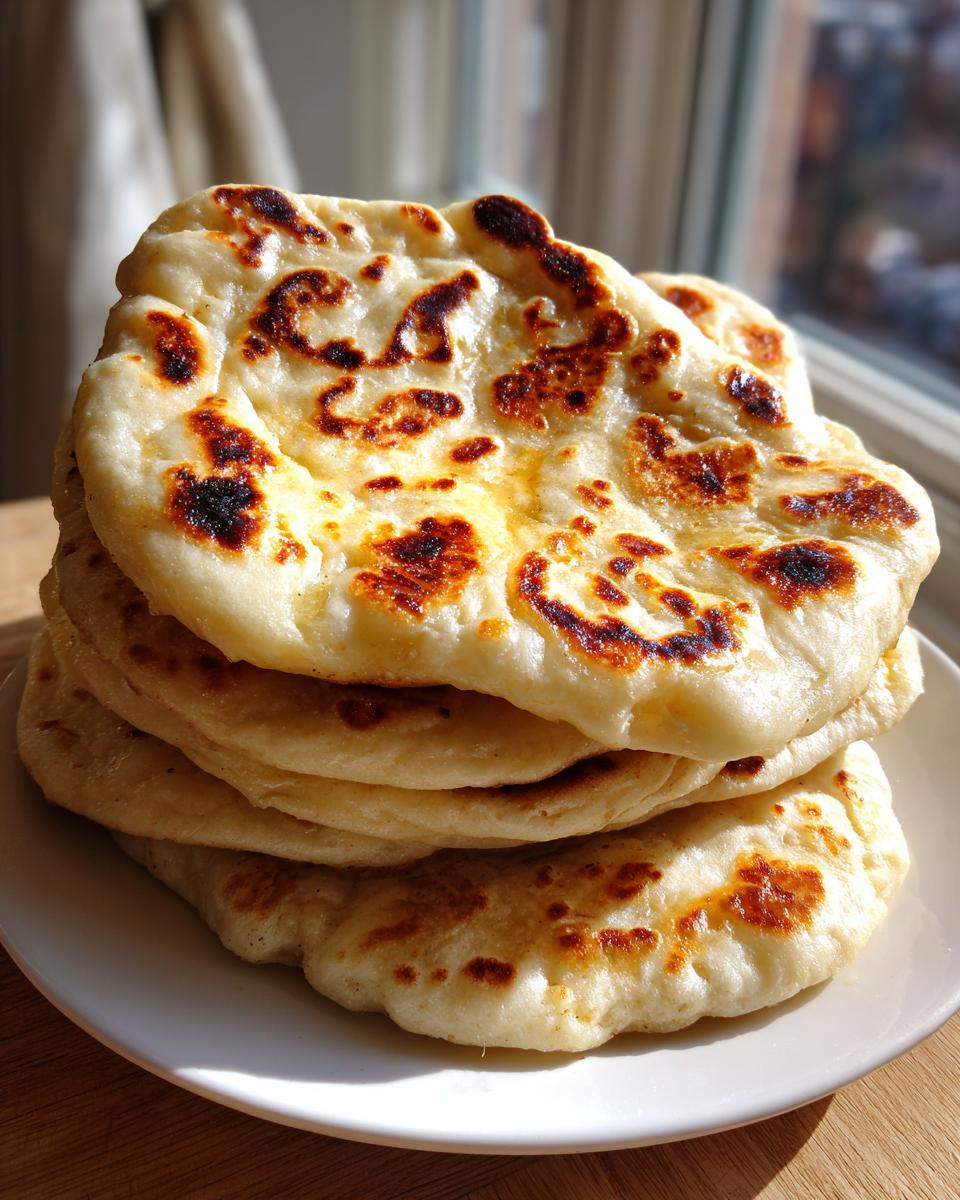
The cooking is done, but we aren’t quite finished! This final step is what takes your bread from “good homemade naan” to “I can’t believe I didn’t buy this at the restaurant.” The second the naan comes off that hot skillet, you need to transfer it immediately to a plate, and here’s the secret to keeping that glorious puff and ensuring maximum softness: we brush it immediately!
Brushing it right away traps the steam inside the bread, which is the primary reason why this buttery naan recipe turns out so wonderfully soft and chewy naan instead of stiffening up as it cools. If you made the plain version, just brush it generously with plain melted butter. Oh, the smell is incredible!
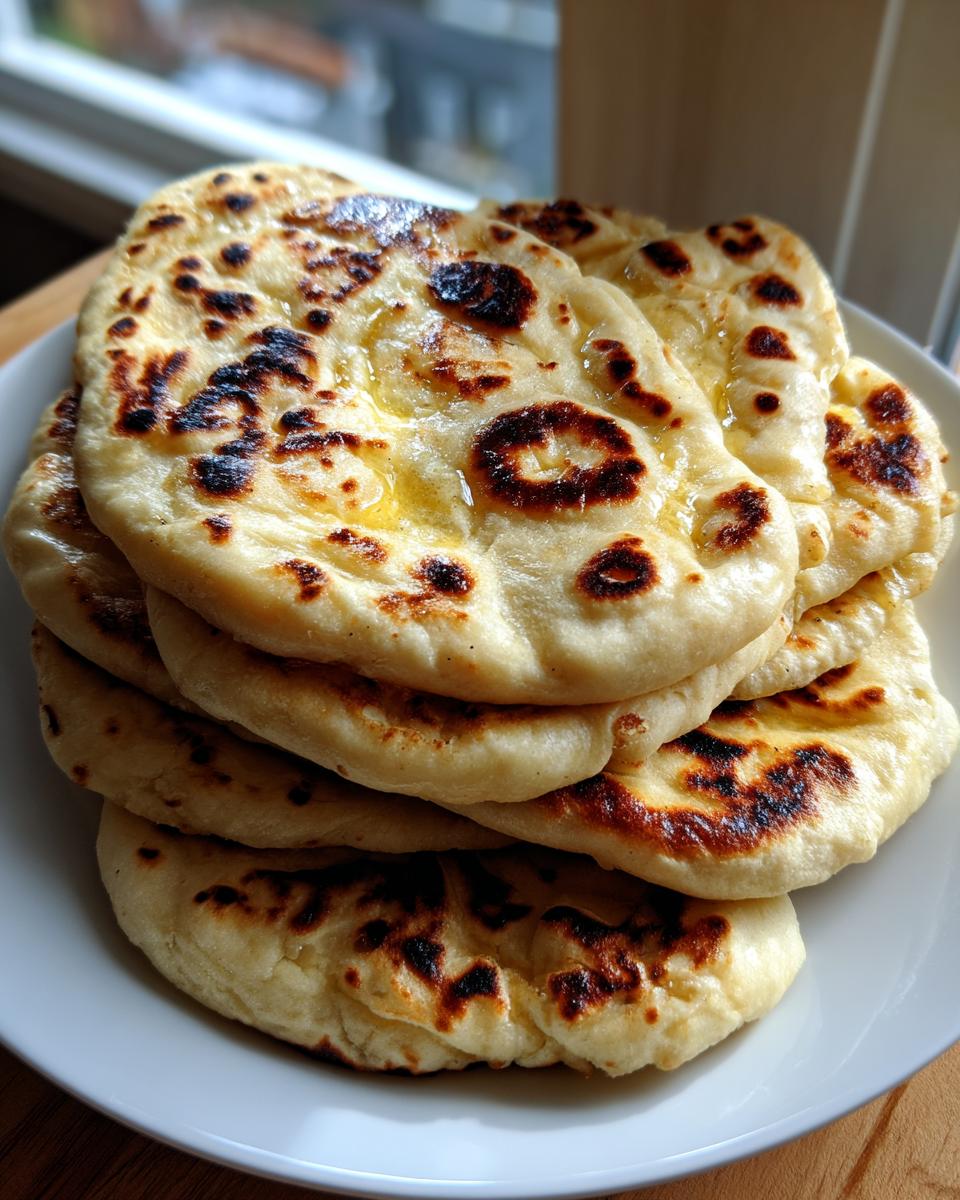
If you went for the flavor bomb, this is where you use that glorious garlic butter mixture we prepared earlier. Make sure your minced garlic is mixed well into the melted butter. Use a pastry brush—or even the back of a spoon—to gently coat the entire surface of that warm flatbread. The heat melts the butter right into the pores of the bread, infusing flavor instantly. Stack your finished naan pieces on top of each other as you go, and always cover the stack with a clean kitchen towel. This traps the residual heat and steam, keeping the whole batch perfectly soft until serving time. If you need a quick reference for other delicious finishing techniques, you can peek at this recipe that offers great ideas for homemade naan bread.
For the absolute best garlic flavor infusion, you might want to check out how they handle the brushing in this buttery garlic naan recipe; they have a fantastic method for ensuring even coverage!
Tips for Success with Your Homemade Naan Bread
Even with a perfect recipe card, I always want to share a few of those little hard-won insights from my test kitchen days. Think of these as the little nudges that push your homemade naan bread from good to absolutely stellar! Kitchen science matters, even when you’re just making a simple flatbread. If you follow these little rules, you’ll never have a disappointing batch.
First, let’s talk about temperature: make sure your skillet is screaming hot! High heat is required to instantly puff the dough and create those signature bubbles—that’s how we get close to soft and chewy naan texture without that tandoor. If the pan isn’t hot enough, the dough just steams and dries out instead of puffing up instantly.
Also, remember that full-fat yogurt tip? It really contributes to tenderness because of the higher fat content—don’t swap it out for fat-free if you can help it. And finally, once the naan is cooked, stack them and cover them immediately with a towel. That trapped steam keeps everything fluffy Indian flatbread soft until everyone has had a second helping!
If you want to explore other wonderful ways to finish your loaf, this guide on easy garlic naan has some great brushing tips!
Serving Suggestions: Naan for Curry and Dips
Now that you have an entire stack of warm, pillowy homemade naan bread sitting under a towel, the only question left is: what are we eating with it? Honestly, I could just eat it plain with a little extra butter, but these breads were truly made for scooping!
The primary reason I love making this bread is for pairing it with a rich main dish. It’s the perfect vehicle for soaking up every last drop of wonderful sauce. If you’re doing an Indian night, you absolutely need this naan for curry. My go-to requests are always something creamy like Butter Chicken or maybe a hearty vegetarian dish such as Chana Masala. The chewiness stands up so well to thick gravies.
But don’t limit yourself! This stovetop naan is fantastic outside of just curry night, too. Make a big batch and serve it alongside a simple bowl of thick lentil soup for dinner. It’s also incredible when served with creamy dips—think hummus or a garlicky raita. For a fun appetizer, brush it with olive oil, sprinkle it with sea salt, and use it to scoop up some homemade yogurt dip. This bread goes with everything, and I promise you won’t have any leftovers!
If you’re looking for a fantastic main course to pair it with, check out the wonderful recipe options over at Dina’s Plates—she has some great pairings that work perfectly with this style of bread!
Storage and Reheating Instructions for Homemade Indian Bread
So, you’ve made a massive batch of glorious, fresh homemade naan bread, and you have extras. Yay! But now you’re wondering if the magical softness will be gone by tomorrow morning. That’s a valid concern. The main enemy of soft flatbread is air exposure, which causes it to dry out and stiffen up. We definitely don’t want that happening to our beautiful homemade Indian bread!
The key to keeping them pliable and soft overnight is steam retention. I’ve found the absolute best method is simple, but you have to do it right away: stack them! As soon as a piece of naan comes off the skillet, brush it with butter (or garlic butter) and immediately place it right on top of the last one. Then, cover the whole stack securely with a clean, thick kitchen towel. This traps all that residual heat and steam, keeping the bread tender and chewy for at least a full day.
If you need to store them longer than a day, wrap the whole stack tightly in plastic wrap, and then tuck that into an airtight container or a large Ziploc bag. They are best eaten within 2 days but can usually last longer stored in the fridge.
Now, for reheating—because day-old naan is still good, but warm naan is heavenly! Don’t microwave them if you can avoid it; they can get tough quickly. If you want them soft, use the skillet again. Heat your dry skillet over medium heat, toss the naan in for about 30 seconds per side until warmed through and soft. If you want a little crispness back, you can pop them in a 350°F oven for about 5 minutes. For more tips on ensuring your bread stays perfect, this great guide on naan bread recipe steps shows off how they handle storage!
Frequently Asked Questions About Making Naan
I know you want to get this right on the first try! I always get so many questions after people try this recipe for the first time, mainly revolving around the dough—which makes total sense, since that’s the core of getting that perfect texture. Don’t worry if you need a little extra clarification; that’s what I’m here for! We want your homemade naan bread to be stellar, not stressful. If you’re looking for more quick tips on the process, this guide on easy naan bread is a fantastic resource.
Can I use milk instead of water in this Easy Naan Bread Recipe?
That’s a great question! And the answer is a resounding yes, you absolutely can. Substituting milk for some or all of the water in this easy naan bread recipe is a chef-approved trick. Milk has fat and milk solids, which add a little richness that water just can’t provide. If you make this swap, you’ll actually find your final bread is even softer and definitely helps achieve that desired soft and chewy naan texture we are aiming for!
How long can I let the homemade naan bread dough rest?
Patience is paramount here, especially when trying to make a truly light bread! The ideal resting time for the first rise, as I mentioned, is between 1 and 1.5 hours, or until doubled. If your kitchen is on the cooler side, it might genuinely take longer than 90 minutes. It’s more important that it doubles than that it hits a specific clock time. But please, whatever you do, do not rush the rise! Skipping this step is the quickest way to end up with dense, tough bread instead of the light, airy results needed for a successful easy naan bread tonight.
What if I don’t have yogurt? Can I substitute it in this recipe?
Yogurt is magic in doughs because the acidity tenderizes the gluten, leading to that beautiful soft crumb. If your fridge is empty of plain yogurt, you can absolutely substitute it with an equal amount of either sour cream or buttermilk. Both options contain that wonderful acidity we need to break down the structure just enough to make the final product less tough and more tender. They work beautifully in place of the yogurt for making consistently delicious homemade naan bread.
Print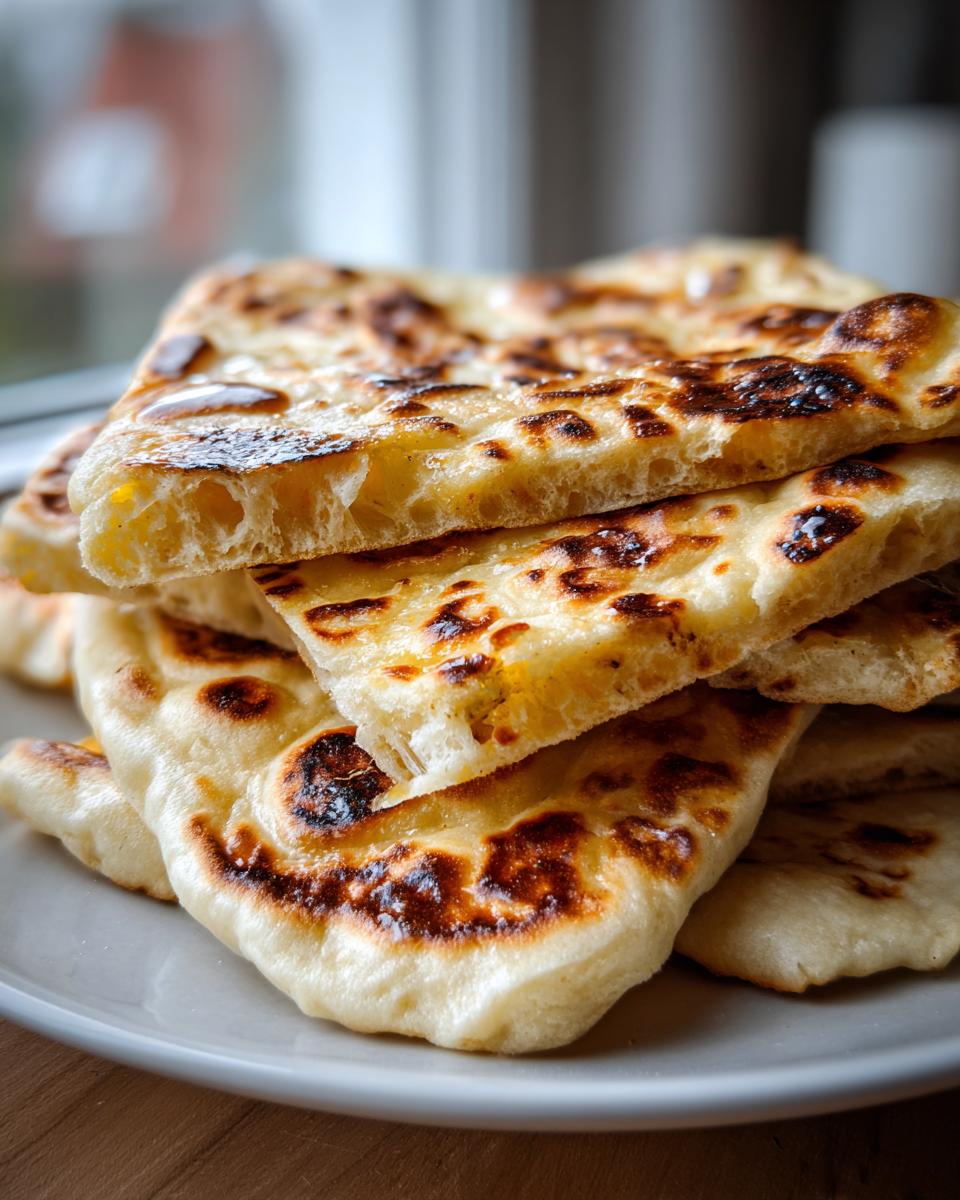
Soft and Chewy Homemade Naan Bread Recipe: Stovetop Method (No Tandoor Required)

Welcome! You can make incredibly soft, chewy, and fluffy homemade naan bread right on your stovetop. This easy recipe delivers restaurant-quality texture using simple ingredients, perfect for pairing with your favorite curries and dips.
- Prep Time: 20 min
- Cook Time: 15 min
- Total Time: 1 hour 45 min
- Yield: 8 servings 1x
- Category: Side Dish
- Method: Stovetop (Skillet)
- Cuisine: Indian
- Diet: Vegetarian
Ingredients
- 1 teaspoon active dry yeast
- 1 teaspoon sugar
- 1 cup warm water (about 105-115°F)
- 3 cups all-purpose flour, plus more for dusting
- 1 teaspoon salt
- 2 tablespoons plain yogurt, full fat
- 2 tablespoons milk
- 2 tablespoons melted butter or oil, plus more for brushing
- Optional: 2 cloves garlic, minced, for Garlic Naan
Instructions
- Activate the yeast: In a small bowl, combine the warm water, yeast, and sugar. Let it sit for 5 to 10 minutes until foamy.
- Mix the dough: In a large bowl, whisk together the flour and salt. Add the yeast mixture, yogurt, and milk to the dry ingredients. Mix until a shaggy dough forms.
- Knead: Turn the dough out onto a lightly floured surface. Knead for 5 to 7 minutes until the dough is smooth and elastic.
- First rise: Lightly grease a clean bowl with oil. Place the dough in the bowl, turning to coat. Cover the bowl with plastic wrap or a clean towel and let it rise in a warm place for 1 to 1.5 hours, or until doubled in size.
- Divide and rest: Gently punch down the risen dough. Divide it into 8 equal pieces. Roll each piece into a ball, cover them loosely, and let them rest for 15 minutes.
- Prepare for cooking: If making Garlic Naan, mix the melted butter with the minced garlic in a small bowl.
- Cook the naan: Heat a heavy-bottomed skillet or cast-iron pan over medium-high heat until very hot. Do not add oil to the pan.
- Roll out: Take one dough ball and roll it into an oval or teardrop shape, about 1/8 inch thick.
- Cook on the skillet: Place one rolled naan onto the hot, dry skillet. Cook for about 1 to 2 minutes until large bubbles form on the surface and the underside has light brown spots.
- Flip and finish: Flip the naan and cook the other side for about 1 minute until lightly charred spots appear. The bread should puff up.
- Brush with butter: Immediately transfer the cooked naan to a plate. Brush generously with melted butter or the garlic butter mixture. Stack the cooked naan and cover them with a clean kitchen towel to keep them warm and soft while you cook the remaining pieces.
Notes
- For the softest results, use full-fat plain yogurt in the dough.
- Make sure your skillet is very hot before placing the dough on it; this high heat creates the signature bubbles and char.
- If you want a slightly charred, smoky flavor without a tandoor, you can briefly place the cooked naan directly over a gas flame using tongs for a few seconds after removing it from the skillet.
Nutrition
- Serving Size: 1 piece
- Calories: 210
- Sugar: 1.5
- Sodium: 250
- Fat: 5
- Saturated Fat: 3
- Unsaturated Fat: 2
- Trans Fat: 0
- Carbohydrates: 36
- Fiber: 1.5
- Protein: 6
- Cholesterol: 5