
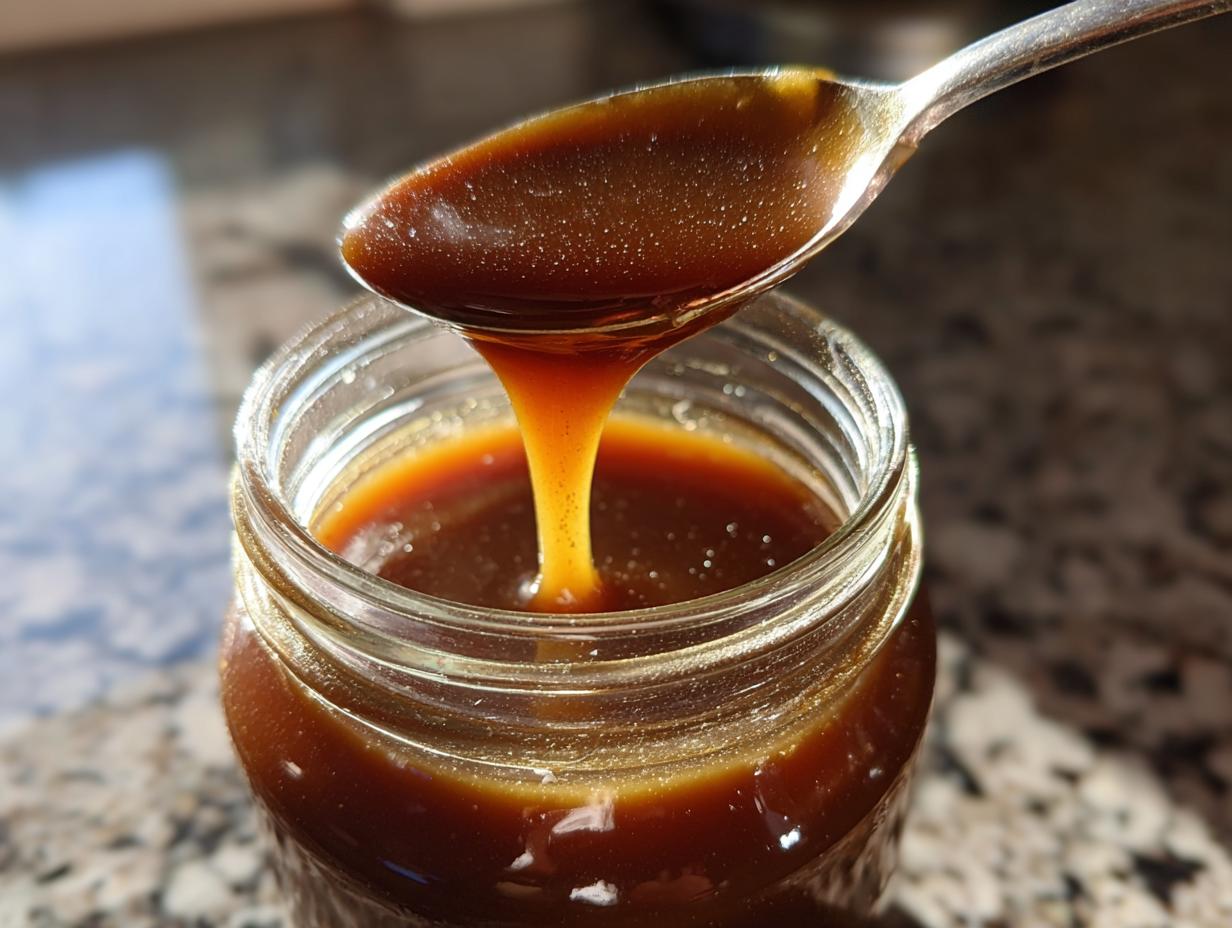
Hello and welcome back to the Frosted Fancies kitchen! I’m Katie, and I’m so excited you’re here today because we are tackling something truly decadent, yet surprisingly simple: the absolute best Easy Homemade Salted Caramel Sauce. Seriously, forget those jarred sauces that taste flat! This incredible, thick caramel comes together from scratch in honestly less than 30 minutes. Thanks to my background in food science and years spent perfecting recipes in professional test kitchens, I can guarantee this no-fail method works every single time you try to make caramel at home. You deserve that rich, buttery flavor drizzled perfectly over everything!
- Why This Easy Homemade Salted Caramel Sauce Recipe Works
- Gathering Ingredients for Your Homemade Caramel Recipe
- The Foolproof Method for Perfect Salted Caramel Sauce
- Tips for Success with Your Homemade Caramel Recipe
- Quick Caramel Dessert Ideas Using This Caramel Topping for Ice Cream
- Storage and Reheating Instructions for Your Homemade Caramel
- Ingredient Notes and Substitutions for Caramel
- Frequently Asked Questions About Making Caramel at Home
- Estimated Nutritional Data for this Caramel
Why This Easy Homemade Salted Caramel Sauce Recipe Works
You asked for something quick, something reliable, and something that tastes like it took all day. Well, here it is! Sticking to my professional standards means I stand behind this as a truly no-fail caramel recipe, even if you’ve always been intimidated by boiling sugar.
- It’s lightning fast—we’re talking under 20 minutes total cook time!
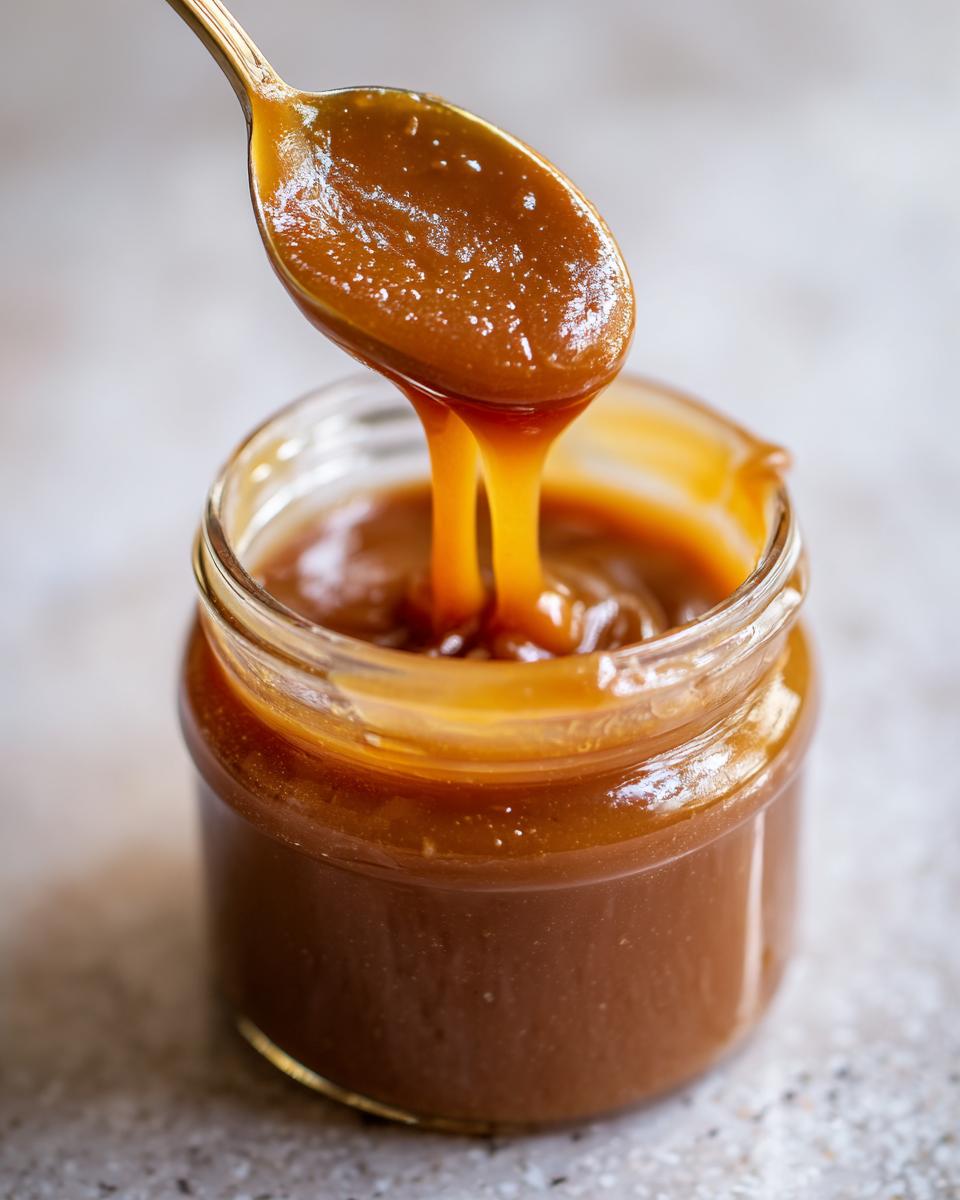
- The ratio of cream to butter creates a luxurious, thick caramel topping perfect for dipping or drizzling.
- We sneak in sea salt right at the end, giving you the ability to customize the perfect salty-sweet balance.
Gathering Ingredients for Your Homemade Caramel Recipe
Okay, since this sauce is so simple, the quality of your few ingredients really shines through! Don’t even think about skipping the warming step for the cream; trust me, reaching for cold cream can cause your sugar to seize up solid, and nobody wants that panic! These are the core players for a truly decadent batch.
- 1 cup granulated sugar (This is where the magic starts!)
- 6 tablespoons unsalted butter, cut into small pieces
- 1/2 cup heavy cream, warmed slightly—this is crucial!
- 1 teaspoon vanilla extract
- 1/2 teaspoon sea salt, or you can add more to taste later.
That’s it! Simple, right? Having everything measured and ready to go helps immensely because the cooking part moves fast once that sugar starts melting.
The Foolproof Method for Perfect Salted Caramel Sauce
This section is where we turn simple sugar into liquid gold. Getting the color and texture just right is the key to mastering how to make caramel at home without any fuss. Don’t rush this part, but definitely pay close attention as we move into the final cooking stages!
Melting the Sugar for Rich Caramel
Grab your medium, heavy-bottomed saucepan—we need good heat distribution here. Put your cup of sugar in over medium heat, but here is rule number one: don’t stir yet! You need to let the edges start melting on their own. Once you see liquid forming around the sides, you can use a heatproof spatula to gently coax the rest of the sugar into that melted pool. We’re aiming for a beautiful, deep amber color; think rich maple syrup, not burnt toast!
This might seem tedious, but this slow melt avoids crystallization. If you stir too early or too vigorously, you create little seed crystals that tell the rest of the sugar, “Hey, solidify now!” We want all those sugar molecules to break down smoothly into a liquid state, harnessing that science Katie learned so you don’t end up with rock candy in your saucepan.
Incorporating Butter and Cream into Your Caramel
Okay, you’ve got your gorgeous amber liquid. TAKE IT OFF THE HEAT. I cannot stress this enough: the pan is lava right now! Carefully start adding your cut-up butter, piece by piece. It is going to bubble up violently, steam heavily, and look slightly terrifying for about ten seconds. Keep stirring until that butter melts right in. Once smooth, it’s time for the warm cream. Pour in that warm cream slowly while whisking like crazy. Again, more bubbling! This is totally normal, but you must keep whisking to incorporate so the sugar dome doesn’t form.
Once that’s all combined and looked smooth again, you can put it back on low heat just to stir constantly for one minute. This calms everything down before we finish off your Vanilla Caramel Creation. Watch it closely here so it doesn’t scorch the bottom.
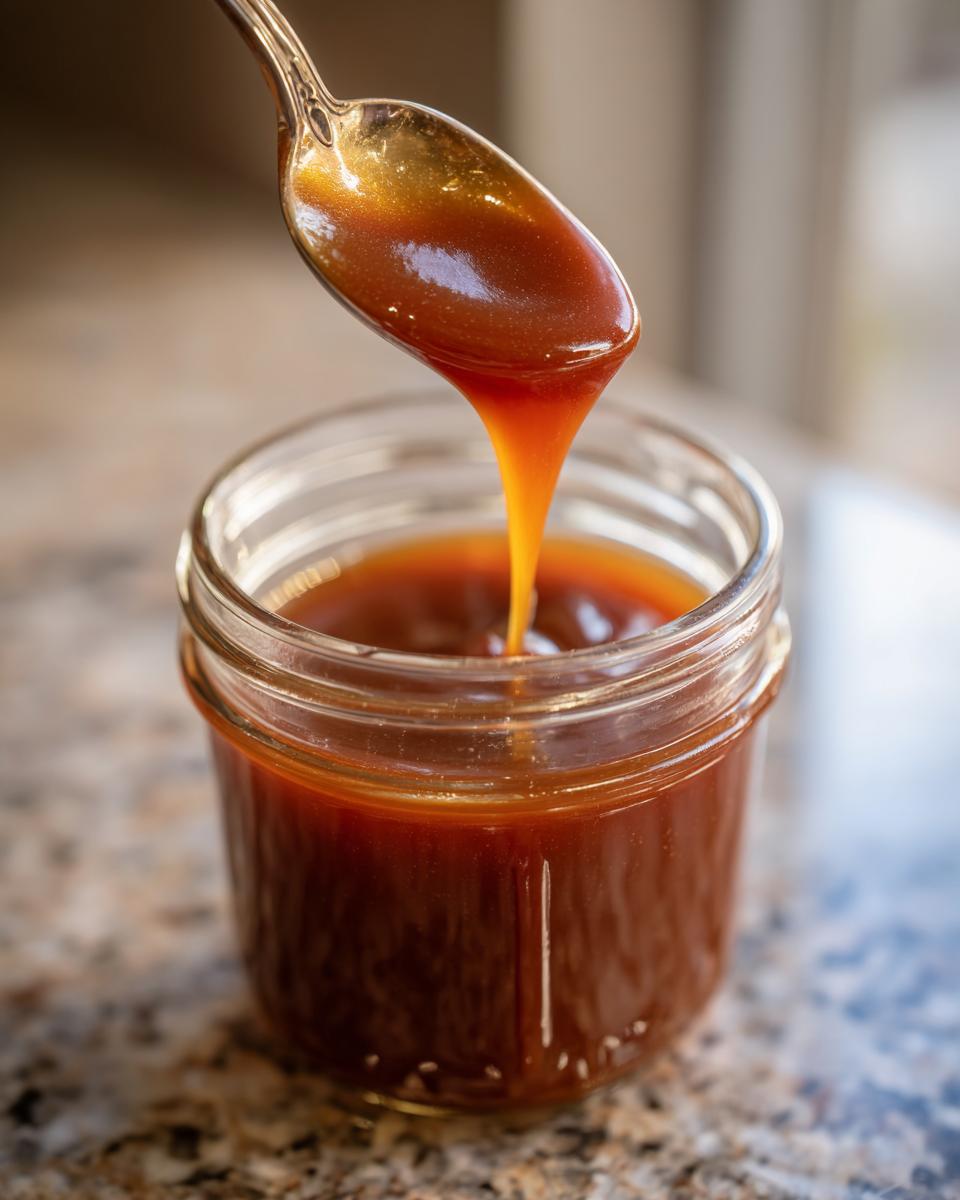
Finishing and Cooling the Salted Caramel Sauce
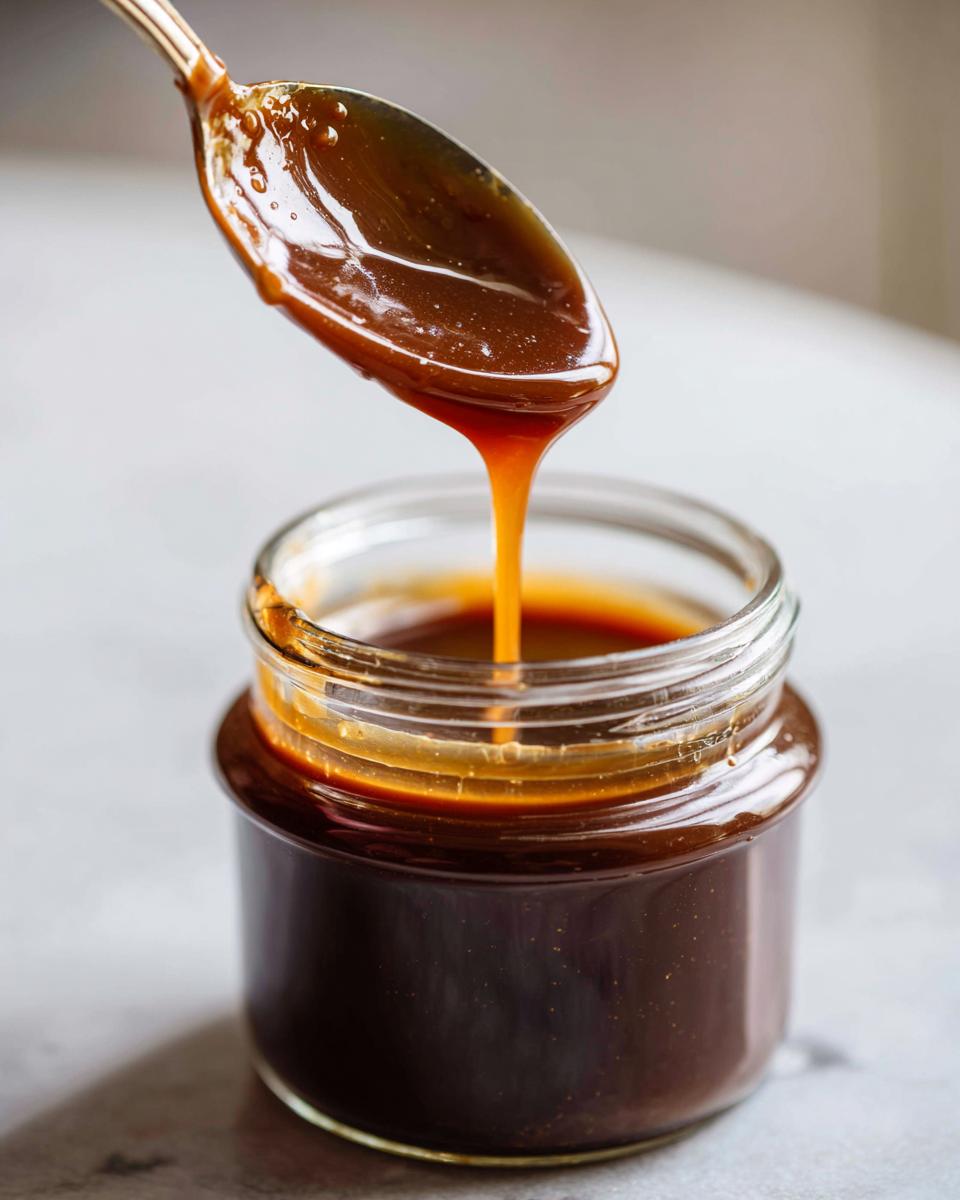
Panel off the heat for the absolute last time! Now we flavor! Whisk in your vanilla extract—that smells incredible—and then add your sea salt. Taste it right now if you dare! You are looking for that perfect salty counterpoint to the richness. Pour the entire concoction into a clean, heatproof jar. Don’t try to scrape every last drop out right now; it’s too hot! Let it sit on the counter and cool down halfway. It thickens up so much as it cools, getting exactly the right consistency for drizzling.
Tips for Success with Your Homemade Caramel Recipe
Even though this is my foolproof method, I always want to share the little professional secrets I picked up—especially when dealing with temperamental sugar! The biggest piece of advice I can give you for making the best salted caramel is managing the temperature differences. You absolutely must warm your heavy cream first. Cold cream hitting that hot sugar is a recipe for disaster, trust me.
I remember testing an early batch for a client; I was rushing, and I dumped the cold cream in. Poof! It hardened into a giant sugar chunk in the pan. I thought I ruined the whole thing, but I learned that you can often save it! If your sauce seizes or hardens after adding the cream, don’t panic. Just put the pan back on the lowest heat setting and stir patiently. Those hard bits will eventually dissolve back into the silky sauce.
Also, remember that this sauce thickens significantly as it cools down. Don’t be tempted to overcook it on the stovetop trying to get it thick now, or you’ll end up with chewy candy instead of rich sauce later! Patience during the cooling process is key.
Quick Caramel Dessert Ideas Using This Caramel Topping for Ice Cream
Now that you have this liquid gold bottled up, what’s the first thing you’re going to do with it? I know what I do! I swear, homemade salted caramel sauce elevates almost anything instantly. It’s such an easy way to bring dessert shop quality right to your dinner table. Here are a few of my favorite quick caramel dessert ideas that require absolutely no extra baking!
First up, obviously, is the ice cream spectacular. Don’t even bother with fudge—this sauce as a caramel topping for ice cream delivers that perfect salty crunch. A simple swirl over vanilla bean is pure heaven.
But don’t stop there! Try drizzling it over fresh sliced apples—it tastes just like a caramel apple without the sticky mess! Or, for a fun breakfast treat, stir a big spoonful into your morning coffee or use it to top a stack of fluffy pancakes. You can even use it as a dip for pretzels if you’re feeling savory-sweet. Honestly, just spooning a bit of this rich sauce straight from the jar counts as a dessert idea in my book!
Storage and Reheating Instructions for Your Homemade Caramel
Once you’ve poured your beautiful sauce into a heatproof jar, you might be tempted to eat it all right now, but save some for later! Because we use real cream and butter—no weird preservatives here—this homemade caramel needs to live in the refrigerator. It keeps wonderfully for up to two weeks tucked away. When you want to use it, just know it will be quite thick.
Reheating is super easy! I usually scoop out what I need and give it a quick 20-second blast in the microwave, stirring halfway through. If you’re using a bigger batch, just put the whole jar back on the stovetop over very low heat, stirring gently until it loosens back up into that perfect drizzly consistency. Too excited to wait? Just pour it cold—it tastes great that way too!
Ingredient Notes and Substitutions for Caramel
When you follow my recipes, I always encourage you to trust your instincts, but when it comes to this classic caramel, we need to respect the science a little bit! If you’re out of granulated sugar, you can absolutely make a delicious brown sugar caramel, but the color will be darker and the flavor more molasses-forward immediately. I highly recommend using unsalted butter still because it lets me control the salinity with the flaked sea salt at the end.
If you must use salted butter? Easy swap—just cut the added salt in this recipe in half! Using oils or margarine instead of butter is a definite no-go for me; it completely ruins that rich body and necessary fat structure needed for a proper sauce texture. Stick to the butter if you want true homemade magic!
Frequently Asked Questions About Making Caramel at Home
It’s totally normal to have questions when you’re playing with boiling sugar! Even after making this recipe dozens of times, folks always ask me the nitty-gritty details. Here are some of the things I hear most often when people are trying out their first batch of this from scratch caramel.
Why did my sugar turn hard after I added the butter?
Oh, that’s the sugar seizing up! It happens if your pan was too hot or if you didn’t gently scrape down the edges while melting. Don’t panic! As long as you didn’t burn it, you can save it by putting the pot back on the lowest heat and stirring constantly. The residual heat will slowly melt those hardened crystals back into a smooth sauce. It just takes a little extra patience!
Can I use this recipe to make chewy caramels instead of sauce?
That’s a great question! This recipe is designed specifically for a soft, pourable dipping sauce. If you want true chewy caramels, you need to keep cooking the mixture for much longer after adding the cream—usually 5 to 8 minutes more, until it reaches the firm-ball stage (around 245°F). If you cooked this sauce that long, it would just turn into very hard candy!
If I’m in a huge rush, can I skip warming the cream for this easy caramel sauce?
You technically *can*, but I really advise against it for your first time! If you pour cold cream into hot sugar, the temperature shock makes the sugar instantly crystallize, turning it into grainy lumps. Warming the cream up just a bit ensures a smoother chemical reaction and keeps things calm when you start stirring. It’s one extra minute of prep that saves you from a seized pot!
How much darker should the sugar get before I add the butter?
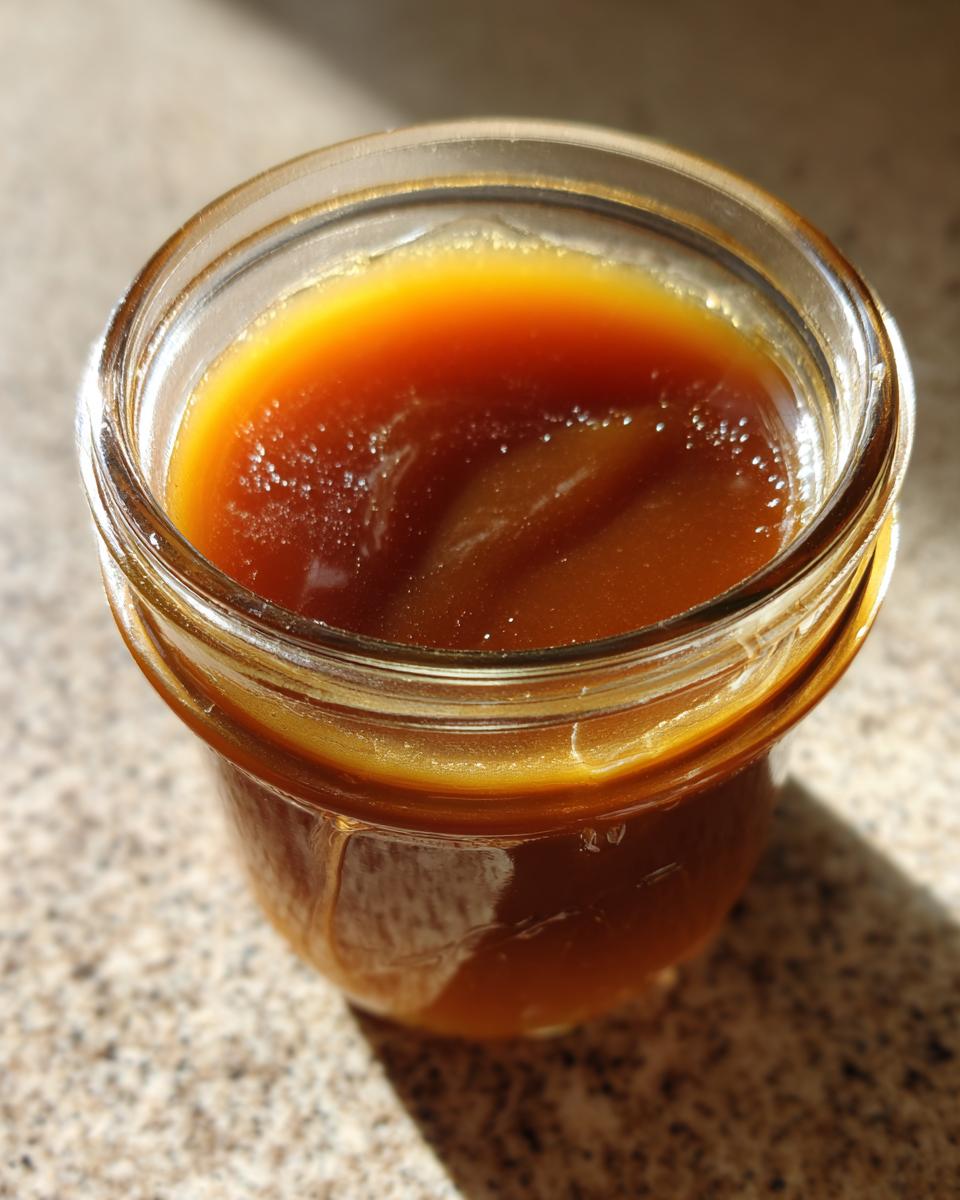
You want that beautiful amber color, which is darker than honey but definitely lighter than coffee. If you’re aiming for a deeper, butterscotch flavor, let it cook an extra minute or two until that amber deepens slightly, but be so careful! That transition from perfect amber to scorched tastes happens in seconds, and once it’s burnt, there is no coming back from that bitter flavor in your **easy caramel sauce**.
Estimated Nutritional Data for this Caramel
Now, I know some of you are curious about the numbers behind this luxurious drizzle. Remember, since we are making this from scratch, these figures are based on our exact measurements and are estimates only. This recipe yields about 1 1/4 cups total, and we consider a standard serving size to be two tablespoons.
- Calories: About 180 per serving
- Total Fat: 9g
- Sugar Content: 25g
- Sodium: 110mg (that’s thanks to our sea salt!)
It’s rich, yes, but completely worth it for how easily this sauce comes together!
PrintEasy Homemade Salted Caramel Sauce

Make rich, thick salted caramel sauce from scratch in under 30 minutes. This recipe uses simple ingredients and provides a foolproof method for a perfect topping.
- Prep Time: 5 min
- Cook Time: 15 min
- Total Time: 20 min
- Yield: About 1 1/4 cups 1x
- Category: Dessert Topping
- Method: Stovetop Cooking
- Cuisine: American
- Diet: Vegetarian
Ingredients
- 1 cup granulated sugar
- 6 tablespoons unsalted butter, cut into pieces
- 1/2 cup heavy cream, warmed slightly
- 1 teaspoon vanilla extract
- 1/2 teaspoon sea salt, or to taste
Instructions
- Place the granulated sugar in a medium, heavy-bottomed saucepan over medium heat. Do not stir initially.
- Allow the sugar to melt without stirring until it liquefies around the edges, about 5 to 7 minutes. Once it begins to melt, gently stir the sugar with a heatproof spatula until all the sugar crystals dissolve and the mixture turns a deep amber color. Watch carefully to prevent burning.
- Remove the pan from the heat. Carefully add the butter pieces one at a time, stirring constantly until the butter is fully melted and incorporated. The mixture will bubble vigorously.
- Slowly pour in the warm heavy cream while whisking continuously. The mixture will bubble up again. Continue whisking until the sauce is smooth.
- Return the pan to low heat and cook for 1 minute, stirring constantly. Do not let it boil rapidly.
- Remove the pan from the heat. Stir in the vanilla extract and sea salt until combined.
- Pour the finished salted caramel sauce into a heatproof jar or container. Allow it to cool completely before using. The sauce will thicken as it cools.
Notes
- Warm the heavy cream slightly before adding it to the melted sugar and butter. Cold cream can cause the hot sugar to seize up and harden.
- If the caramel hardens after adding the cream, return the pan to low heat and stir gently until the hardened bits dissolve back into the sauce.
- Store this homemade caramel sauce in an airtight container in the refrigerator for up to two weeks. Reheat gently on the stovetop or in the microwave before serving.
Nutrition
- Serving Size: 2 tablespoons
- Calories: 180
- Sugar: 25g
- Sodium: 110mg
- Fat: 9g
- Saturated Fat: 5g
- Unsaturated Fat: 4g
- Trans Fat: 0g
- Carbohydrates: 25g
- Fiber: 0g
- Protein: 0g
- Cholesterol: 30mg