
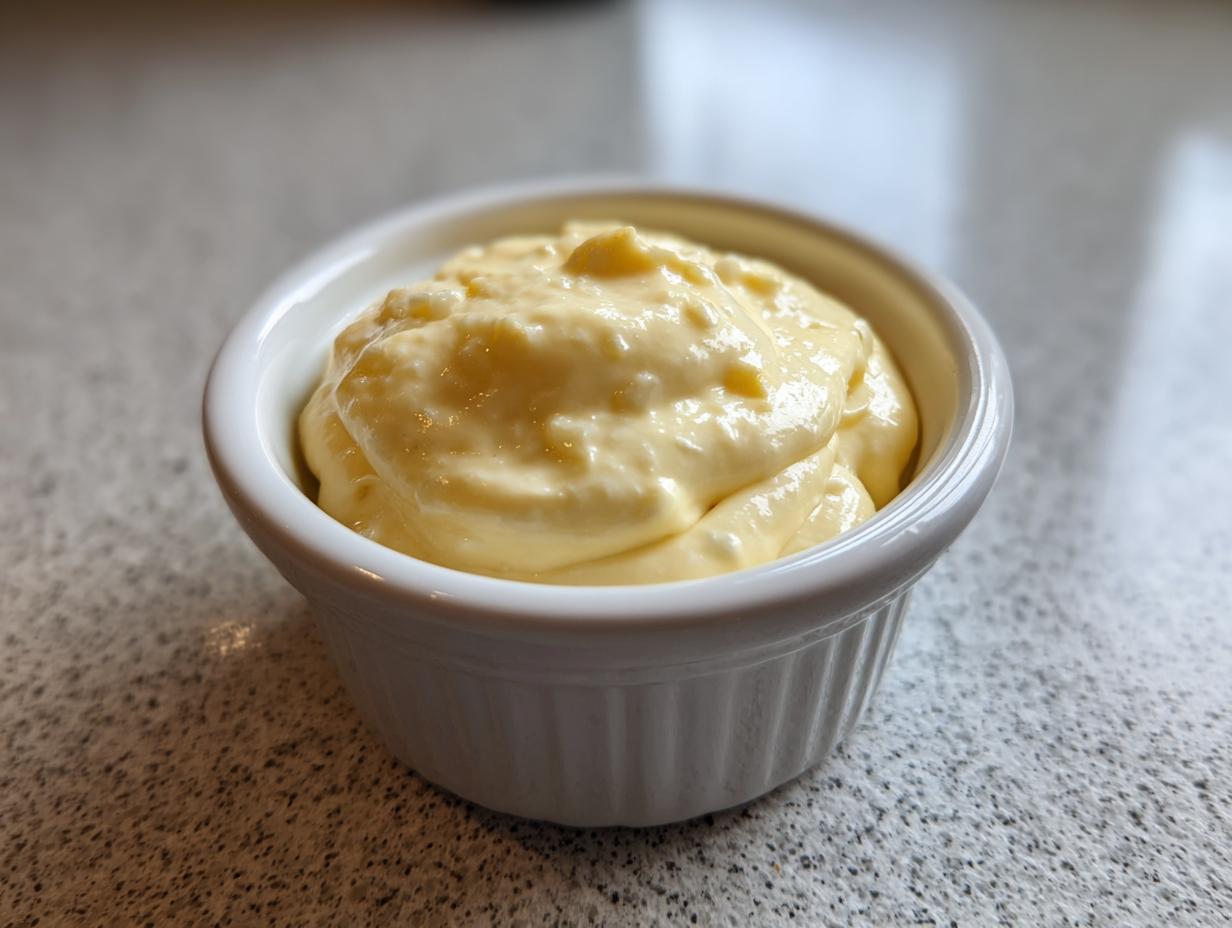
Hello there, I’m Katie, and welcome to the part of the blog where we talk about making the ordinary taste absolutely extraordinary! You know those decadent, creamy sauces they serve at fancy burger joints? The ones that make you want to dip absolutely everything in them? Well, we’re bringing that magic home today with my incredibly reliable, restaurant-style garlic aioli recipe. Trust me, having this quick homemade sauce on hand completely changes your weeknight dinner game. After years in professional test kitchens developing foolproof recipes, I can promise you this is the easiest, creamiest garlic aioli sauce you will ever whip up. It’s simple, yes, but the depth of flavor is honestly gourmet!
- Why This Easy Garlic Aioli Recipe Works Every Time
- Gathering Ingredients for Your Garlic Aioli Recipe
- How to Make Easy Aioli Sauce: Step-by-Step Instructions
- Tips for Perfect Restaurant Style Aioli
- Versatile Sauce Ideas: Using Your Homemade Garlic Aioli
- Storage and Reheating Instructions for Garlic Aioli
- Frequently Asked Questions About Garlic Aioli Sauce
- Nutritional Estimates for This Creamy Dip
- Share Your Homemade Creamy Garlic Sauce Creations
Why This Easy Garlic Aioli Recipe Works Every Time
When you’re looking for a phenomenal condiment, you want results, right? This recipe is designed so you don’t have to worry about whether it’s going to break or taste too sharp. After years in professional test kitchens developing foolproof recipes, I can promise you this is the easiest, creamiest garlic aioli you will ever whip up. We’re building on classic flavor principles, which is why this might be the best base for a creamy garlic sauce you’ve tried.
- This is truly a quick homemade sauce; mix it, taste it, done!
- It delivers that essential restaurant quality that makes fries disappear way too fast.
- It’s the foundation for the best dipping sauce imaginable.
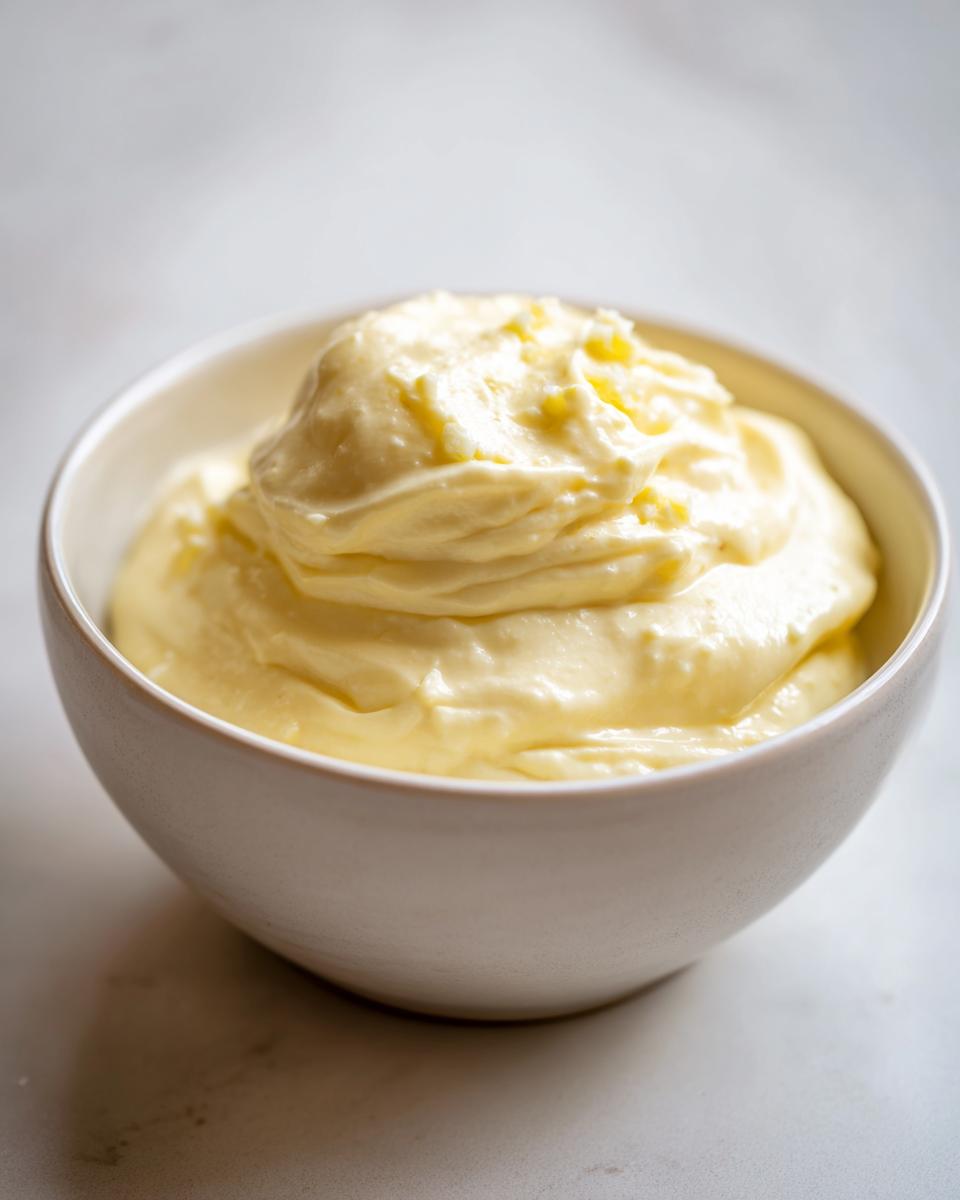
Guaranteed Creamy Garlic Sauce Texture
Since we are using good quality mayonnaise as our base here, we skip the tricky emulsification steps you get when making it completely from scratch. The mayo already provides that luxurious, silky backbone. My secret is making sure you whisk everything together until it’s perfectly uniform—no separation allowed! That’s how you get that unbelievably smooth, homemade creamy dip texture we all crave.
Simple Ingredients for Bold Flavor
Don’t let the short ingredient list fool you! The power here comes from the quality of the garlic and the brightness of the lemon. We are letting just a few superstars shine. The Dijon acts as a gentle flavor booster, connecting the rich base to the sharp garlic notes. It’s proof that you don’t need a pantry full of obscure spices for this easy aioli sauce.
Gathering Ingredients for Your Garlic Aioli Recipe
Okay, let’s get our supplies ready! The beauty of this garlic aioli recipe is how few things you need. Because the flavor components are so simple—just garlic, lemon, and mayo—quality really matters here. I always tell people, don’t skimp on your base! I suggest using a mayonnaise you genuinely like the taste of because it carries most of the sauce. We’ll be using just four main flavor elements, plus salt and pepper to balance it out. Ready to see the list? You can grab the full instructions here!
- 1 cup good quality mayonnaise (This is your workhorse!)
- 4 cloves fresh garlic, minced very finely (We are going for bold!)
- 1 tablespoon fresh lemon juice
- 1 teaspoon Dijon mustard
- 1/4 teaspoon salt
- 1/4 teaspoon black pepper
- 2 tablespoons olive oil (optional, but I like the extra richness)
Ingredient Notes and Substitutions
When it comes to that fresh garlic, you have to put in the work! We aren’t just roughly chopping; we need it almost creamy. Crush those cloves using the side of your knife and a pinch of salt—that salt acts like a gentle abrasive to help turn the garlic into a true paste. If you want a deeper, softer flavor, you can always swap the 4 raw cloves for about 2 tablespoons of soft, roasted garlic cloves instead. And that olive oil? It’s totally optional, but drizzling it in slowly helps give the sauce that gorgeous, silky body that makes it feel super luxurious. For those of you wanting to buy pre-minced garlic to save a step, make sure you check out my favorite brands for flavor stability—you can see my recommendations on where to buy good aromatics right here!
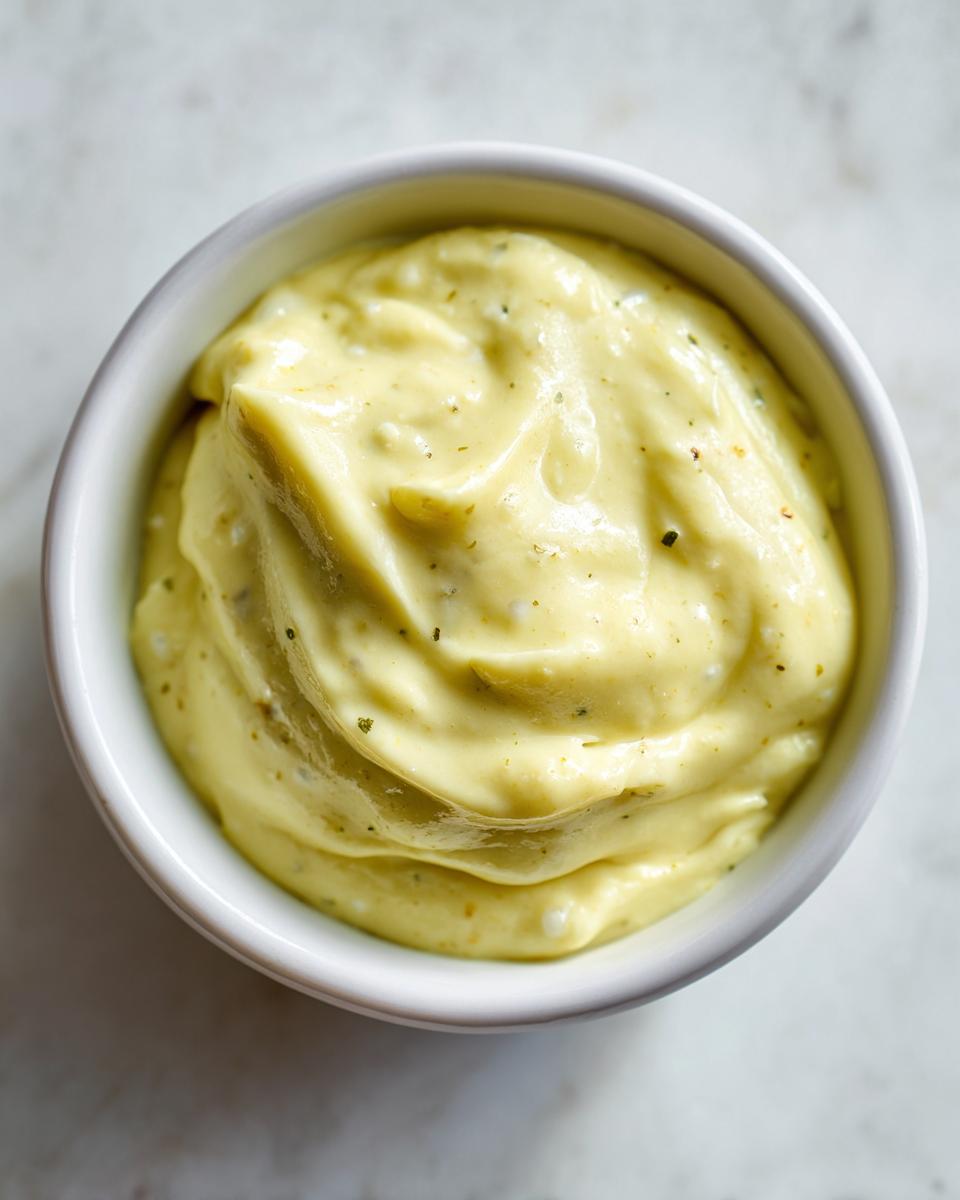
How to Make Easy Aioli Sauce: Step-by-Step Instructions
Alright, the ingredient prep is done, and now we move to the best part—making the sauce! This is where you see those simple items turn into something dazzling. Because we’re sticking to the easy, mayo-based method, everything comes together super quickly. We’re talking five minutes of actual mixing time here. Just follow my lead, and you’ll have a gorgeous garlic aioli recipe ready to go. Pay close attention to the garlic handling; that’s what makes this feel like it came straight from a professional kitchen!
- Prepare the garlic: Mince the 4 cloves of fresh garlic until they form a fine paste. You can crush them with the side of a knife and a pinch of salt to help break them down.
- Combine wet ingredients: In a medium bowl, whisk together the mayonnaise, minced garlic, lemon juice, and Dijon mustard until fully combined.
- Season: Stir in the salt and black pepper. Taste the mixture.
- Add oil (optional): If you desire a richer, more traditional texture, slowly whisk in the olive oil until the aioli is smooth and emulsified.
- Adjust flavor: Taste again and add more salt or lemon juice if needed to reach your preferred balance of flavor.
- Chill: Cover the bowl and refrigerate the garlic aioli for at least 30 minutes before serving. This allows the garlic flavor to meld into the sauce.
Preparing the Garlic for Maximum Flavor
This step is non-negotiable if you want that smooth, silky texture we talked about. We need the garlic completely broken down—I mean *completely*. Don’t just chop it roughly; you want it practically liquefied so you don’t get surprise garlic bombs in your perfectly smooth garlic aioli. Here’s a little trick from the test kitchen: place your minced garlic on your cutting board, sprinkle a hefty pinch of coarse salt over it, and then use the flat side of your chef’s knife to smash and scrape it back and forth until it becomes a wet, glossy paste. That salt is your secret weapon for crushing those cell walls!
Mixing and Seasoning Your Creamy Garlic Sauce
Once your garlic paste is ready, toss it right into that bowl with the mayonnaise, lemon juice, and Dijon. Whisk everything together until it’s perfectly uniform—light, fluffy, and pale. Now comes the crucial part that separates good sauces from great ones: tasting! This is where your expertise shines. Add your salt and pepper, give it a good stir, and then taste it. Does it need more zing? Add a tiny squeeze more lemon! Too bland? A little more salt! This is your creation, so customize it before you let it rest.
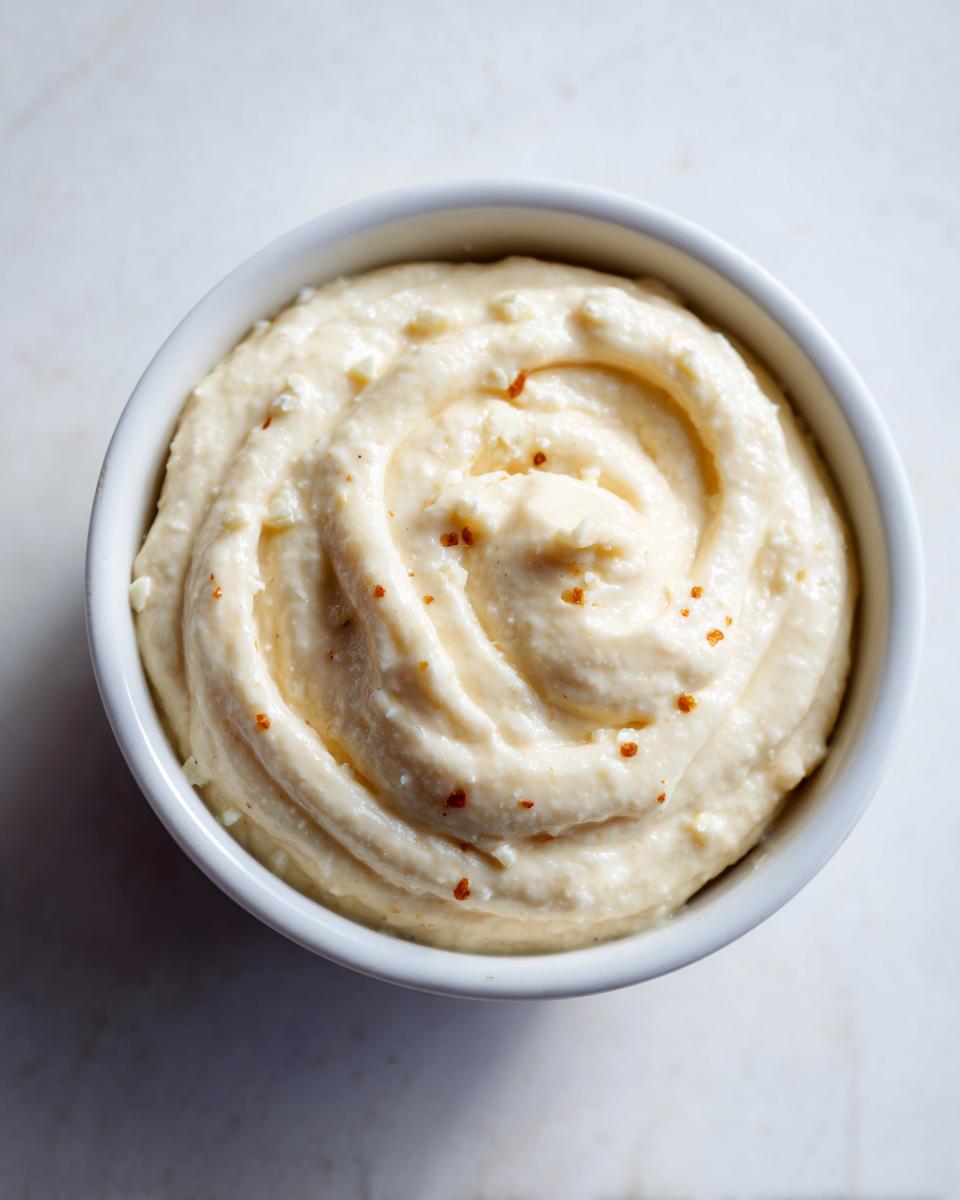
Tips for Perfect Restaurant Style Aioli
If you want this to taste exactly like the amazing dip you get at your favorite bistro, there are just a couple of spots where you absolutely cannot cut corners. It’s all about temperature and resting time, which are simple steps I learned from professionals many times over!
First, if you sneak in that optional olive oil, add it *slowly* while whisking constantly. If you dump it in all at once, your beautiful mixture might split and turn greasy, and nobody wants an oily garlic aioli. If it does separate slightly, don’t panic! Grab a fresh teaspoon of plain mayonnaise in a new bowl, and *very slowly* whisk your broken batch back into that fresh binder. It always saves it for me.
Second, and this is key for that fantastic, mellow flavor: the chill time! That mandatory 30 minutes in the fridge isn’t just for show. Raw garlic needs that time to surrender its sharp bite and infuse the whole sauce evenly. Patience here means the difference between a good dip and amazing, restaurant style aioli.
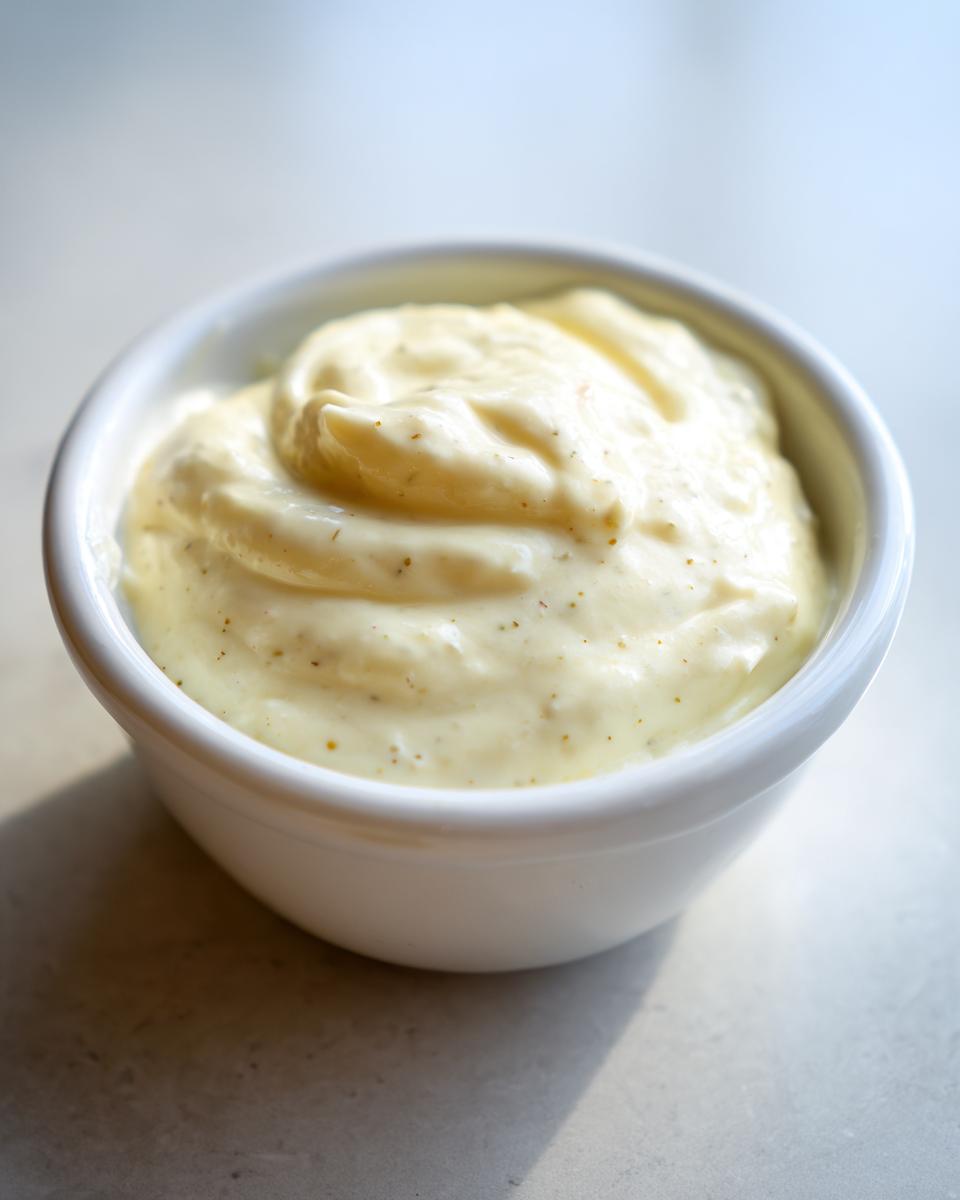
Versatile Sauce Ideas: Using Your Homemade Garlic Aioli
Now that you have this beautiful, creamy concoction, you might wonder, “What do I do with it all?” Honey, this garlic aioli is seriously versatile—it’s my go-to for leveling up nearly anything bland. If you’re looking for the absolute best dipping sauce for everything from sweet potato fries to crispy artichoke hearts, you’ve found it. I recently used a batch when grilling shrimp, and the way that zesty garlic hits the seafood is just divine!
Don’t forget about burgers! Forget ketchup; this makes the most incredibly rich sandwich spread recipe. Seriously, a layer of this on your next grilled chicken sandwich or turkey club transforms it instantly. And of course, nothing beats straight-up perfect aioli for fries. Keep a jar in the fridge, and you’ll find yourself drizzling this creamy garlic sauce over roasted vegetables or even mixing a bit into scrambled eggs. Head over to this link for some inspiration on using it with roasted veggies!
It’s so handy to have a homemade condiment ready to go, especially when company is coming over. For the real garlic lovers out there, this works amazingly well as a quick base for a party platter sauce. For more brilliant flavor combinations that use this garlic aioli recipe, you can check out some ideas for pairing it with grilled meats and even fish over at this site!
Storage and Reheating Instructions for Garlic Aioli
One of my favorite things about making a big batch of this garlic aioli is that I always have some left over, and honestly? Next-day aioli tastes even better! Since we are using fresh ingredients, particularly the fresh garlic, we want to treat this sauce right so it stays safe and tastes vibrant.
You absolutely must keep this sauce refrigerated. Pop it into an airtight container—a small mason jar works perfectly for me—and stick it in the back of the fridge. If you seal it up tight, this easy aioli sauce will stay fresh and delicious for up to one week. Don’t even think about leaving it out on the counter while you eat; creamy sauces made with fresh ingredients need to stay chilled for safety.
I mentioned this earlier, but I can’t stress it enough: the flavor *improves* overnight! When you first mix it, the raw garlic is potent, but after a night in the cold, the flavor mellows out and really sinks into the creamy base. It’s why I always make a batch the day before I plan on serving it for parties! If you need a quick refresher on storage life or want to see more ways to use up that leftover creamy garlic sauce, definitely check out that link!
Frequently Asked Questions About Garlic Aioli Sauce
I know sometimes when you find a great garlic aioli recipe, you still have a few lingering questions about making it absolutely perfect for your own taste. That’s totally normal! When I was testing these recipes professionally, I had so many questions myself. Here are a few things I hear most often about getting that perfect homemade creamy dip consistency and flavor.
Can I make a mayonnaise free aioli?
That is a fantastic question, and the answer is yes! Traditional, authentic aioli is actually made from scratch by emulsifying fresh garlic and olive oil, often with an egg yolk, and that definitely results in a mayonnaise free aioli. However, for speed and reliability—which is my focus here at Frosted Fancies—I chose the easier method using good quality mayonnaise as the base. If you’re feeling adventurous, you can certainly try making it completely from scratch, but for now, we’re leaning on the magic of that creamy starting point!
How do I reduce the sharpness of raw garlic in my garlic aioli recipe?
If you find the flavor of raw garlic too aggressively sharp for your liking, I have two simple tricks that help mellow it out before it ever hits the mayo. First, and most importantly, make sure you crush that garlic into a true, glossy paste rather than just mincing it (remember that salt trick we talked about?). A paste distributes more evenly and mellows out faster. Second, if you are still finding it too intense, you can give your crushed garlic paste a *very* quick rinse under cold water—just a few seconds—before patting it dry and adding it to the mix. This washes away some of the harsh, superficial oils. Then, remember to chill it for at least 45 minutes; this resting time is critical for softening that bite!
If you want to explore other great dipping techniques, you can find more awesome culinary ideas linked right over at Yellow Chilis!
Nutritional Estimates for This Creamy Dip
As a food scientist, I always urge cooks to look at these numbers, even for something as simple as a garlic aioli sauce! Since we are using a base of mayonnaise, this sauce is definitely an indulgence, but we can still appreciate what we’re eating. Please remember that these figures are estimates based on the ingredients listed in my recipe, and using higher-fat mayonnaise or adding extra olive oil will shift these numbers slightly. It’s always best to look at this as a treat!
These estimates are for one standard serving size, which is about two tablespoons.
- Serving Size: 2 tablespoons
- Calories: Roughly 190 (Yes, it’s rich!)
- Total Fat: About 20 grams
- Saturated Fat: Around 3.5 grams
- Carbohydrates and Sugar: Very low, around 0.5 grams each
- Protein: About 0.5 grams
See? It’s mostly fat, which is what gives it that incredible mouthfeel we love in a homemade creamy dip. When you’re enjoying this amazing sauce on your fries or burger, just think of it as adding that essential boost of savory flavor! For more general kitchen wisdom on balancing fats and calories in your cooking, I always recommend checking out the great breakdown here.
Share Your Homemade Creamy Garlic Sauce Creations
If I’m honest, the very best part of sharing recipes like this incredible garlic aioli is seeing what you all create in your own kitchens! I put so much time into testing these steps so they are foolproof, and I absolutely love hearing how you put this sauce to use.
Did you finally nail the perfect aioli for fries? Are you using it as a stellar burger sauce idea? Maybe you dipped roasted vegetables into it—I hope you did! The way a simple sauce can transform an everyday meal is truly wonderful.
When you finish making your batch, please come back here and leave a rating! Use those five stars to let me know how your creamy garlic sauce turned out for you. If you snapped a picture (and I hope you did!), tag me on social media. I genuinely want to see your beautiful, homemade creations. You can also drop a comment below sharing your favorite pairing. For more inspiration on elevating simple dips, check out these great ideas over here!
Happy dipping, everyone!
PrintEasy Homemade Creamy Garlic Aioli Sauce

Make restaurant-style creamy garlic aioli at home using simple ingredients. This versatile sauce is perfect as a rich dipping sauce for fries or a spread for sandwiches and burgers.
- Prep Time: 10 min
- Cook Time: 0 min
- Total Time: 10 min
- Yield: About 1 cup 1x
- Category: Condiment
- Method: No Cook
- Cuisine: Mediterranean Inspired
- Diet: Vegetarian
Ingredients
- 1 cup good quality mayonnaise
- 4 cloves fresh garlic, minced very finely
- 1 tablespoon fresh lemon juice
- 1 teaspoon Dijon mustard
- 1/4 teaspoon salt
- 1/4 teaspoon black pepper
- 2 tablespoons olive oil (optional, for richness)
Instructions
- Prepare the garlic: Mince the 4 cloves of fresh garlic until they form a fine paste. You can crush them with the side of a knife and a pinch of salt to help break them down.
- Combine wet ingredients: In a medium bowl, whisk together the mayonnaise, minced garlic, lemon juice, and Dijon mustard until fully combined.
- Season: Stir in the salt and black pepper. Taste the mixture.
- Add oil (optional): If you desire a richer, more traditional texture, slowly whisk in the olive oil until the aioli is smooth and emulsified.
- Adjust flavor: Taste again and add more salt or lemon juice if needed to reach your preferred balance of flavor.
- Chill: Cover the bowl and refrigerate the garlic aioli for at least 30 minutes before serving. This allows the garlic flavor to meld into the sauce.
Notes
- For a roasted garlic aioli flavor, roast 1 whole head of garlic until soft, squeeze out the cloves, and mix them into the aioli base instead of using raw garlic.
- This homemade aioli is excellent as a burger sauce idea or as an appetizer dipping sauce.
- Store leftovers in an airtight container in the refrigerator for up to one week.
Nutrition
- Serving Size: 2 tablespoons
- Calories: 190
- Sugar: 0.5
- Sodium: 150
- Fat: 20
- Saturated Fat: 3.5
- Unsaturated Fat: 16.5
- Trans Fat: 0
- Carbohydrates: 0.5
- Fiber: 0
- Protein: 0.5
- Cholesterol: 10