
Hello, and welcome back to the kitchen! I’m Katie, and if you’re anything like me, nothing beats the incredible satisfaction of pulling off a batch of restaurant-quality fried chicken right in your own skillet. Forget dry, bland bird! Today, we are diving deep to uncover the secrets to making that ultimate Southern staple: outrageously crispy, undeniably juicy fried chicken. Thanks to my background in Food Science and years spent developing recipes professionally, I’ve cracked the code on achieving that perfect crunch every single time. Don’t let complicated techniques scare you away; these steps are straightforward, reliable, and they absolutely work!
- Why This Crispy Fried Chicken Recipe Guarantees Success
- Ingredients for Perfect Southern Fried Chicken
- How To Make Perfect Fried Chicken: Step-by-Step Instructions
- Tips for Success When Making Homemade Fried Chicken
- Storage & Reheating Instructions for Leftover Fried Chicken
- Serving Suggestions for Your Family Favorite Chicken Recipe
- Frequently Asked Questions About Making Fried Chicken
- Nutritional Estimates for This Classic Fried Chicken
- Share Your Homemade Fried Chicken Experience
Why This Crispy Fried Chicken Recipe Guarantees Success
Look, I’ve seen a million recipes promising the best fried chicken, but they usually skip one crucial step. You won’t find that problem here! This recipe isn’t just good guesses; it’s tested science combined with my family’s love for comfort food. We rely on two things to make sure your chicken comes out perfect every time, just like the recipes I used to develop for magazines.
- The Long Buttermilk Soak: This is non-negotiable. The acid in the buttermilk tenderizes the meat right down to the bone, meaning you get truly juicy fried chicken without having to worry later.
- The Cornstarch Clutch: We aren’t just using flour here! Adding cornstarch to the dredge creates that intense, rough texture that sticks perfectly and stays crunchy for hours.
Check out this guide for more classic Southern inspiration! Classic Southern Fried Chicken.
The Science Behind Juicy Fried Chicken
When I studied Food Science, the big takeaway for cooking meat was controlling moisture. The buttermilk does two jobs: the lactic acid starts breaking down tough proteins (tenderizing!), and it helps build a slight barrier against the high heat of the oil. Also, sticking strictly to that 325°F oil temperature is vital. Too hot, and you seal the outside before the inside cooks; too cool, and the breading just soaks up grease! It’s all about that careful heat transfer.
Achieving the Ultimate Crunchy Chicken Coating
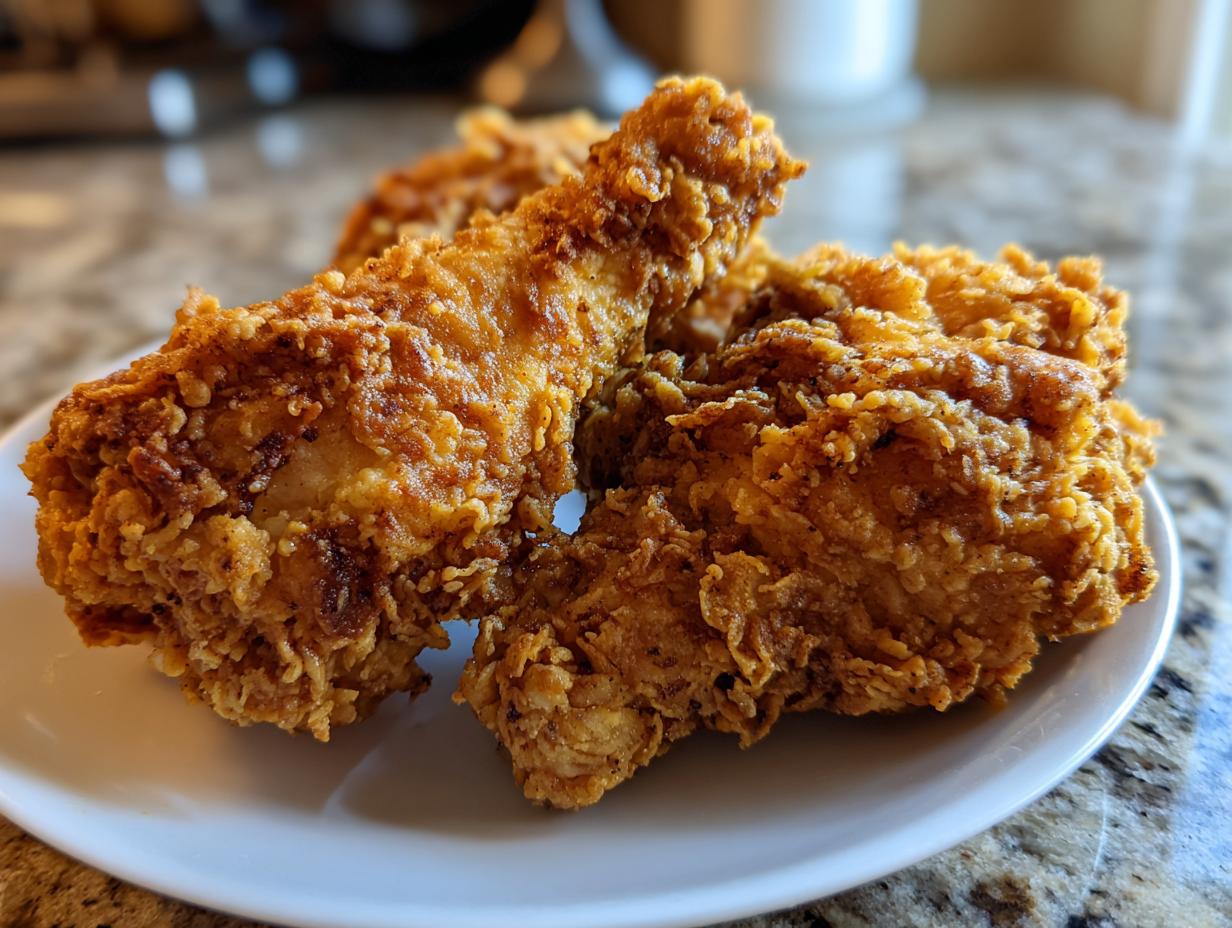
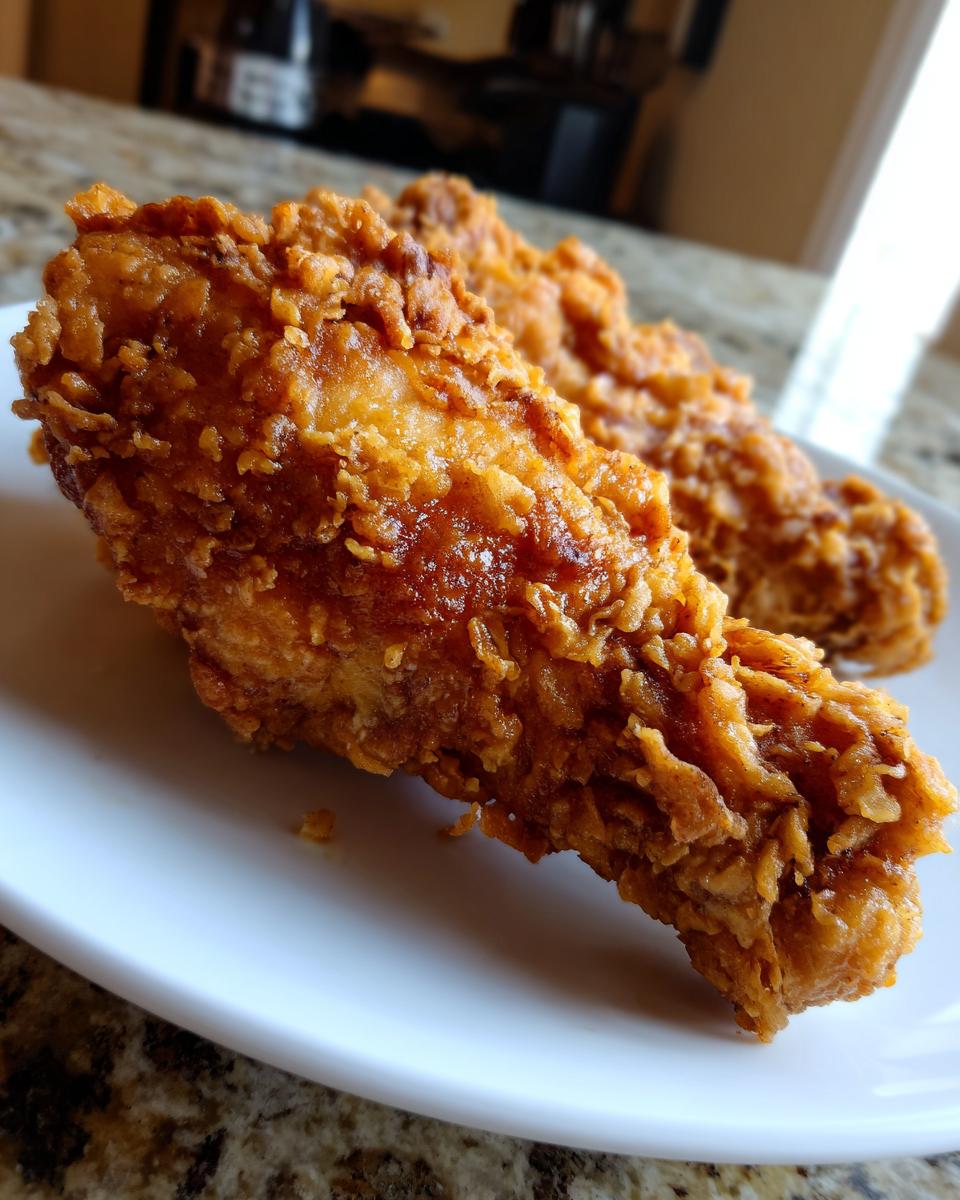
The flour mixture is where the *crunch* comes from, my friends. We mix in cornstarch—that’s the restaurant secret! It gets incredibly brittle as it fries up. If you want that extra rugged look, try the double-dip method mentioned in the instructions. You dip floured chicken back into the wet for a split second, then back into the flour mix, really pressing it on. That’s how you get that amazing, craggy crust that screams homemade fried chicken!
Ingredients for Perfect Southern Fried Chicken
Now that we’ve talked about *why* this works, let’s gather our supplies! Remember, this isn’t the time to skimp on quality. I always use bone-in, skin-on chicken pieces—thighs, drumsticks, and breasts work beautifully together. The skin keeps things moist while the bones add incredible depth of flavor, which is key for true Southern Fried Chicken flavor.
Here’s exactly what you’ll need for the marinade and the crunch-making dredge:
- 3 lbs bone-in, skin-on chicken pieces (we like a mix of thighs, drumsticks, and breasts)
- 4 cups buttermilk
- 2 tablespoons hot sauce (just a dash for flavor—it doesn’t make it super spicy!)
- 1 tablespoon salt
- 1 teaspoon black pepper
- 1 teaspoon paprika
- 1 teaspoon garlic powder
- 1 teaspoon onion powder
- 1 teaspoon cayenne pepper (only if you like a little kick!)
- 3 cups all-purpose flour
- 1 cup cornstarch (don’t forget this for the crunch!)
- 1 teaspoon baking powder
- Oil for frying (Peanut or vegetable oil works best because of their high smoke points)
Grab everything, measure it out carefully—precision matters when achieving perfection in fried chicken—and then we can move right on to the marinating process!
How To Make Perfect Fried Chicken: Step-by-Step Instructions
Okay, you have your spiced buttermilk bath ready and your chicken pieces are ready to jump in—this is where the magic happens! Following this order step-by-step ensures our fried chicken has that beautiful crust and stays incredibly tender inside. Trust me, rushing this part is how you end up with sad, soggy chicken—we don’t do sad chicken here!
Marinating for Maximum Flavor in Your Fried Chicken
First things first: the soak. You need to cover your chicken completely in that buttermilk mixture we whipped up. This needs time! I know you’re hungry now, but you really need to let it chill for a minimum of four hours. Seriously, an overnight soak is even better for the most juicy fried chicken you’ve ever made. This long rest time maximizes tenderness before we even think about heat.
The Dredging Process for a Golden Brown Chicken Crust
Next, we move to the dry dredge—that blend of flour, cornstarch, and baking powder. Take the chicken right out of the buttermilk, letting the heavy excess drip off, but don’t wipe it clean! You actually *want* those wet clumps to cling to the coating. Toss each piece into the flour mix and press down hard all over. If you want that next-level coating, try the optional quick double-dip: back into the buttermilk for just a second, and then back to the flour, pressing again. That builds a serious shield!
Frying Technique for Classic Fried Chicken
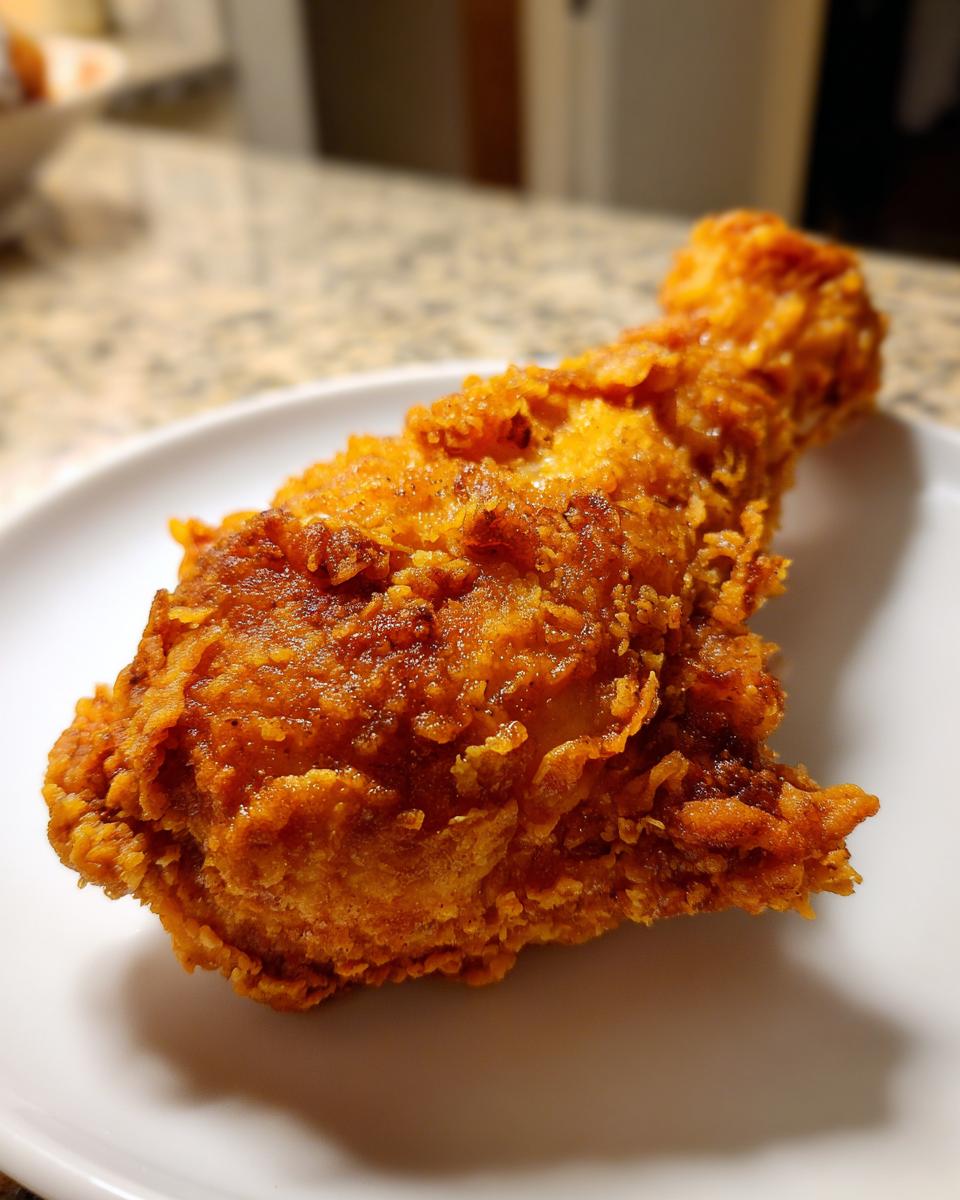
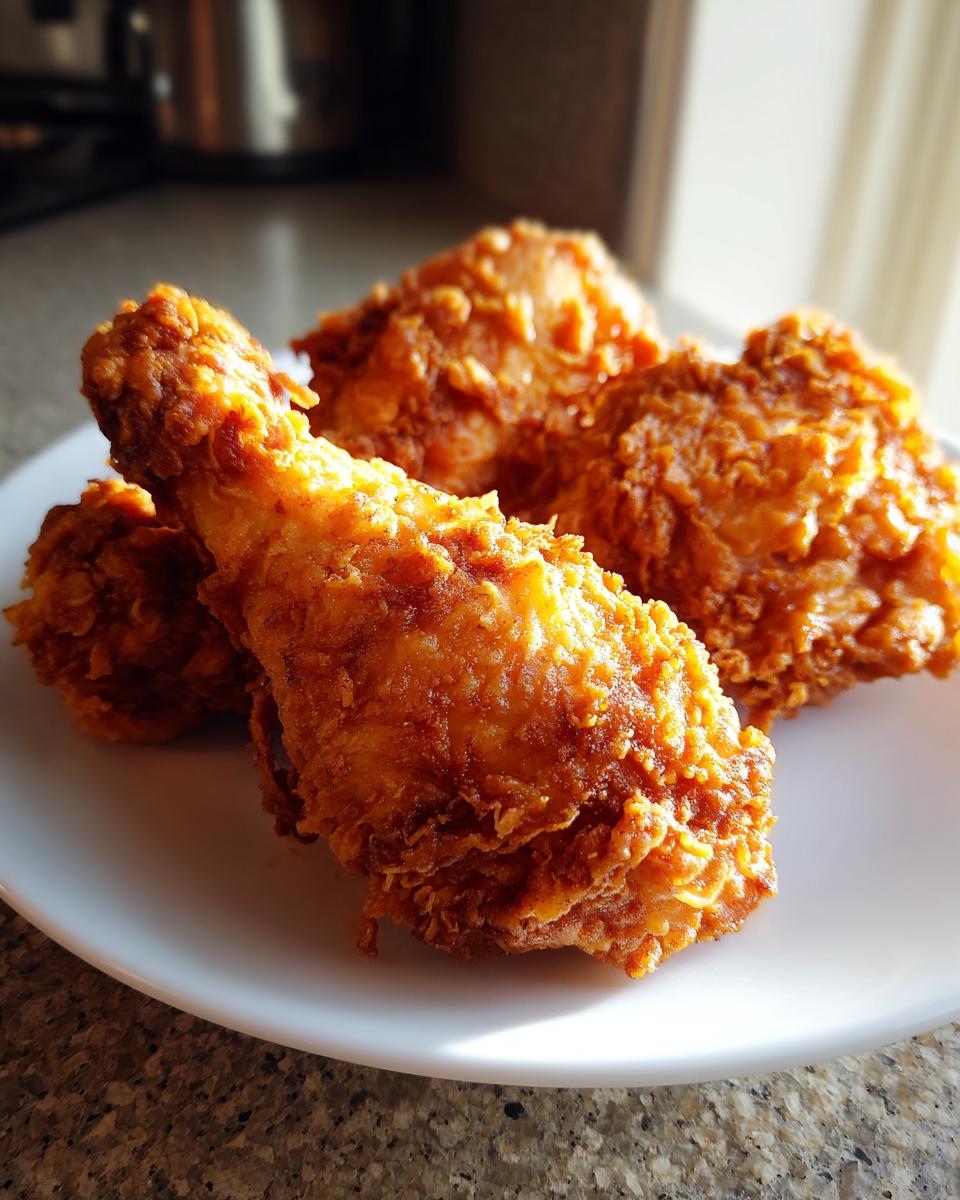
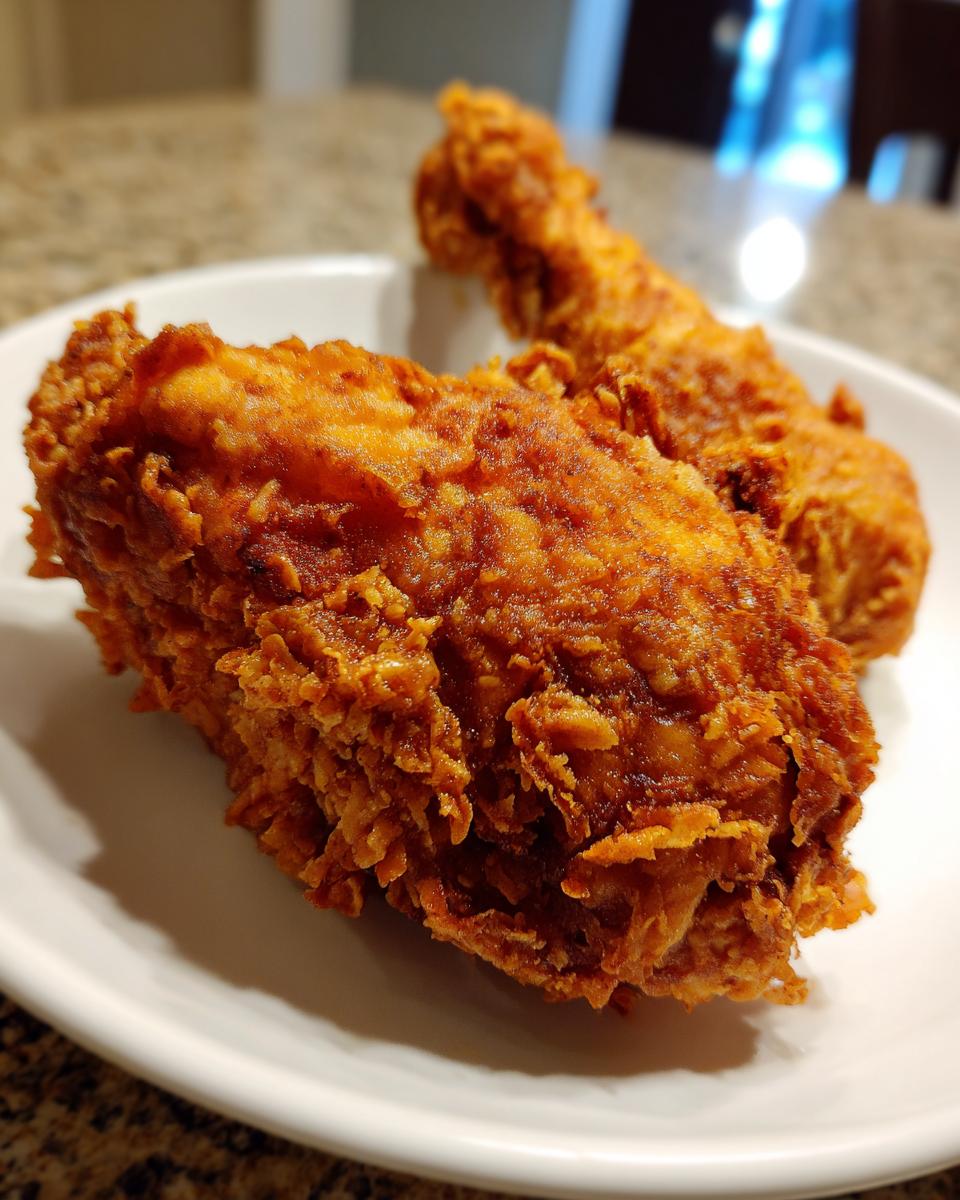
This is the most important part for perfectly cooked meat: temperature control. Get your oil heated up to exactly 325°F. If you don’t have a thermometer, you’re flying blind, and that’s how you get burnt outsides! Carefully place the coated chicken pieces into the oil, but for the love of crispy coating, do not overcrowd your pot! We fry in batches; this keeps the oil temperature steady, which is everything for that perfect classic fried chicken finish. Drumsticks and thighs take about 12 to 15 minutes, turning occasionally until they are deeply golden brown. Check the thickest piece to make sure it hits 165°F inside. When they are done, pull them out and put them straight onto a wire rack—never paper towels, or they’ll steam!
If you need visuals on how to get that ultimate crunch coating, click over here for a visual guide: How to Make Fried Chicken.
Tips for Success When Making Homemade Fried Chicken
We’ve covered the dredge and the marinate, but if you take away only one thing from my professional kitchen experience, let it be this: temperature control is everything for homemade fried chicken. You absolutely must try to keep that oil between 315°F and 330°F while you’re working. If you skip the thermometer reading, your crust might burn before that bone-in piece reaches 165°F inside, and that’s a tragedy!
I learned this the hard way during a catering job years ago. I fried three batches of what looked like perfect chicken, but the fourth batch overheated the oil because I added too many thighs at once. The outside smoked dark brown in five minutes! I quickly pulled the pan off the heat, let the oil settle back down, and the very next batch came out beautifully golden. It taught me never to trust my eyes over the thermometer.
Also, remember my note about draining? Always use a crispy chicken coating trick: place the cooked pieces on a wire rack set over a baking sheet, not stacked paper towels. Paper towels trap steam and turn that glorious crunch soggy underneath. A rack lets all that excess oil drip away neatly, keeping your crust fantastic!
Storage & Reheating Instructions for Leftover Fried Chicken
It’s rare that we have leftovers when I make this recipe, but when we do, I have strict rules for keeping that crispy fried chicken recipe from turning into sad, soggy takeout. The key here is to avoid moisture buildup at all costs. If you’re keeping it for later, let the chicken cool down completely on that wire rack first—don’t seal it while it’s warm!
Store the cooled pieces in a single layer inside an airtight container lined with a paper towel. The paper towel helps absorb any lingering surface moisture. This works great for up to three days in the fridge. But the real secret comes when you reheat it.
Please, for the sake of the crunchy coating we worked so hard to achieve, promise me you won’t use the microwave! Microwaving fried chicken steams it right into oblivion. Instead, you want dry, indirect heat.
I love using the oven or, even better, an air fryer for reviving leftovers. Preheat your oven to a nice warm 375°F (or your air fryer, depending on the model). Lay the pieces out right on the rack—again, no crowding! Pop them in for about 10 to 12 minutes. You’ll hear that crust sizzle again! It comes back tasting almost exactly like it did fresh out of the fryer, giving you that wonderful, golden brown finish once more.
Serving Suggestions for Your Family Favorite Chicken Recipe
We made this truly spectacular, juicy fried chicken, but a meal isn’t complete without the supporting cast, right? If you’re planning a big Sunday dinner or just want to elevate a Tuesday night, pairing this bird with the right sides makes the whole experience unforgettable. This is pure American comfort food, and it demands classic companions!
When I’m serving this up as a huge family favorite, I always make sure I have a mix of creamy, tangy, and green on the table. My go-to lineup always includes creamy, dreamy mashed potatoes—they are just perfect for soaking up any leftover seasoning from the chicken pan. And you absolutely cannot forget the biscuits, flaky and warm, ready to be slathered with butter.
For something tangy to cut through all that delicious richness, creamy coleslaw is the answer every time. The cool crunch works magic against the hot, crunchy coating. If you’re looking for some great inspiration on how to build out that whole menu, I found some fantastic ideas over here for Family Favorite Chicken Recipes that pair perfectly!
Honestly, whether it’s a full spread or just grabbing a piece of that crunchy chicken coating straight off the cooling rack while it’s still warm, serving it with love is the most important step.
Frequently Asked Questions About Making Fried Chicken
Look, I totally get it. Even with the best recipe in hand, sometimes questions pop up when you’re standing over a pot of hot oil. That’s totally normal! I’ve pulled together some of the most common things folks ask me when they are trying to master their own homemade fried chicken batch.
What is the best oil to use for making fried chicken?
This is a great safety and flavor question! You absolutely need an oil with a high smoke point, otherwise, that oil breaks down, smokes terribly, and tastes bitter, ruining your beautiful crust. For the most neutral flavor and stability while frying at 325°F, I always rely on peanut oil or a good, refined vegetable oil. They hold up beautifully and don’t overpower the spices we added to the buttermilk. If you need ideas for other flavor profiles, you can see how a copycat recipe handles things here.
Can I use chicken breasts instead of bone-in pieces for this fried chicken recipe?
You certainly can use chicken breasts, but you need to adjust your frying time! Breast meat is much leaner than thighs or drumsticks, so it cooks faster. If you leave a boneless breast in the oil as long as you would a thigh, it’s going to get tough and dry, even if the outside looks golden brown. I recommend cutting the breasts into even, thick strips or pounding them slightly thinner. If you are frying whole breasts, start checking after about 10 minutes; you want that perfect, tender interior!
How do I know when my fried chicken is done cooking?
The color can be deceiving, especially with how dark our seasoning mix gets! Never, ever rely only on color, even when aiming for that perfect golden brown chicken. The only way to guarantee safety and juiciness is with a meat thermometer. You must probe the thickest part of the meat, avoiding the bone. When that thermometer reads 165°F, you’re done! Pull it out immediately, let it rest on that wire rack we talked about, and enjoy your perfectly cooked, truly crispy fried chicken.
Nutritional Estimates for This Classic Fried Chicken
Okay, so this is technically the least fun part about making the most delicious fried chicken known to humankind, but as someone with a Food Science background, I feel obligated to share this information! We all know deep-fried food means it’s going to have higher counts across the board, but knowing the estimates helps you plan the rest of your comfort food dinner. Remember, these numbers are just a guide—they are based on one standard serving size of the chicken pieces we used (a mix of thigh/drumstick) and the specific ingredients listed.
If we break down one serving of this Classic Fried Chicken, here’s what you can generally expect. It’s rich, yes, but wow, is it rewarding!
- Serving Size: 1 piece
- Calories: 450
- Fat: 28g
- Saturated Fat: 8g
- Trans Fat: 0.5g
- Unsaturated Fat: 20g
- Protein: 30g
- Carbohydrates: 18g
- Fiber: 1g
- Sugar: 3g
- Cholesterol: 110mg
- Sodium: 650mg
Please keep in mind this is our estimate based on the exact recipe ratios we use. If you decide to use more cayenne, or if you skip the buttermilk soak for a quick brine, those numbers will shift! Also, this calculation doesn’t include any dipping sauces or the amazing side dishes you’ll be serving alongside this juicy fried chicken. Eat it with joy, and pair it with that tangy coleslaw we talked about earlier!
Share Your Homemade Fried Chicken Experience
You’ve done it! You’ve conquered the temperature, you’ve pressed that coating perfectly, and now your kitchen is smelling like the best kind of Sunday dinner. That’s the real reward of making fantastic fried chicken at home!
Now, here’s the part I love the most: connecting with you all. Food tastes even better when it’s shared, and I absolutely live for seeing your kitchen successes! Did you try the double-dip trick? Was the overnight buttermilk soak worth the planning? I want to hear all about it!
When you get a chance, please leave a star rating for this recipe—it really helps other home cooks know they can trust these instructions just as much as you can now. Maybe even snap a picture of your perfectly golden brown chicken resting on that wire rack and share it on social media. Tag me so I can see those incredible crunchy coatings!
If you’re looking for more ways to celebrate classic Southern flavors, you can check out some other fantastic takes on the dish, like this one for The Best Southern Fried Chicken. Happy cooking, and thank you so much for trusting me with your dinner plans!
PrintGrandma’s Crispy Southern Fried Chicken: The Secret to Juicy Meat

You can make truly crispy, juicy Southern fried chicken at home. This recipe uses a buttermilk soak and a specific dredge with cornstarch for a guaranteed golden, crunchy coating every time you cook.
- Prep Time: 20 min
- Cook Time: 45 min
- Total Time: 4 hours 5 minutes
- Yield: 4 servings 1x
- Category: Dinner
- Method: Deep Frying
- Cuisine: American Southern
- Diet: None
Ingredients
- 3 lbs bone-in, skin-on chicken pieces (thighs, drumsticks, breasts)
- 4 cups buttermilk
- 2 tablespoons hot sauce
- 1 tablespoon salt
- 1 teaspoon black pepper
- 1 teaspoon paprika
- 1 teaspoon garlic powder
- 1 teaspoon onion powder
- 1 teaspoon cayenne pepper (optional, for heat)
- 3 cups all-purpose flour
- 1 cup cornstarch
- 1 teaspoon baking powder
- Oil for frying (peanut or vegetable)
Instructions
- In a large bowl, combine the buttermilk, hot sauce, salt, pepper, paprika, garlic powder, onion powder, and cayenne pepper. Mix well.
- Add the chicken pieces to the buttermilk mixture, ensuring all pieces are submerged. Cover the bowl and refrigerate for at least 4 hours, or preferably overnight, for maximum tenderness.
- In a separate shallow dish, whisk together the flour, cornstarch, and baking powder. This mixture creates the ultimate crunchy coating.
- Remove the chicken from the marinade, letting excess buttermilk drip off, but do not rinse.
- Dredge each piece of chicken thoroughly in the flour mixture, pressing the coating firmly onto the chicken to create a thick crust. For extra crunch, dip the floured chicken back into the remaining buttermilk for a quick second dip, then coat again in the flour mixture (double-dip method).
- Heat 2 to 3 inches of oil in a large, heavy-bottomed pot or Dutch oven to 325 degrees Fahrenheit. Use a thermometer to monitor the temperature; maintaining this heat is key for juicy meat.
- Carefully place the chicken pieces into the hot oil, ensuring you do not overcrowd the pot. Fry in batches.
- Fry drumsticks and thighs for about 12 to 15 minutes, turning occasionally, until deep golden brown and cooked through (internal temperature of 165 degrees Fahrenheit). Breast pieces may require slightly less time.
- Remove the cooked fried chicken from the oil and place it on a wire rack set over a baking sheet to drain excess oil. Do not place directly on paper towels, as this steams the bottom crust.
- Let the chicken rest for 5 minutes before serving your classic fried chicken.
Notes
- For the best results, keep your oil temperature steady between 315°F and 330°F while frying. If the oil is too hot, the outside burns before the inside cooks.
- If you are cooking larger pieces like breasts, you can finish them in a 350 degree Fahrenheit oven for 5 minutes after frying to guarantee they reach a safe internal temperature without burning the crust.
- The cornstarch in the dredge is the secret ingredient for that restaurant-style, extra-crispy fried chicken coating.
Nutrition
- Serving Size: 1 piece
- Calories: 450
- Sugar: 3
- Sodium: 650
- Fat: 28
- Saturated Fat: 8
- Unsaturated Fat: 20
- Trans Fat: 0.5
- Carbohydrates: 18
- Fiber: 1
- Protein: 30
- Cholesterol: 110