
Hello and welcome to Frosted Fancies! I’m Katie, and trust me, you are about to unlock the secret to the most incredible dessert you’ll ever make with minimal effort: the **Basque Cheesecake**.
If you’ve been dreaming of that signature deeply caramelized, almost-burnt top but dread the fuss of a water bath or the mess of a fussy crust, you’ve come to the absolute right place. This San Sebastian Cheesecake recipe is my tested and perfected method designed for home cooks who want gourmet results without the headache.
My background is in food science and professional recipe development, which means I’ve figured out exactly where things go wrong. That’s why this crustless cheesecake recipe is foolproof—it skips all the unnecessary steps and nails that rich, velvety smooth center every single time. Get ready to impress everyone!
- Why This Basque Cheesecake Recipe Works Every Time
- Gathering Your Ingredients for the Ultimate Basque Cheesecake
- Step-by-Step Instructions: How to Make Basque Cheesecake
- Tips for Success with Your Crustless Cheesecake Baking
- Serving Suggestions for Your Basque Cheesecake
- Storage and Reheating Instructions for Easy Burnt Dessert
- Frequently Asked Questions About San Sebastian Cheesecake
- Nutritional Snapshot for This Creamy Cheesecake Recipe
- Share Your Basque Cheesecake Creations
Why This Basque Cheesecake Recipe Works Every Time
So, why is this recipe the go-to for so many people? Honestly, it’s because we cut out all the needless stress that makes traditional cheesecakes so intimidating!
This version of the **Basque Cheesecake** is brilliant because it demands simplicity. It’s the definition of an elegant yet effortless dessert. You’ll see why home cooks love this approach when you look at what makes that signature crackle and creaminess happen.
- No Crust Fuss: We skip the entire crust step, saving you time, mess, and ingredients. This is pure, glorious **crustless cheesecake baking**.
- No Water Bath Drama: Seriously, ditch the roasting pan! The high-heat method manages the cooking perfectly.
If you want to see another amazing take on this incredible treat, check out this excellent recipe for the best ever version: Best-Ever Basque Cheesecake.
Achieving the Signature Caramelized Top Dessert
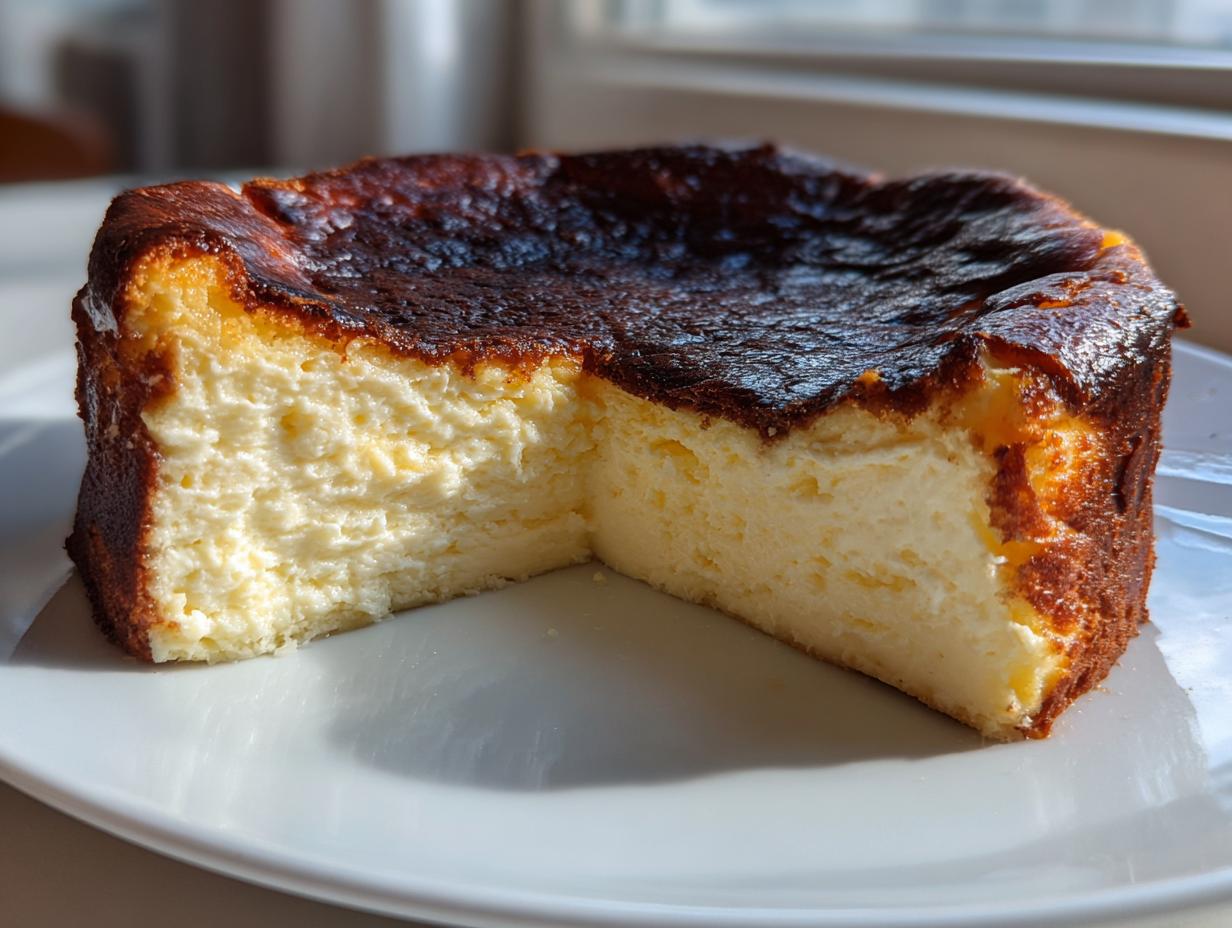
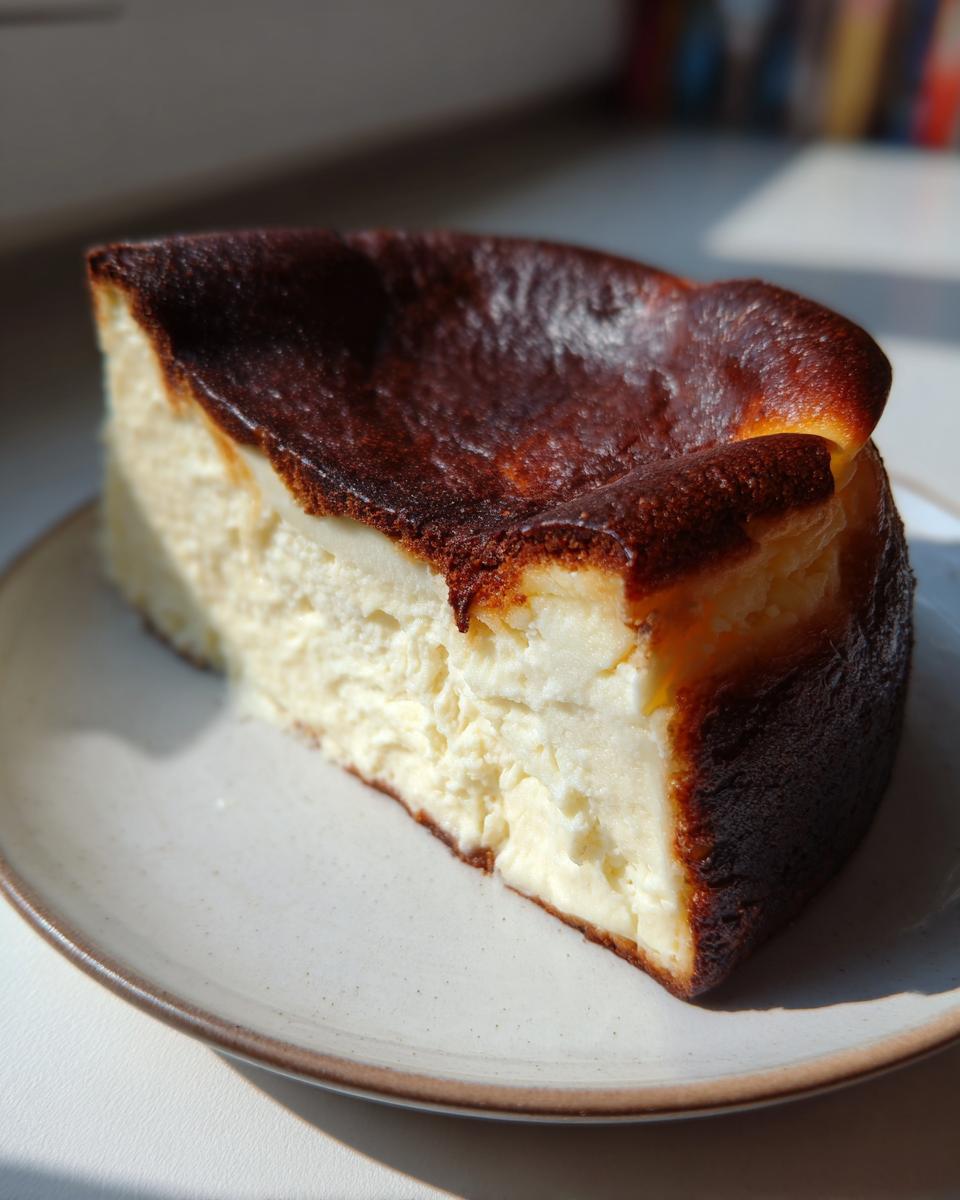
The ‘burnt’ look isn’t accidental—it’s science! We hit the batter with high heat (400°F!) right away. This causes the sugars on the surface to caramelize intensely, giving us that deep, dark, slightly bitter contrast that makes the sweet interior of the **Basque cheesecake** sing. Don’t panic when it looks dark; that’s exactly what you want for that iconic **caramelized top dessert** finish!
The Secret to a Velvety Smooth Cheesecake Filling
Texture is everything here, right? Achieving that **velvety smooth cheesecake filling** all comes down to two things I learned in food science: temperature and mixing. You absolutely must use room-temperature cream cheese and eggs. Cold ingredients clump! Also, once those eggs are in, you just mix until they barely disappear. Overmixing whips in too much air, which leads to a tough, dry cake, not the decadent, quivering center we’re aiming for.
Gathering Your Ingredients for the Ultimate Basque Cheesecake
Alright, the beauty of this **easy burnt dessert** is just how few ingredients you need. It’s shockingly simple, which makes it perfect for when you need to pull off an **impressive holiday dessert** without spending hours in the kitchen. Remember, quality matters here since there are so few components! We’re talking about the magic ratio that produces that incredible **creamy cheesecake recipe** outcome.
You’ll want to gather everything before you even think about turning on the mixer. Here is exactly what you need for a flawless 9-inch cheesecake:
- 900g cream cheese, softened to room temperature
- 1 1/4 cups granulated sugar
- 6 large eggs, room temperature
- 2 cups heavy cream
- 1 teaspoon vanilla extract
- 1/4 teaspoon salt
- 1/4 cup all-purpose flour
For external reference, especially if you want to check visuals as you go, this guide has great shots: Basque Cheesecake. Also, if you need more reassurance on technique, check out the tips here: Easy Basque Burnt Cheesecake Recipe.
Essential Ingredient Notes and Substitutions
I have a few non-negotiable rules, thanks to my time spent studying food chemistry, especially for a **no crust cheesecake**!
First off, only use full-fat cream cheese. Please, please skip the reduced-fat stuff! The fat content is crucial for that decadent mouthfeel and helps stabilize the bake. Second, and I can’t stress this enough: **room temperature** dairy and eggs are mandatory. If your cream cheese is cold, you will get lumps, and lumps mean you’ll overmix trying to get rid of them, which ruins that **gourmet yet easy dessert** texture.
We stick to granulated sugar here because it helps achieve that lovely crust development during the high-heat bake. Don’t try swapping it for powdered sugar; it breaks down too quickly! If you follow these guidelines, you are set up for success.
Step-by-Step Instructions: How to Make Basque Cheesecake
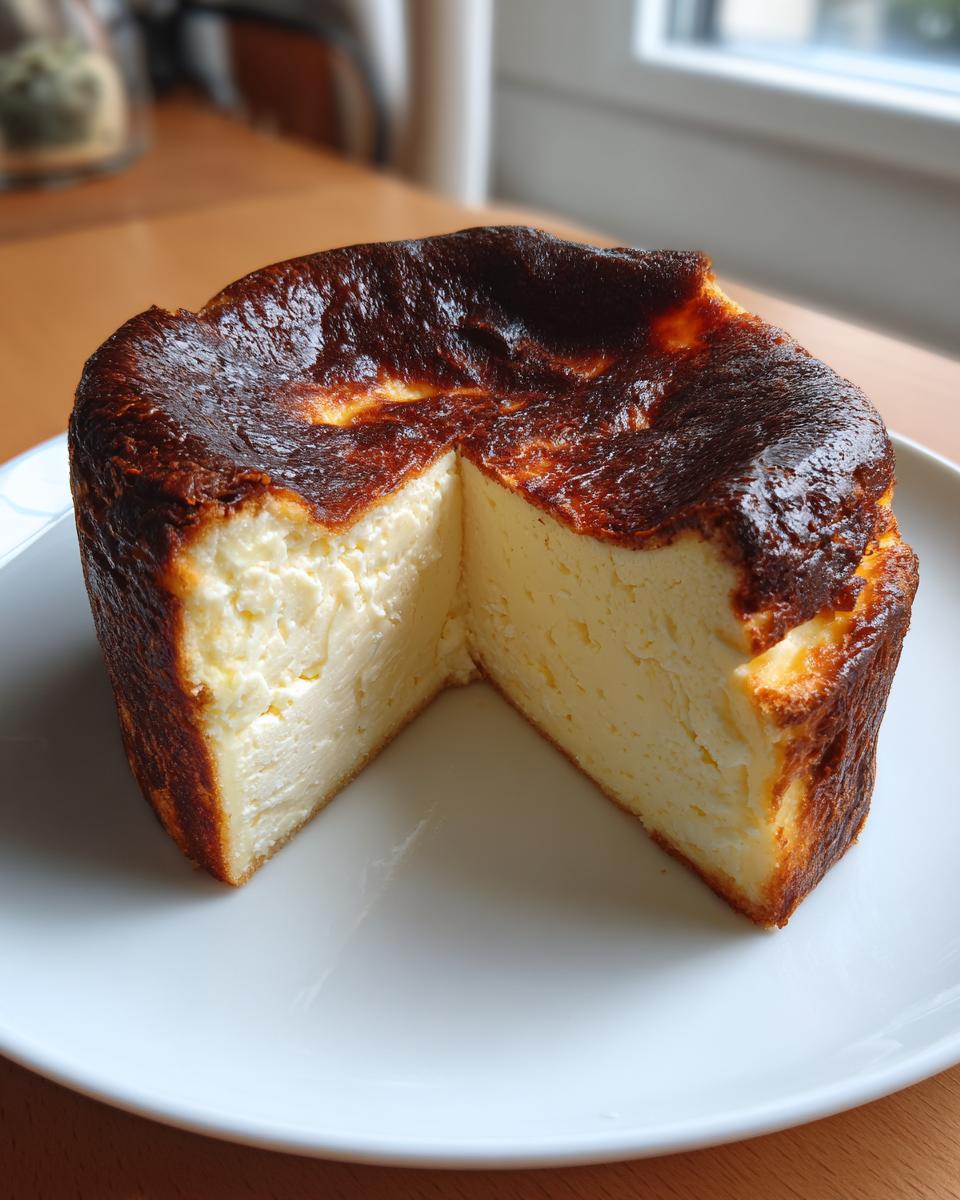
Okay, let’s actually get this amazing **simple baked cheesecake** in the oven! This process is so satisfying because you see that gorgeous, rustic look forming right before your eyes. Trust me, watching this thing bake is half the fun, and the smell is just incredible. We’re aiming for that famous **San Sebastian cheesecake** look.
For external reference, especially if you want to check visuals as you go, this guide has great shots: Basque Cheesecake. Also, if you need more reassurance on technique, check out the tips here: Easy Basque Burnt Cheesecake Recipe.
Preparing the Pan for a Rustic Basque Cheesecake Look
First things first, oven preheat to 400°F (200°C). Now, for the paper—this is key for the look! You need a 9-inch springform pan, and you’re going to line it with *two* sheets of parchment paper. I mean it—two layers! Press them down into the pan so they stick up super high over the edges. When it bakes, the paper will crinkle and create those high, ruffly, rustic sides that everyone recognizes. This step basically guarantees you a perfect, **crustless cheesecake baking** surface.
Mixing the Velvety Smooth Cheesecake Filling
We start slow to avoid lumps! Grab your mixer and beat the softened cream cheese on medium just until it’s completely smooth—about two minutes. Scrape the sides. Next, add the sugar gradually until it’s creamy. Now, the eggs go in one by one. Beat well after each addition, but stop mixing as soon as it’s incorporated! This is crucial advice from my food science days: don’t overbeat the eggs, or you’ll introduce air we don’t want. Finally, gently mix in the heavy cream, vanilla, and salt. Sift the flour right over the top and mix on the lowest speed until *just* combined. You’ll notice the batter is very thin—that’s exactly right for the amazing center we want!
Baking and Cooling for Perfect Texture
Pour that thin batter into your prepared, crinkly pan and slide it into the hot oven. Bake it for 50 to 60 minutes. How do you know when it’s done? Forget the toothpick! You’re looking for a top that is deeply caramelized, maybe even a little black in spots (that’s the flavor!). The edges should look set, but when you gently shake the pan, the center needs to have a significant wobble—like soft custard. Let it cool completely on a rack for two hours at room temperature. It will deflate—this is normal! After that rest, cover it loosely and chill it for a minimum of 6 hours, but honestly, overnight is best for the ultimate texture. For more baking tips, look here: Burnt Basque Cheesecake.
Tips for Success with Your Crustless Cheesecake Baking
Now that you know the steps, I want to share a few extra pointers—the kind of cheat sheets that take a great **Basque Cheesecake** and make it truly unforgettable. Trust me, these little tweaks from my professional kitchen days really separate the good bakes from the legendary ones.
The number one rule is consistency in ingredients. When you’re aiming for a **creamy cheesecake recipe** like this, temperature control is your best friend. Don’t rush the softening process for the cream cheese!
Here are my secrets for that amazing interior and iconic exterior:
- Don’t Peek During Baking: Resist the urge to open the oven door too early! The drastic temperature change can cause the unset center to collapse or deflate unevenly before it has had a chance to structure itself. Let that high heat do its job undisturbed.
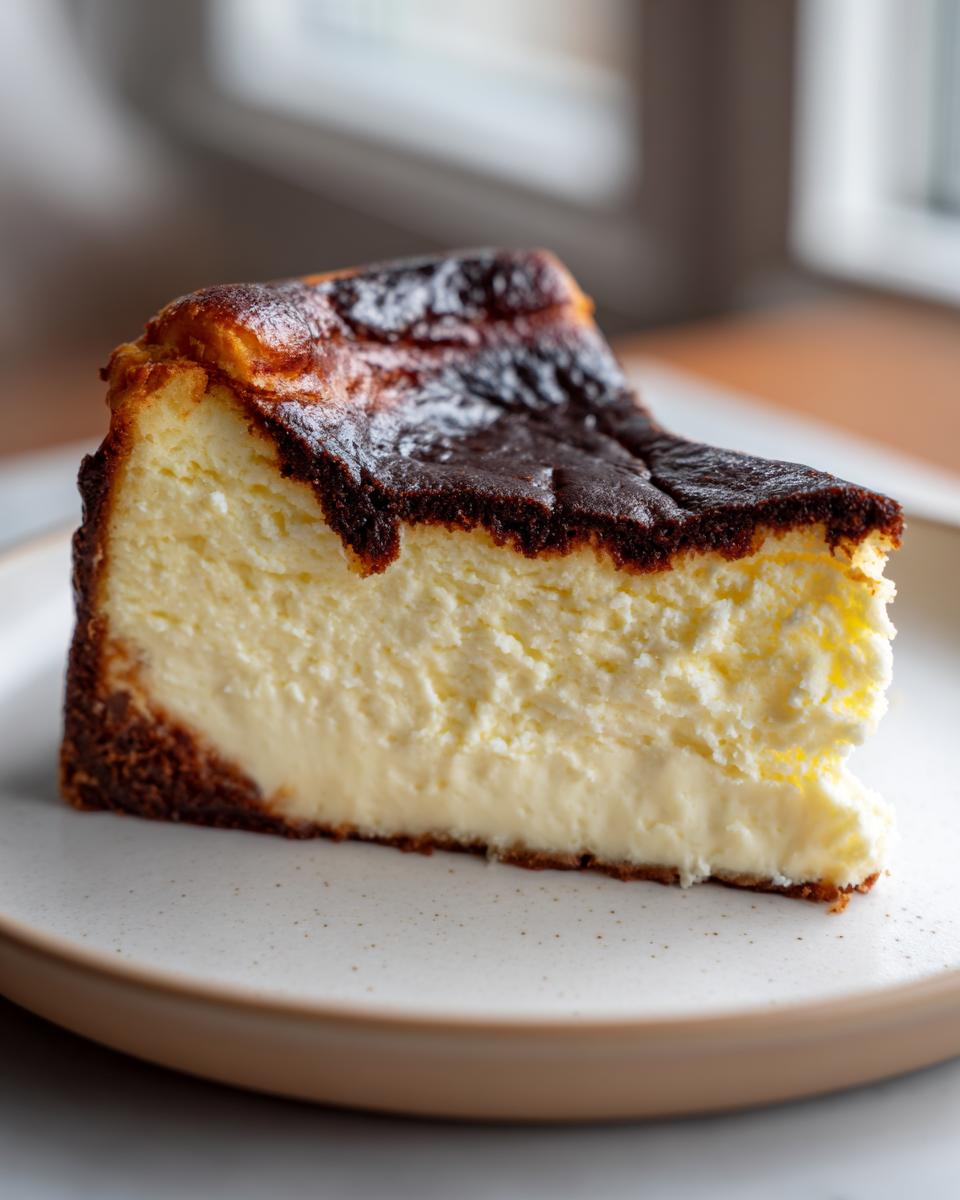
- The Overnight Chill is Not Optional: While you can eat this warm for a soufflé-like experience, for that truly dense, rich, and **velvety smooth cheesecake filling**, you need a minimum of six hours, but preferably overnight chilling. This allows the custard to set fully without being cold like a New York cheesecake.
- Room Temperature Serving: This is a fascinating trick for this dessert. After chilling, let the **San Sebastian cheesecake** sit out on the counter for about 30 to 45 minutes before slicing. Serving it slightly warmer than fridge temperature enhances the creaminess dramatically. If it’s straight from the cold, it sets up too firm.
Grab some inspiration for amazing presentations here: Basque Cheesecake. Following these tips ensures you serve up a bakery-style experience right at home!
Serving Suggestions for Your Basque Cheesecake
Okay, the waiting is the hardest part, but once your glorious **Basque Cheesecake** has chilled overnight, it’s time for the grand finale—serving! Honestly, the best part about this particular **creamy cheesecake recipe** is that it looks so dramatic and impressive all on its own. It’s the perfect centerpiece for **elegant dinner party desserts**!
While the temptation is to slice into it immediately after pulling it from the fridge, please hear me out: temperature matters!
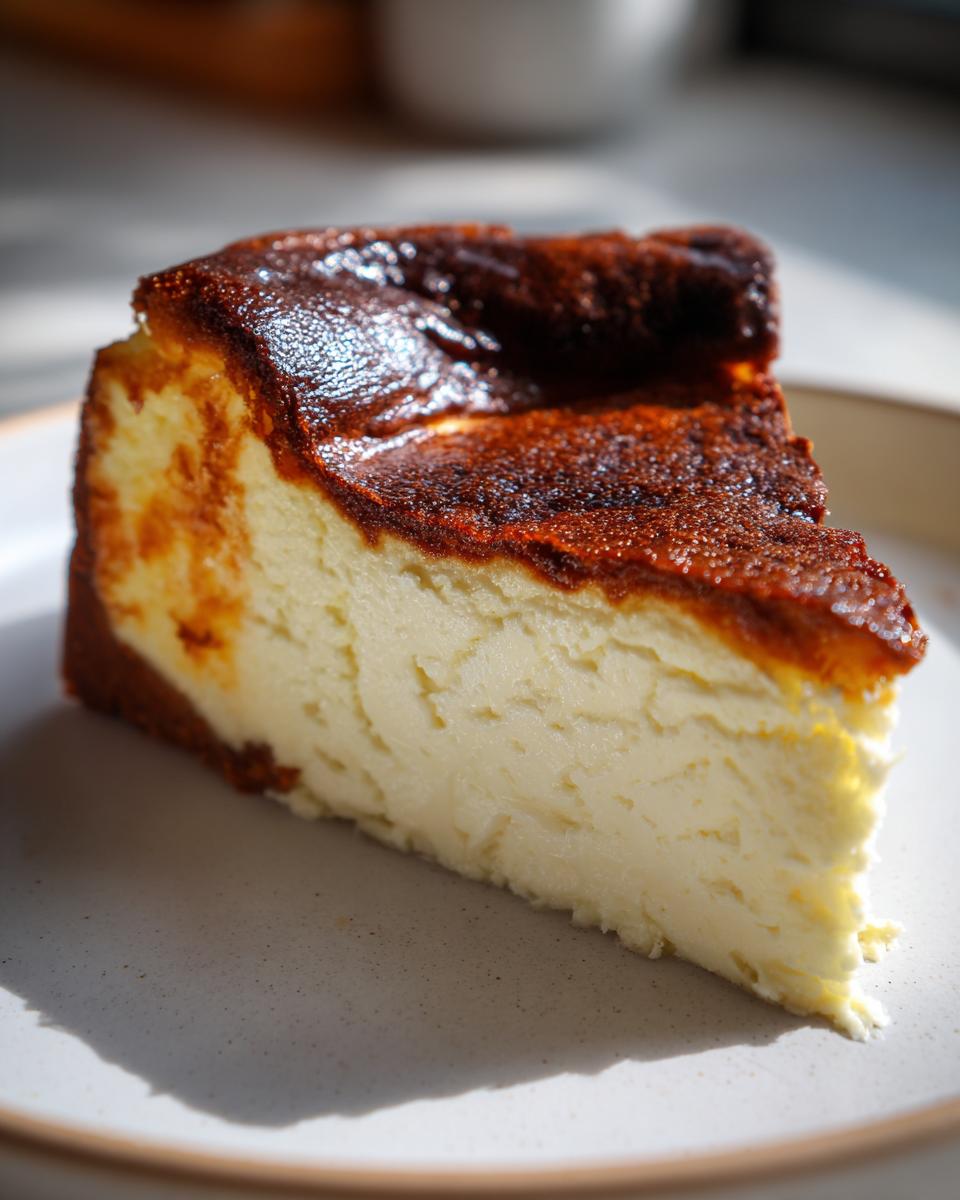
When served straight from the cold, this cheesecake is firm and wonderfully dense, which some people enjoy for that pure, rich texture. However, if you want that truly melt-in-your-mouth, almost custard-like experience—that signature **velvety smooth cheesecake filling**—you have to let it warm up a bit first. Take it out of the refrigerator about 30 to 45 minutes before you plan to serve. It just transforms!
Since this dessert is rich, you don’t need a ton of fancy toppings. A simple dusting of powdered sugar works wonders, but I also love to offer a light, contrasting element on the side.
- Fresh Berries: A simple bowl of seasonal raspberries or blackberries offers a lovely tartness to cut through the richness.
- A Light Drizzle: If you want something extra, keep the drizzle minimal. A high-quality balsamic reduction or a dash of raspberry coulis is phenomenal. Skip the heavy caramel sauces; the top of the cake already handles the caramelized flavor component perfectly!
- Coffee or Tea: This is a sophisticated dessert, so serving it alongside a strong espresso or bold black tea really enhances those deep, nutty notes from the crustless bake.
Don’t forget to check out how others are presenting this masterpiece over at Basque Cheesecake homemade delight for some rustic serving inspiration!
Storage and Reheating Instructions for Easy Burnt Dessert
I know it’s hard to imagine leftovers existing after you make this **Basque Cheesecake**, but trust me, having a slice for breakfast the next day is totally allowed! Since this is a very decadent and rich **easy burnt dessert**, it actually keeps wonderfully well.
Once you’ve finished slicing and admiring your work, you need to store the remainder properly to maintain that fantastic texture we worked so hard for. Cover the cheesecake tightly—and I mean tightly—with plastic wrap or place it in an airtight container. Make sure it’s protected from any odors in the fridge.
It stays perfectly good in the refrigerator for up to four or five days. Honestly, the texture often seems even denser and richer on day two or three, which is a treat!
If you plan on serving leftovers, remember my golden rule about temperature! You don’t want to eat it rock solid from the fridge. Simply take the slice you want about 30 to 45 minutes before you plan to devour it. That quick time out on the counter allows it to soften just enough to bring back that incredible creaminess. It truly transforms the experience!
If you’re looking for some extra inspiration on presentation even with leftovers, you might find some fun ideas on this site: Secret to Burnt Basque Cheesecake.
Frequently Asked Questions About San Sebastian Cheesecake
I know that seeing a recipe like this can bring up a few totally normal questions. Don’t worry! Based on what I hear from other home cooks, here are the things you probably want to know before you bake your own **creamy cheesecake recipe**.
Why is the top supposed to look burnt? Isn’t that a mistake?
This is the number one question! Absolutely not! The deeply caramelized, almost black top is what defines authentic **Basque Cheesecake**. The high, fast heat creates a wonderful, slightly bitter, smoky counterpoint to the super sweet and rich interior. If yours isn’t dark, it often means your oven temperature wasn’t quite high enough. Embrace the burn!
Why did my cheesecake sink so much when it cooled?
It’s supposed to sink! Seriously, a big, puffy dome when it comes out of the oven is a sign it was slightly over-baked or over-mixed. This **crustless cheesecake baking** method results in a batter that’s very high in cream and cheese, which means it acts like a delicate custard. It’s meant to deflate dramatically as it cools, giving you that lovely sunken center ready for that perfect **velvety smooth cheesecake filling**.
Can I bake this in a loaf pan instead of a springform?
Yes, you totally can! A lot of people love making a **loaf pan cheesecake recipe** because it feels more intimate or easier to store. Just remember that a deeper loaf pan requires longer baking time since the heat has further to travel to the center. Check out some great tips on adjusting the size here: The Best Basque Cheesecake Loaf.
Do I really need to chill it overnight for the best result?
For that ultimate, dense, fudgy texture that people rave about, yes, chilling overnight is my recommendation. If you want a lighter, more soufflé-like texture, chilling for about 3–4 hours will work, but for that classic, rich experience—which you get from the best Basque Cheesecake—let it sit overnight!
Nutritional Snapshot for This Creamy Cheesecake Recipe
I know that while we bake for love and flavor, sometimes we need a general idea of what we’re serving up! Because this **creamy cheesecake recipe** is packed with full-fat dairy, it certainly falls into the indulgent category, which is just fine for a special treat.
I ran the numbers based on the recipe proportions using standard USDA estimates. Keep in mind these are just guidelines—your brand choices for cream cheese and cream will shift things slightly!
Here is the approximate nutritional breakdown for one generous slice of this **Basque Cheesecake**:
- Serving Size: 1 slice
- Calories: 450
- Fat: 35g
- Saturated Fat: 22g
- Carbohydrates: 28g
- Sugar: 35g (Yes, it’s high, but that’s how we get the gorgeous caramelization!)
- Protein: 8g
- Cholesterol: 180mg
This dessert is definitely rich, so remember that a little slice goes a long way! For more insight into making sure your bake is perfect, you can always check out these great tips: The Secret to a Perfect Burnt Basque Cheesecake.
A quick note from Katie: Remember, these figures are estimates based on the ingredients listed. If you use a lighter cream or different sugar, your final count will change!
Share Your Basque Cheesecake Creations
I truly hope you loved making this **San Sebastian Cheesecake** as much as I love sharing it with you! Now that you’ve experienced the incredible flavor and texture, please leave a rating below. Tell me all about your bake—did you manage that perfect wobble? Feel free to share photos of your beautifully caramelized tops on social media!
Seeing your success is what makes creating these recipes worthwhile. Don’t be shy; tag me so I can marvel at your amazing **Basque Cheesecake** work! For inspiration on your next bake, feel free to check out this recipe: Burnt Basque Cheesecake Recipe Easy.
PrintThe Ultimate Easy & Creamy Burnt Basque Cheesecake Recipe (No Crust, No Water Bath)
Welcome! You are about to make the best Basque Cheesecake, also known as San Sebastian Cheesecake. This recipe delivers the signature caramelized top and an irresistibly creamy, velvety smooth center with minimal effort. You need no crust and no water bath for this simple baked cheesecake.
- Prep Time: 15 min
- Cook Time: 60 min
- Total Time: 7 hours 15 min
- Yield: 10 servings 1x
- Category: Dessert
- Method: Baking
- Cuisine: Spanish
- Diet: Vegetarian
Ingredients
- 900g cream cheese, softened to room temperature
- 1 1/4 cups granulated sugar
- 6 large eggs, room temperature
- 2 cups heavy cream
- 1 teaspoon vanilla extract
- 1/4 teaspoon salt
- 1/4 cup all-purpose flour
Instructions
- Preheat your oven to 400°F (200°C). Line a 9-inch springform pan with two large sheets of parchment paper, pressing them into the pan so they stick up high over the sides. This creates the rustic look.
- In a large bowl, beat the softened cream cheese with an electric mixer on medium speed until completely smooth, about 2 minutes. Scrape down the sides.
- Gradually add the sugar and beat until fully combined and creamy.
- Add the eggs one at a time, beating well after each addition until just incorporated. Do not overmix once the eggs are added.
- Slowly mix in the heavy cream, vanilla extract, and salt until the batter is uniform.
- Sift the flour over the batter and gently mix on low speed until just combined. The batter will be thin.
- Pour the batter into the prepared pan.
- Bake for 50 to 60 minutes. The top should be deeply caramelized, almost black in spots, and the edges should be set. The center should still have a significant wobble, like a soft custard.
- Remove the cheesecake from the oven. Let it cool completely on a wire rack at room temperature for about 2 hours. The center will deflate as it cools.
- Once cool, cover the pan loosely with plastic wrap and chill in the refrigerator for at least 6 hours, or preferably overnight, for the best creamy texture.
- To serve, carefully remove the sides of the springform pan and peel away the parchment paper. Serve this elegant dinner party dessert at room temperature for the creamiest result.
Notes
- Use full-fat cream cheese for the best rich flavor and texture.
- Ensure all dairy ingredients are at room temperature to prevent lumps in your batter.
- For a denser texture, chill the cheesecake overnight. For a more soufflé-like, velvety smooth cheesecake filling, serve after cooling for 2-3 hours at room temperature.
- This crustless cheesecake recipe is perfect for making ahead of time.
Nutrition
- Serving Size: 1 slice
- Calories: 450
- Sugar: 35g
- Sodium: 250mg
- Fat: 35g
- Saturated Fat: 22g
- Unsaturated Fat: 13g
- Trans Fat: 0.5g
- Carbohydrates: 28g
- Fiber: 0g
- Protein: 8g
- Cholesterol: 180mg