
Hello and welcome! I’m so happy you stopped by Frosted Fancies today. Can we just agree that that thin, sometimes plasticky store-bought eggnog is a huge holiday disappointment? It just never measures up to what a true festive drink should be! That’s why I had to perfect this Homemade Eggnog Recipe for you. After years in recipe development labs, using my Food Science background, I can guarantee this method delivers the rich, thick, and perfectly creamy texture you dream about. Trust me, once you try this from scratch, you’ll retire the carton for good!
- Why This Homemade Eggnog Recipe Delivers the Best Creamy Holiday Beverage
- Ingredients for Your Classic Eggnog Drink
- Easy Eggnog Instructions: Mastering the Stovetop Eggnog Technique
- Making Eggnog At Home: Alcoholic vs. Non Alcoholic Eggnog Options
- Tips for Success with Your Spiced Holiday Custard Drink
- Serving Suggestions for Your Festive Christmas Drinks
- Storage & Reheating Instructions for Homemade Eggnog
- Frequently Asked Questions About Making Eggnog
- Estimating the Nutrition for This Creamy Holiday Beverage
Why This Homemade Eggnog Recipe Delivers the Best Creamy Holiday Beverage
This isn’t just another weak, watery holiday drink, friends. We are making the Best From Scratch Eggnog here, and it relies on classic cooking smarts. The secret to getting that Rich and Velvety Eggnog texture lies entirely in heating the milk and eggs slowly on the stove. Why? Because we are creating a cooked custard base instead of just whisking ingredients aggressively like some recipes suggest!
- The stovetop method ensures the egg proteins gently bind the liquids together, creating stability and that luxurious thickness.
- We use a higher ratio of egg yolks to milk, which boosts the creamy fat content significantly.
- It’s the precise heat control, an area I focus on heavily thanks to my development background, that keeps the eggnog smooth and never grainy.
If you want to avoid that sad, thin texture, you simply must follow the cooking steps closely. You can see a great example of why this process works so well when you read about other easy homemade options, like the tips shared over at this site.
Achieving That Perfect Thick Winter Drink Texture
For a show-stopping, Thick Winter Drink, the egg yolks are your rock stars. They act as a natural emulsifier and thickener when heated correctly. Tempering, which we cover in detail next, is what introduces them to the heat without scrambling them into little bits. We carefully build that structure so that when the eggnog chills, it firms up beautifully into that perfect, spoon-coating consistency.
Ingredients for Your Classic Eggnog Drink
Okay, let’s talk what you need! I love how simple the core ingredients are for this Best From Scratch Eggnog—it’s usually stuff you already have on hand for the holidays. Remember, quality matters here because there’s nowhere for sub-par ingredients to hide! We need six large egg yolks, three-quarters cup of white sugar, and just a small pinch of salt to wake everything up. Then for the creamy base, it’s one full pint of whole milk and one full pint of heavy cream.
For flavor, grab that good vanilla extract—don’t skimp! We’re going heavy on the warm spices: about a quarter teaspoon of fresh ground nutmeg and just a whisper of cinnamon. And for the grown-up version, make sure you have your spirit choice ready! I often use bourbon or dark rum, but cognac or brandy works beautifully too. You can see some other great pairings reviewed over at this site for inspiration!
Easy Eggnog Instructions: Mastering the Stovetop Eggnog Technique
Alright, this is where the magic—and the slight tension—happens! If you follow these Easy Eggnog Instructions precisely, you’ll nail the Stovetop Eggnog Technique every single time and end up with that luscious eggnog texture. First, whisk your yolks, sugar, and salt until they are pale and look fluffy in a separate bowl—that simple mixing builds the flavor foundation.
Next, heat your milk and cream in a heavy saucepan over medium heat until tiny bubbles start forming right at the edges, but seriously, do not let it boil! Now, pay very close attention to the tempering step. This is vital for success! If you want more inspiration on classic methods, check out the guide over at this site.
Crucial Step: Tempering the Yolks for Smooth Eggnog
This part requires focus, but it’s really simple once you get the rhythm. You need to pour about one cup of that hot milk mixture *very slowly* into your egg yolks while whisking non-stop. I mean it—whisk like your life depends on it! If you dump it in fast, the heat will instantly scramble those yolks, and you’ll end up with bits instead of a smooth base. We are gently introducing the eggs to the heat so they can learn how to thicken everything properly.
After that cup is combined, pour the warmed egg mixture back into the saucepan with the rest of the milk and cream. Now, cook this over medium-low heat, stirring constantly with a spatula—scrape the bottom so nothing burns—until the mixture coats the back of the spoon. That’s when you know you’ve hit that beautiful 170°F custard stage! Immediately yank it off the heat.
Chilling for the Ultimate Rich and Velvety Eggnog
After you strain the mix through a fine-mesh sieve (yes, do this every time, it catches any tiny cooked bits), stir in your spices and any alcohol if you are making the boozy version. Then, cover the surface directly with plastic wrap—this keeps that ugly film from forming on top.
But here’s the final secret to that signature Rich and Velvety Eggnog: you MUST chill it. Four hours is fine, but I always urge readers to chill it overnight. That resting time lets the flavors deepen and allows that consistency to truly transform into the best Thick Winter Drink you’ve ever tasted. If you’re looking for quick results, sometimes people make a quicker version, though I highly recommend the long chill, which you can see detailed over at this blog!
Making Eggnog At Home: Alcoholic vs. Non Alcoholic Eggnog Options
One of the best things about making your own eggnog is that you get to be the boss of the booze, or lack thereof! This is such a welcoming Holiday Party Beverage because it’s simple to cater to everyone. If you want the classic, warming Christmas kick, you’ll stir in a cup of your favorite spirit right after you’ve taken the custard mixture off the heat. I usually reach for that nice bourbon, but a good dark rum or even brandy makes this Classic Eggnog Drink feel extra special.
Now, if you are hosting little ones or just prefer skipping the spirits, making a Non Alcoholic Eggnog is just as easy and tastes completely fantastic. You follow every single step exactly the same way—the chilling, the tempering, the spices—and you just skip Step 6 entirely! You still get that amazing, rich base. If you’re looking for dedicated tips on ensuring your non-alcoholic version is just as luxurious, check out the great advice at this site. It proves that alcohol isn’t the only pathway to holiday cheer in a glass!
See? Versatility is key when you’re hosting! Whether you lace it with a spirit or keep it clean, the cooking technique guarantees that wonderful, thick texture we worked so hard to achieve for our Festive Christmas Drinks.
Tips for Success with Your Spiced Holiday Custard Drink
You put the hard work in to create that perfect base, so let’s talk about pulling it across the finish line flawlessly! The most crucial thing for this Spiced Holiday Custard Drink is treating it gently, especially after it’s cooked. Remember those notes I talked about earlier? They are golden nuggets of wisdom!
For the absolute richest flavor, you really need to follow the temperature guideline. Using a thermometer might seem fussy, but when you’re making a custard, it’s your best friend; aiming for 170°F ensures it’s perfectly safe and thick without curdling. Also, don’t settle for pre-ground spices! The fresh pop you get from freshly grated nutmeg and quality cinnamon in your Eggnog with Nutmeg and Cinnamon blend makes the whole difference.
And please, put the plastic wrap right onto the surface before chilling. Nobody wants skin on their luxurious eggnog! For more inspiration on classic preparations, you can always check out what others are doing with their creamy holiday drinks over at this lovely blog.
Serving Suggestions for Your Festive Christmas Drinks
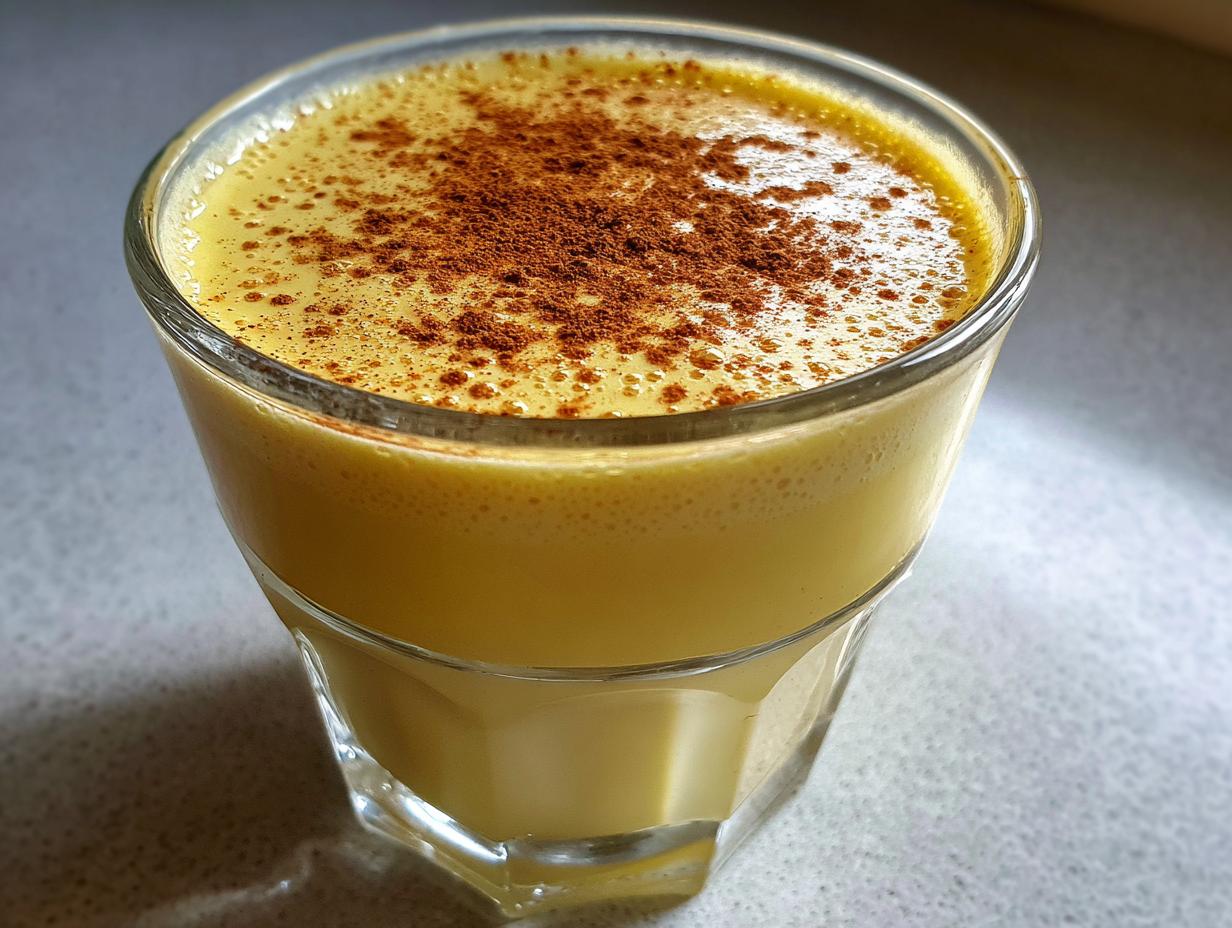
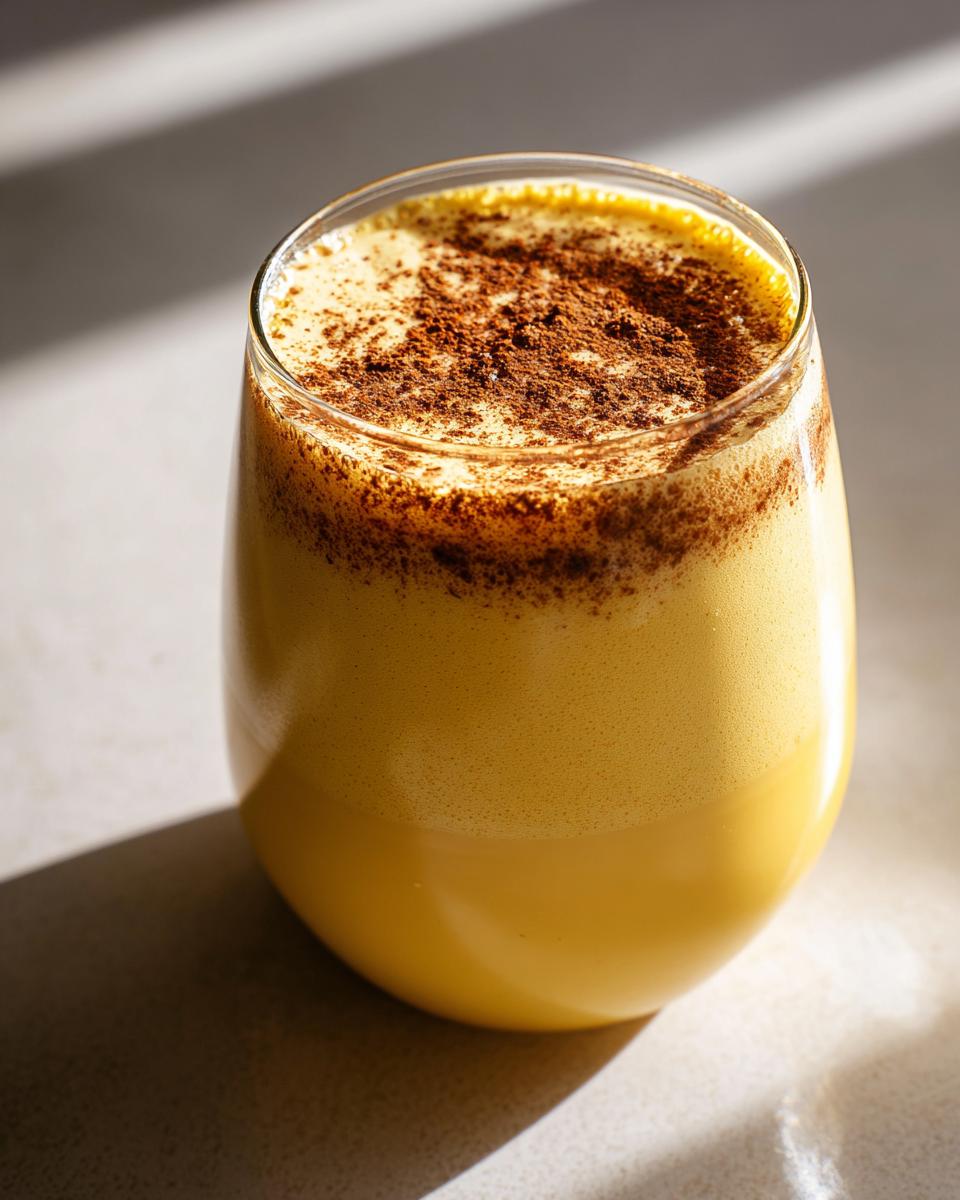
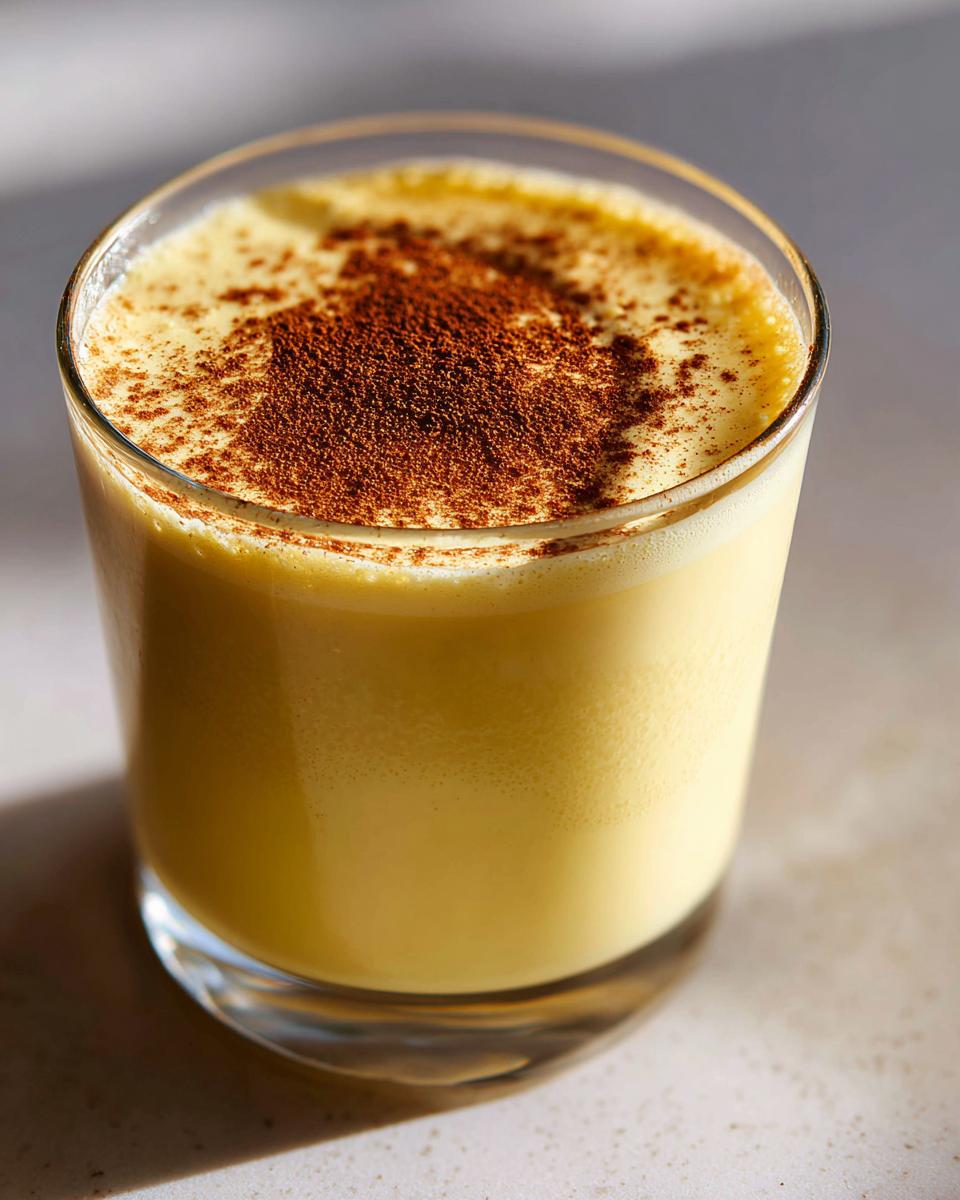
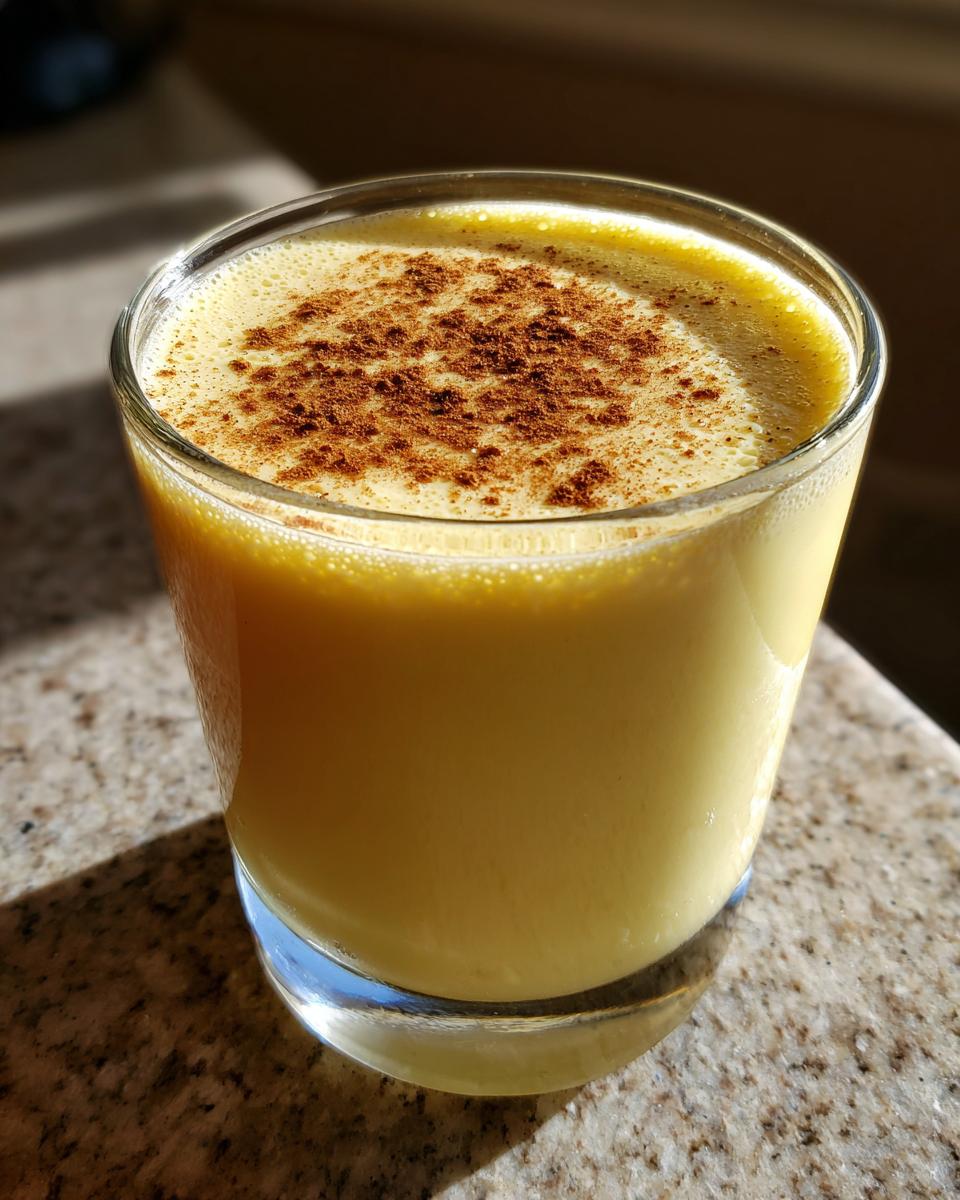
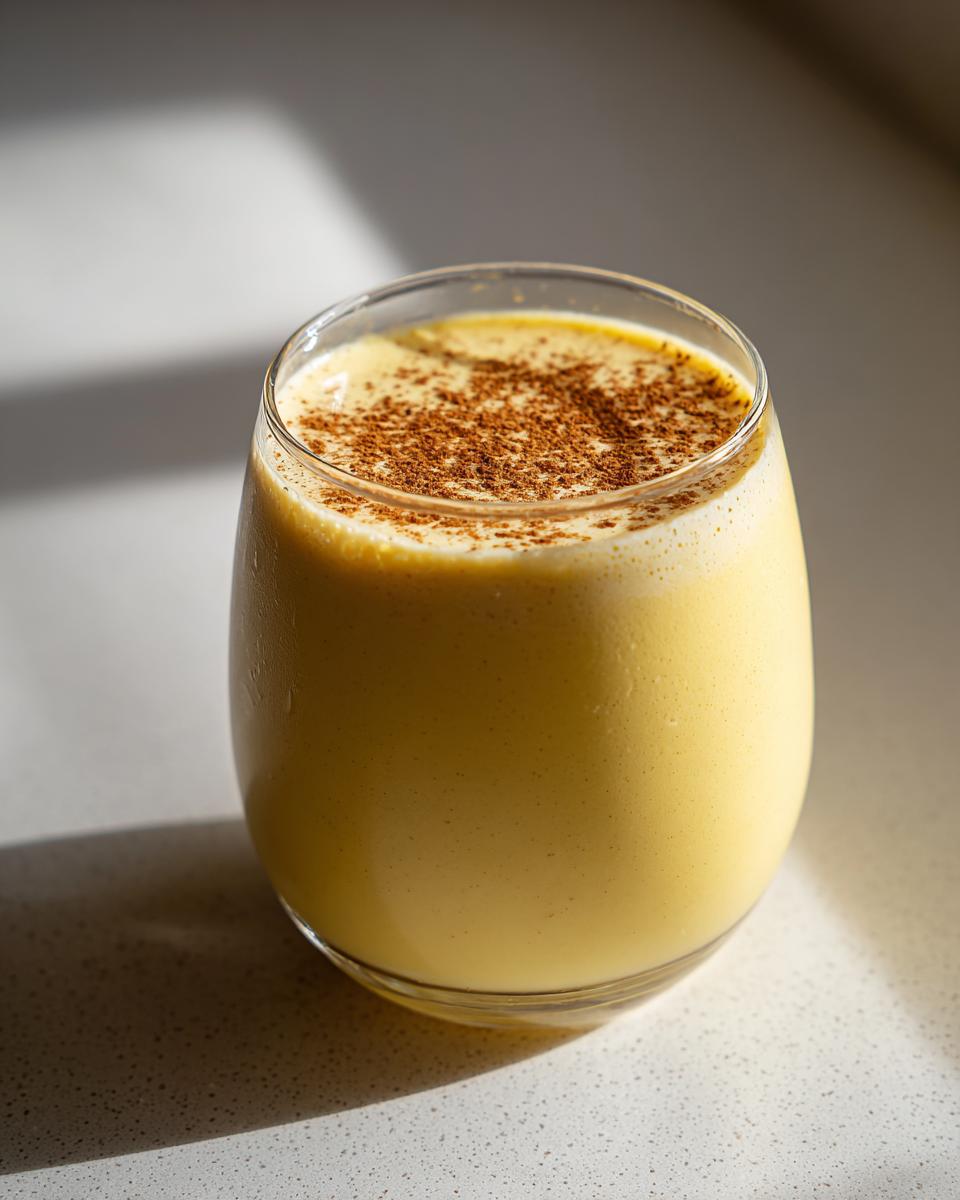
Now for the fun part! You’ve created this incredible, Creamy Holiday Beverage, and it deserves a brilliant presentation. Since this eggnog has been chilling and getting perfectly thick, it should be deliciously cold straight from the fridge. The absolute must-have garnish, which I stressed in the recipe steps, is a generous dusting of freshly grated nutmeg right before serving. That scent hitting the air as you hand someone a glass? Nothing beats it!
For the best presentation, use nice, heavy glassware. Small punch glasses or classic short tumblers make this feel fancy without being fussy. If you’re serving this as part of a big spread, make sure you have a nice pitcher ready to go. Everybody loves spooning out this thick treat!
But if you want to elevate it just a little further for a special **Holiday Party Beverage**, try using that chilled base to create a quick custom drink. While we aren’t making a full cocktail here, you can easily lean into the spirit options you added. For instance, instead of just drinking it straight, pour a small glass and top it with just a splash of extra good dark rum, or better yet, try making my simple two-ingredient version of the Eggnog Old Fashioned. I keep the recipe simple over here if you want to see how! It takes our Festive Christmas Drinks game up a notch for the adults.
This perfect Homemade Eggnog Recipe also pairs beautifully with almost any holiday sweet. Think about setting out shortbread cookies or a slice of warm gingerbread cake right next to the punch bowl. The richness of the eggnog cuts through the buttery cookie perfectly. Enjoy this masterpiece you made!
Storage & Reheating Instructions for Homemade Eggnog
Because we went to all this trouble to make a beautiful, rich, and silky eggnog custard base, we absolutely want to store it right! The chilling time isn’t just for thickness; it helps it keep safely in the fridge too. If you store this properly, this creamy holiday beverage can easily last for about a week in the refrigerator. That’s great news because it means you can make it a couple of days before your big party!
The most important part of storing it is keeping oxygen away from the top surface. If you just leave it open in the pitcher, you’re going to wake up to a gross skin forming on top—and nobody wants that! Remember when we covered the custard directly with plastic wrap after cooking? Do that again when you put it into its final serving container. Press that plastic wrap right down onto the surface of the eggnog so air can’t get in there to cause trouble.
Now, let’s talk serving temperature. This is a classic, traditional drink that is meant to be served ice cold. That thick texture we worked so hard for naturally loosens up beautifully when it’s fridge-cold. I rarely, if ever, recommend heating it up, as that can break the delicate custard structure we created.
But hey, I know life happens, and maybe you accidentally let it sit out on the counter a little too long while chatting with your guests. If your eggnog gets a bit too warm, don’t panic! Just pop it back into the coldest part of your fridge for an hour or so to firm back up. If you absolutely must warm it up for some reason—maybe you’re mixing it into a strange holiday mush, I don’t know!—only heat it very gently over low heat, just enough to take the chill off, and whisk constantly. Seriously though, for the best experience, serve it cold with an extra grate of fresh nutmeg on top.
Frequently Asked Questions About Making Eggnog
I know you might have a few lingering questions about transforming simple milk and eggs into this amazing eggnog magic! It’s totally normal. When you’re aiming for that perfect, thick result, details matter, but don’t worry, I’ve got you covered with the things I get asked about most often.
Can I make this Classic Eggnog Drink without using a thermometer?
That is such a great question! For the absolute best, most reliable results, especially when you want that professional-level thick texture, I highly recommend using a thermometer. Hitting that 170°F mark is the difference between perfectly set custard and slightly curdled lumps.
However, if you’re in a pinch—maybe you’re rushing before the big holiday bash—you can fall back on the old-school method: the spoon test. After heating and stirring constantly (always keep stirring!), lift your wooden spoon out of the mixture. If you can draw a clean line across the back of the spoon with your finger, and that line stays put without immediately running together, you’ve likely reached the right point. But seriously, for your first time trying my cherished recipe, grab a cheap little thermometer; it takes the guesswork out of achieving that wonderfully thick consistency for your Classic Eggnog Drink.
How long does it take for the eggnog to thicken properly?
This is probably the most common mistake I see people make! You have to understand that your eggnog is actually still a little thin right when it comes off the stove. It thickens dramatically as it cools down. Think of it like gravy, right?
You absolutely must chill it for it to become that spectacular Thick Winter Drink we’re aiming for. The absolute minimum time is four hours in the fridge, but please, please, please—if you can possibly manage it—let it chill overnight! I mean it, 8 hours minimum. That resting time lets the milk fats fully incorporate and the egg custard sets up to its final, smooth, velvety texture. Patience pays off immensely here!
If you want to see how other home cooks manage their timing and texture goals, you can check out some helpful tips over at this wonderful blog!
Estimating the Nutrition for This Creamy Holiday Beverage
I know some of you like to keep track of what you’re serving up at your holiday gatherings, and while homemade is always best, it does mean we have to estimate the nutrition! This is based on the recipe using the optional spirits. Remember, since we are making this from scratch, these numbers are only an educated guess based on the ingredients listed. For a one-cup serving of this rich eggnog, you’re looking at roughly 450 calories, 35 grams of sugar, and about 30 grams of fat.
The protein content is around 10 grams, which is great for a dessert drink! You can definitely adjust that by swapping some of the heavy cream for whole milk if you’re looking to lighten up this deliciously creamy holiday beverage. For other great approaches to your classic drink, it’s always interesting to see how others lay out their numbers, like over at this site!
PrintRich and Creamy Homemade Eggnog Recipe

Make the best homemade eggnog that is thick, creamy, and far superior to store-bought versions. This classic recipe uses stovetop tempering for a rich, velvety texture perfect for holiday gatherings. You can easily make this alcoholic or non-alcoholic.
- Prep Time: 15 min
- Cook Time: 10 min
- Total Time: 4 hr 25 min
- Yield: 6 servings 1x
- Category: Beverage
- Method: Stovetop Cooking
- Cuisine: American
- Diet: Vegetarian
Ingredients
- 6 large egg yolks
- 3/4 cup granulated sugar
- 1/4 teaspoon salt
- 1 pint whole milk
- 1 pint heavy cream
- 1 teaspoon vanilla extract
- 1/4 teaspoon ground nutmeg, plus extra for garnish
- 1/8 teaspoon ground cinnamon
- Optional: 1 cup bourbon, rum, or brandy
Instructions
- In a medium bowl, whisk the egg yolks, sugar, and salt together until the mixture is pale yellow and smooth.
- In a large saucepan, combine the whole milk and heavy cream. Heat over medium heat until steam rises and small bubbles form around the edges, but do not let it boil.
- Temper the eggs: Slowly pour about one cup of the hot milk mixture into the egg yolk mixture while whisking constantly. This step prevents the eggs from scrambling.
- Pour the tempered egg mixture back into the saucepan with the remaining milk and cream.
- Cook over medium-low heat, stirring constantly with a wooden spoon or heatproof spatula, until the mixture thickens enough to coat the back of the spoon. This usually happens when the temperature reaches 170°F (77°C). Do not let it boil.
- Remove the saucepan from the heat immediately. Stir in the vanilla extract, ground nutmeg, and ground cinnamon.
- If making the alcoholic version, stir in your chosen spirit now.
- Pour the eggnog through a fine-mesh sieve into a clean bowl to remove any small cooked egg pieces, ensuring a smooth texture.
- Cover the surface of the eggnog directly with plastic wrap to prevent a skin from forming. Chill in the refrigerator for at least 4 hours, or preferably overnight, until completely cold and thick.
- Serve the cold eggnog in glasses, garnished with an extra sprinkle of fresh nutmeg.
Notes
- For a non-alcoholic eggnog, simply omit the bourbon, rum, or brandy in Step 6.
- To achieve the thickest, creamiest holiday beverage, ensure you cook the custard base to the correct temperature (170°F) using a thermometer.
- You can substitute some of the milk with evaporated milk for an even richer flavor profile.
- Chill time is essential; the flavor and texture improve significantly after resting overnight.
Nutrition
- Serving Size: 1 cup
- Calories: 450
- Sugar: 35g
- Sodium: 110mg
- Fat: 30g
- Saturated Fat: 18g
- Unsaturated Fat: 12g
- Trans Fat: 1g
- Carbohydrates: 38g
- Fiber: 0g
- Protein: 10g
- Cholesterol: 250mg