

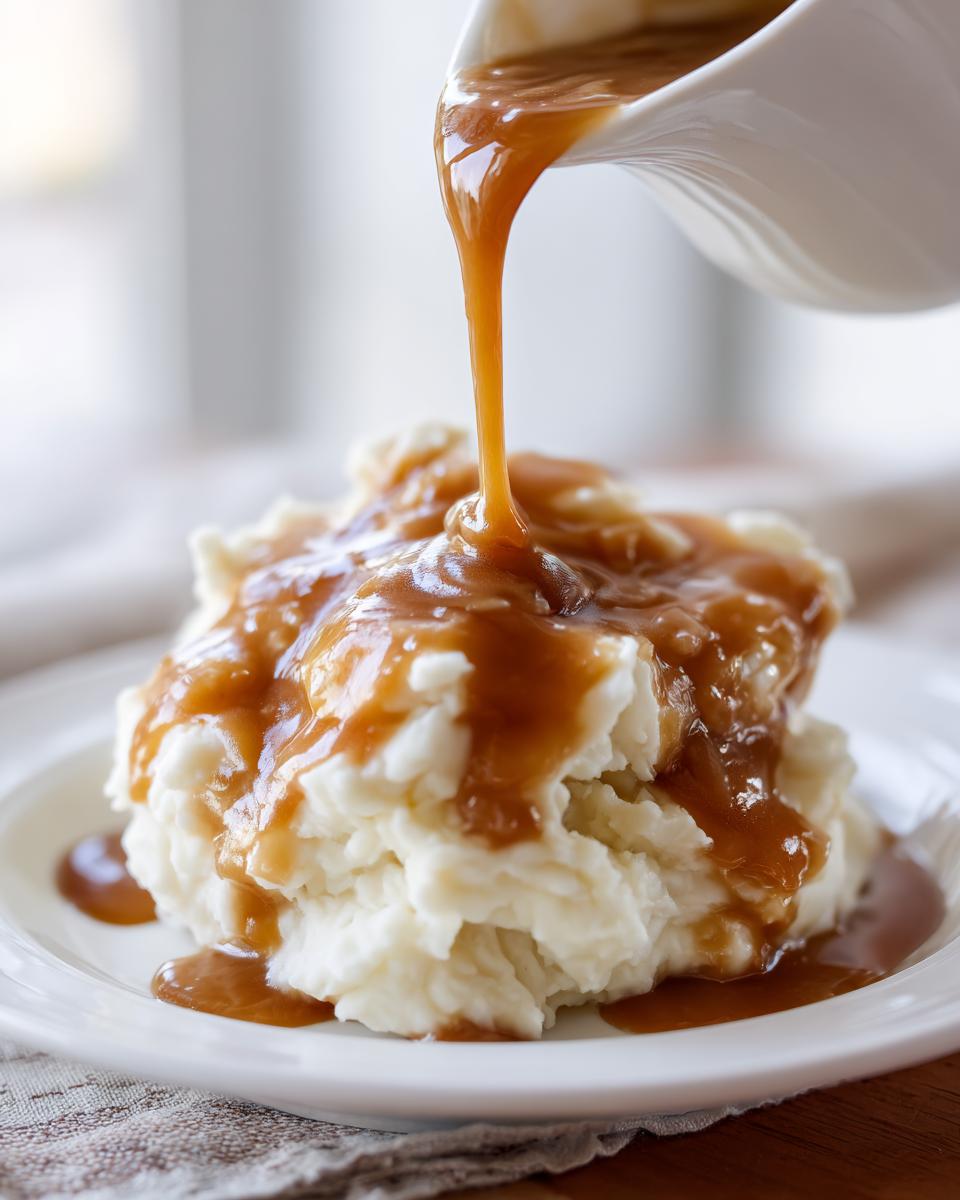
Oh, hello there! Welcome to Frosted Fancies! I’m Katie, and I’m genuinely so thrilled you stopped by today. I know what you’re thinking because I thought it too, countless times: I need gravy *now*, but I don’t have drippings from a roast. That panic is real, especially when mashed potatoes are waiting impatiently!
Well, sigh of relief time, because I cracked this code years ago back in the test kitchens. You absolutely do not need pan drippings, oil, or leftover roast bits to achieve that deep, savory flavor we all crave. This recipe for homemade brown gravy is my absolute go-to when I need something foolproof and incredibly rich in about fifteen minutes flat. It’s truly the best homemade gravy for weeknights or when company unexpectedly shows up!
Having developed hundreds of recipes professionally, I can promise you that mastering the roux used here locks in all that deep, comforting sauce flavor you want. Forget those chalky packets; get ready for a truly velvety, savory experience. This is brown gravy from scratch perfected for the busy home cook, and it’s about to be your secret weapon for easy dinner side dishes.
- Why This Homemade Brown Gravy Recipe Works So Well (No Drippings Needed)
- Gathering Ingredients for Your Quick Stovetop Gravy
- Step-by-Step Instructions: How to Make Brown Gravy From Scratch
- Tips for Success When Making Homemade Brown Gravy
- Serving Suggestions for Your Rich Comfort Food Sauce
- Storage and Reheating Instructions for Homemade Brown Gravy
- Frequently Asked Questions About Brown Gravy Without Drippings
- Nutritional Estimates for This Savory Beef Gravy
- Share Your Homemade Brown Gravy Success
- Nutritional Estimates for This Savory Beef Gravy
- Share Your Homemade Brown Gravy Success
Why This Homemade Brown Gravy Recipe Works So Well (No Drippings Needed)
The secret to getting that unbelievably deep flavor in a gravy without drippings comes down entirely to the flour and the fat—what we call a roux based gravy. This is where my food science background really helps shine through, because we are intentionally toasting the flour to transform it!
When you cook flour and butter together slowly, you are essentially building the flavor foundation from the ground up. If you just dump flour into cool broth, you end up with a lumpy, pale sauce. But taking that extra minute or two to brown the roux acts just like slow-roasting meat—it removes that raw flour taste and deepens the color and savory notes.
Achieving Deep Flavor in Your Homemade Brown Gravy
Think of it this way: beef drippings provide color and fat, right? We replace the color and depth using heat manipulation on the flour itself. Browning the flour creates a nutty, rich base that transforms the flavor profile. We aren’t just thickening the broth here; we are building what I call a rich comfort food sauce right there in the pan. It’s a simple trick used by pros everywhere, and it means you can whip up this flavor bomb any night of the week without needing last night’s roast sitting in the oven. If you want to see another take on mastering the stovetop method, check out the great advice over at The Cozy Cook!
Gathering Ingredients for Your Quick Stovetop Gravy
Okay, this is just like baking because organization matters, right? Having everything measured out before you start building that roux is the key to avoiding panic when the heat is on. Trust me, when you’re making a brown gravy from scratch, you want precision!
For about two cups of the richest, easiest gravy ever, here’s exactly what you need to gather on your counter:
- 4 tablespoons unsalted butter
- 4 tablespoons all-purpose flour
- 2 cups beef broth (low sodium preferred)
- 1 teaspoon Worcestershire sauce
- 1/2 teaspoon onion powder
- 1/4 teaspoon garlic powder
- 1/4 teaspoon black pepper
- Salt to taste
Ingredient Notes and Substitutions for Homemade Brown Gravy
Let’s talk about why these specific items make such a difference in this easy brown gravy recipe. The very first thing I note is the beef broth. I always stress *low sodium* because we are adding salt later, and we want total control over how savory this gets. If you use high-sodium broth, you might accidentally oversalt the entire batch—oops!
Now for the flavor boosters. That little splash of Worcestershire sauce? That’s our secret weapon for deep, meaty umami flavor, even though this recipe is vegetarian if you use vegetable broth instead! While you absolutely *can* use oil instead of butter to make your roux, I highly recommend butter. It toasts up beautifully and provides a richness that oil just can’t match in a simple sauce like this.
Step-by-Step Instructions: How to Make Brown Gravy From Scratch
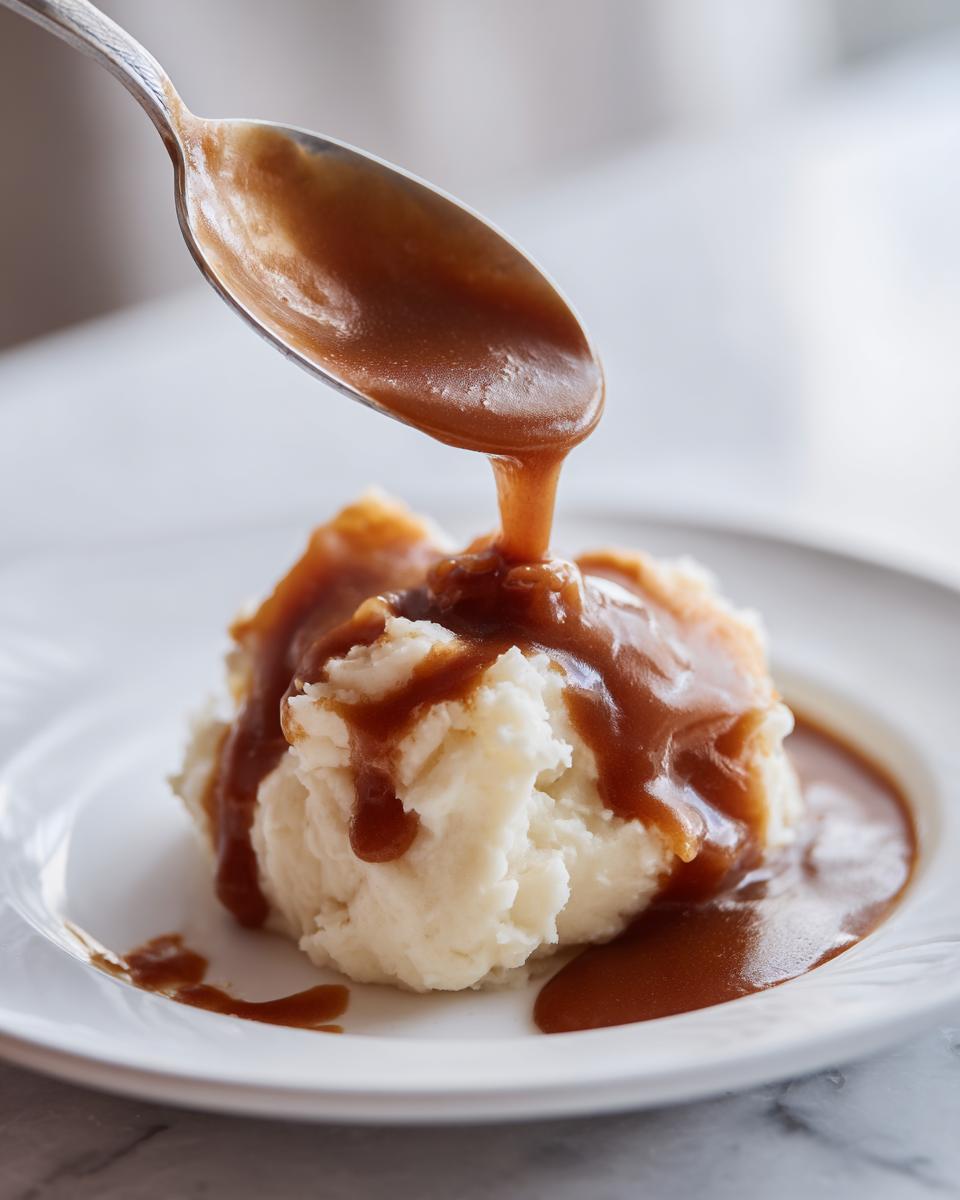
This is where the magic happens, and honestly, it’s so fast you might catch yourself looking away at the wrong moment! Since this entire process needs minimal time, please grab your medium saucepan and get your whisk ready before you even turn the burner on. This is my personal tip: keep that whisk moving constantly during the liquid addition—it’s the only way to guarantee a lump-free, velvety brown sauce!
- First up, we melt all that butter in the saucepan over medium heat. We want it happy and bubbling just a tiny bit!
- Once melted, whisk that flour right into the butter quickly. Keep whisking! You are making a paste, or a roux, and it should look smooth instantly.
- Now we toast it! Cook the roux, stirring constantly, for a solid 2 to 3 minutes. Be patient here. We are aiming for a nice light brown color—think the shade of peanut butter or maybe a dark blonde wood floor. Don’t let it get dark brown or, heaven forbid, burnt, or the whole batch will taste bitter! Keep that whisk moving constantly like you’re trying to beat eggs for a year!
- Next, slowly—and I mean slowly—whisk in your beef broth. Start with just a splash and whisk until it’s completely smooth before you add the next bit of liquid. If you dump it all in at once, you’ll get lumps, and nobody wants gravy lumps with their homemade gravy for mashed potatoes!
- Just keep whisking as you bring the whole thing up to a slow simmer. You’ll notice it starting to feel heavy and thicken right there on the stovetop.
- Once it’s smooth and simmering, stir in the Worcestershire, onion powder, garlic powder, and black pepper.
- Let it simmer for a good 5 to 7 minutes, stirring occasionally. The longer it simmers, the thicker it gets, so taste it until it coats the back of a spoon the way you like it.
- Finally, taste it! Add salt only once it’s done simmering because the broth and Worcestershire sauce already have saltiness built in.
If you want to see someone else nail the quick stovetop aspect, Drive Me Hungry has a great visual guide too!
Mastering the Roux for Perfect Homemade Brown Gravy
Seriously, this is non-negotiable for a classic brown gravy. When I say cook it for 2 to 3 minutes, I mean it. You are developing complex flavors in that butter-flour mix. If you rush this, even by 30 seconds, you end up hiding that raw, pasty flour taste in your sauce. We want nutty, we want deep, we want rich brown—not tan! This toasting process is what gives us that deep flavor profile we crave when we skip the drippings. Always stir; if it sticks and burns on the bottom, you have to start over, or that burnt spot is going to taste like sadness in your gravy.
Thickening and Seasoning Your Savory Beef Gravy
When you introduce the beef broth, remember we are trying to hydrate the flour particles evenly. If you pour too fast, the flour clumps up instantly before the liquid can get in there and separate them. That slow, steady whisking ensures every bit of flour is suspended in the broth before it has a chance to turn gloopy. Pay attention to the simmer time; that is your thickness control panel for this entire batch of savory beef gravy. A rolling boil makes it too thin, too fast—we want a patient simmer until it’s just right for smothering those potatoes!
Tips for Success When Making Homemade Brown Gravy
Even with a foolproof recipe, sometimes things go a little sideways on the stovetop—that’s totally normal! I’ve got your back with a few quick troubleshooting tips so you can still get that perfect, rich result, even if you’re rushing to get these easy dinner side dishes on the table fast.
First, let’s talk about that color again. If your roux is looking a little too pale after those initial three minutes—maybe you were distracted by the dog? Don’t panic! You can gently cook it longer on very low heat until it hits that beautiful dark blonde or light peanut butter shade. This extra toast time is key for a deep flavor, but honestly, watch it like a hawk because that line between perfectly deep and totally burned is very thin!
What if you messed up the broth addition and you have lumps? Don’t even try to mash them out with a spoon! The absolute best trick I learned is to pull the saucepan off the heat completely. If you struggle with lumps, you might want to check out the excellent advice on preventing them shared by the folks over at A Spicy Perspective. But generally, the immersion blender trick works wonders if you have one—that will dissolve every single lump instantly, giving you that wonderfully velvety brown sauce again. If you don’t have one, straining it through a fine-mesh sieve works too; it takes a second, but it produces the smoothest sauce!
Finally, consistency control is yours! Gravy is notorious for thickening up more than you expect once it stops simmering. If you leave it on the counter for five minutes and it turns into wet cement, don’t throw it out! Just scoop it back into the pan, add a splash of hot beef broth or even just hot water, whisk it gently over low heat, and it will loosen right back up to the perfect coating consistency you want for your roast beef. It’s all fixable, my friend!
Serving Suggestions for Your Rich Comfort Food Sauce
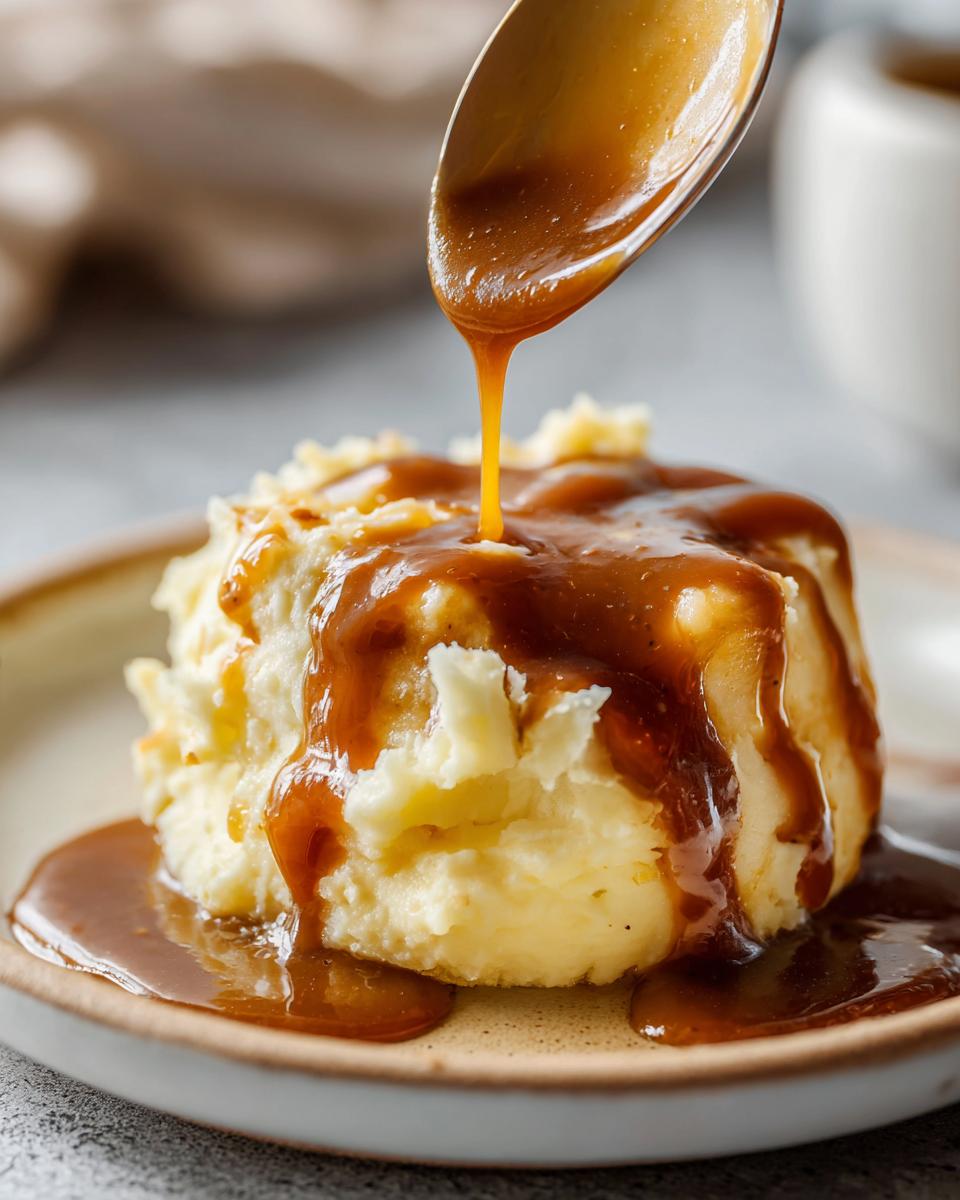
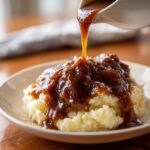
Now that you have this glorious, deep, homemade brown gravy ready, the real fun begins: pouring it everywhere! Yes, mashed potatoes are the classic duo, but don’t stop there. This rich sauce is begging to smother everything delicious on your plate.
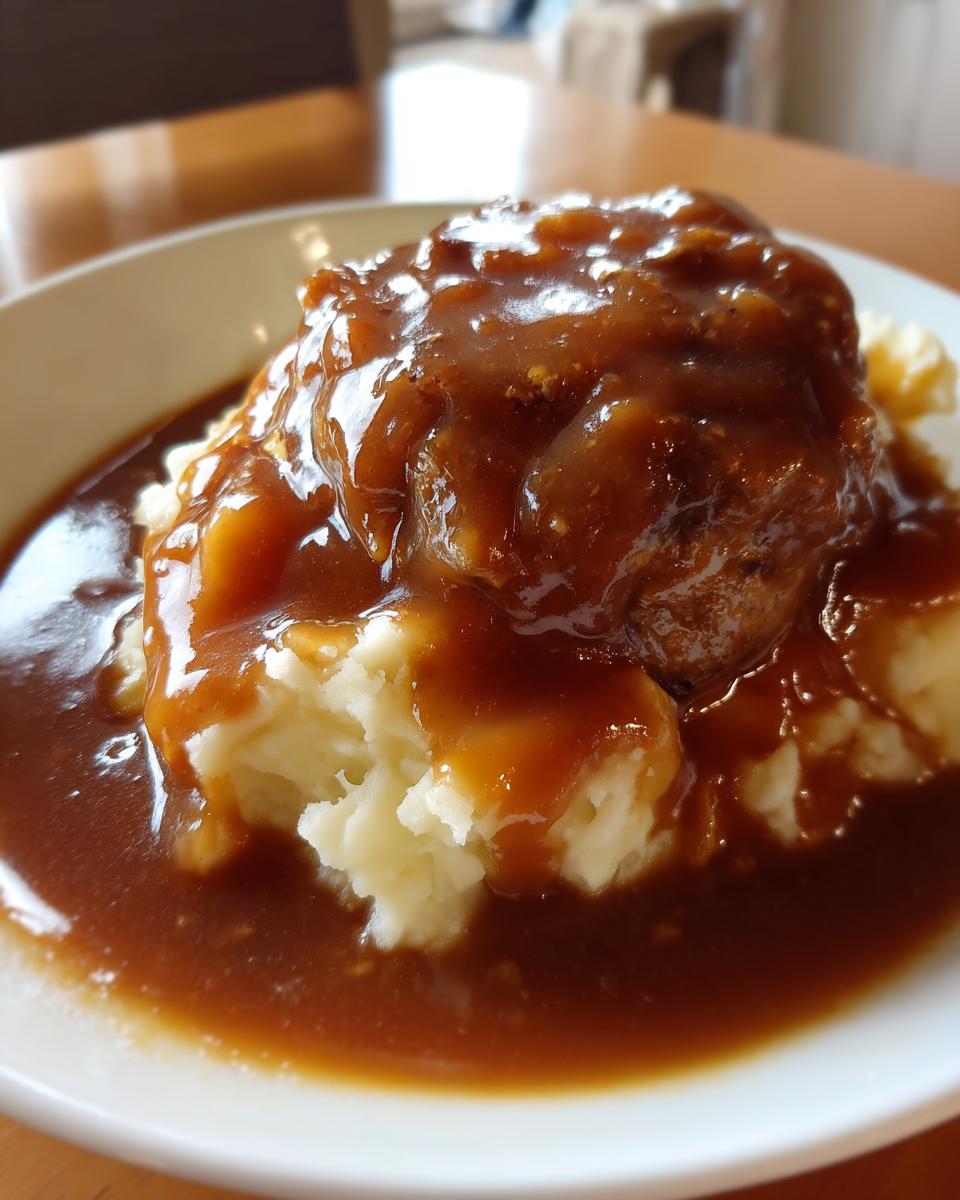
You absolutely must serve this over juicy slices of roast beef—it gives that restaurant-quality feel instantly. It’s also perfect dolloped generously onto meatloaf; it takes that simple comfort food classic and just launches it into the stratosphere! And of course, if you’re thinking ahead to the holidays, this is a fantastic substitute when you don’t have drippings from roast turkey.
Try drizzling some over hot biscuits or even mixing it into boxed mac and cheese for a super savory upgrade. For more ideas on how to use up every drop, check out the pairing suggestions over at Tasty Crafter!
Storage and Reheating Instructions for Homemade Brown Gravy
One of the best things about making a simple homemade brown gravy like this is that the leftovers are just as good the next day! I always make a double batch when I’m doing a big dinner because that extra gravy is perfect for Tuesday night’s mashed potatoes.
When storing, make sure the gravy has cooled down completely—don’t put a steaming hot pan straight into the fridge, as that can mess with your fridge temperature! Transfer the cooled gravy into a really secure, airtight container. It should hang out in the refrigerator happily for about four to five days. Seriously, it keeps so well!
Now, when it’s time to bring it back to life, you definitely want to use the stovetop. Microwaving gravy can sometimes result in hot spots or a weird texture, especially since this sauce is roux-based. Pop it into a small saucepan over medium-low heat. You will notice that it has thickened up significantly while it was chilling—that’s totally normal!
To get that beautiful, pourable consistency back, you just need to thin it out a little bit. Whisk in a tablespoon or two of hot beef broth, or even just hot water, while it heats up. Keep stirring until it unwraps itself back into that silky texture you remember. If you want to look at some other tips on using leftovers, you can check out how the folks at Recipe Diaries handle theirs!
Remember, the flavor actually deepens a little overnight, which is fantastic. It’s always just as savory the second time around!
Frequently Asked Questions About Brown Gravy Without Drippings
I know when you’re cooking for a crowd or just trying to get dinner on the table quickly, you’re going to have questions. That’s why I always try to tackle the most common sticking points right here. Making homemade brown gravy should never feel complicated, even without drippings!
Can I use water instead of broth for this easy brown gravy recipe?
You certainly *can*, but I strongly advise against it if you want that rich flavor we’re aiming for. Water works as a thickener, obviously, but it won’t contribute any seasoning or savory depth. If you absolutely have to use water, make sure you dramatically boost your seasonings! Add an extra teaspoon of Worcestershire sauce, maybe some extra onion and garlic powders, and definitely bump up the pepper. But for the best results in a brown gravy from scratch, stick to beef or vegetable broth!
How can I make this gravy thicker or thinner?
This is my favorite fine-tuning question! I mentioned this in the tips section, but it bears repeating because it’s crucial. If your gravy ends up too thin after simmering, it means the starch (flour) hasn’t fully hydrated yet, or you need a little more. Take a tiny spoonful of flour, mix it with a teaspoon of cold water until it’s totally smooth—that’s called a slurry—and whisk that into the simmering gravy a tiny bit at a time. It thickens almost instantly! If it’s too thick, just whisk in a splash of hot broth or hot water until it flows nicely.
Can I make this brown gravy ahead of time?
Yes! And I highly recommend it when I’m prepping for a big meal like Thanksgiving. As we talked about in the storage section, gravy keeps beautifully in the fridge for about four days. It sets up very firm when chilled because of the butter and flour, so when you reheat it, just treat it like a very thick paste that needs coaxing. Pop it in a saucepan with a bit of hot liquid and whisk gently over low heat until it loosens up into that perfect, luscious sauce again. Never try to rush reheating a large batch in the microwave, or you’ll end up with hard lumps!
Can I make this easy brown gravy recipe vegetarian?
Absolutely! That’s the beauty of starting with a roux base—it’s inherently flexible. To keep this a safe and delicious brown gravy from scratch for vegetarian guests, simply swap out the beef broth for high-quality vegetable broth. Now, to recapture that deep, savory note that beef broth usually brings? I sneak in about two teaspoons of soy sauce or a half teaspoon of mushroom powder for that extra layer of umami depth. Works like a charm, and nobody will guess it’s vegetarian!
What is the best way to reheat leftovers?
Always use the stovetop! Gently reheat your stored gravy in a saucepan over medium-low heat. Because it thickens overnight, you absolutely need to add a little bit of liquid—I suggest hot broth or water—while whisking until it returns to that beautiful, smooth consistency. If you try to blast it in the microwave, you risk having parts that are boiling hot and separating while the rest is still cold and pasty. Slow and low is the way to keep this a wonderful side dish!
Can I make this gravy thicker or thinner?
This is my favorite fine-tuning question! I mentioned this in the tips section, but it bears repeating because it’s crucial. If your gravy ends up too thin after simmering, it means the starch (flour) hasn’t fully hydrated yet, or you need a little more. Take a tiny spoonful of flour, mix it with a teaspoon of cold water until it’s totally smooth—that’s called a slurry—and whisk that into the simmering gravy a tiny bit at a time. It thickens almost instantly! If it’s too thick, just whisk in a splash of hot broth or hot water until it flows nicely. Check out The Chunky Chef for another great perspective on slurry usage if you need visuals!
Can I make this brown gravy ahead of time?
Yes! And I highly recommend it when I’m prepping for a big meal like Thanksgiving. As we talked about in the storage section, gravy keeps beautifully in the fridge for about four days. It sets up very firm when chilled because of the butter and flour, so when you reheat it, just treat it like a very thick paste that needs coaxing. Pop it in a saucepan with a bit of hot liquid and whisk gently over low heat until it loosens up into that perfect, luscious sauce again. Never try to rush reheating a large batch in the microwave, or you’ll end up with hard lumps!
Can I make this easy brown gravy recipe vegetarian?
Absolutely! That’s the beauty of starting with a roux base—it’s inherently flexible. To keep this a safe and delicious brown gravy from scratch for vegetarian guests, simply swap out the beef broth for high-quality vegetable broth. Now, to recapture that deep, savory note that beef broth usually brings? I sneak in about two teaspoons of soy sauce or a half teaspoon of mushroom powder for that extra layer of umami depth. Works like a charm, and nobody will guess it’s vegetarian!
Nutritional Estimates for This Savory Beef Gravy
When we get down to the details, I always want to share the estimates for serving size. Since this is such a perfect accompaniment to hearty meals, a standard serving size is about a quarter cup. Remember, since we are using pantry staples, these numbers are estimates, and they will change slightly depending on the brand of butter or the exact saltiness of your broth. But this gives you a good baseline for this totally indulgent, savory beef gravy!
- Serving Size: 1/4 cup
- Calories: 95
- Fat: 7g
- Saturated Fat: 4g
- Carbohydrates: 6g
- Protein: 2g
- Sodium: 280mg (This is why I push low-sodium broth!)
It’s surprisingly low in sugar for something so rich, which I love! When I developed this recipe professionally, getting the fat content right was key to making sure the mouthfeel was luxurious rather than greasy. I think we nailed it, and you get that wonderful flavor without breaking the bank on calories. If you are looking for pairings, check out the inspiration over at Amour de Cuisine!
Share Your Homemade Brown Gravy Success
And that’s it! You’ve just whipped up a truly magnificent, deep, flavorful homemade brown gravy without ever getting close to a meat roasting pan. I hope this recipe gives you the confidence to skip the packets forever, whether you’re serving this over biscuits or your Sunday roast.
I absolutely love hearing how you use my recipes! Did you make this for mashed potatoes? Did you manage to get that roux perfectly brown on the first try? Head down to the comments below and let me know! You can rate the recipe there, tell me what wonderful thing you smothered in this rich comfort food sauce, and if you’re sharing pictures of your dinner, please tag me!
If you are looking for more inspiration on rich sauces, I highly recommend diving into the fantastic selection of recipes found at Arora’s Recipe. Happy cooking, and thanks again for visiting Frosted Fancies!
Nutritional Estimates for This Savory Beef Gravy
When we get down to the details, I always want to share the estimates for serving size. Since this is such a perfect accompaniment to hearty meals, a standard serving size is about a quarter cup. Remember, since we are using pantry staples, these numbers are estimates, and they will change slightly depending on the brand of butter or the exact saltiness of your broth. But this gives you a good baseline for this totally indulgent, savory beef gravy!
- Serving Size: 1/4 cup
- Calories: 95
- Fat: 7g
- Saturated Fat: 4g
- Carbohydrates: 6g
- Protein: 2g
- Sodium: 280mg (This is why I push low-sodium broth!)
It’s surprisingly low in sugar for something so rich, which I love! When I developed this recipe professionally, getting the fat content right was key to making sure the mouthfeel was luxurious rather than greasy. I think we nailed it, and you get that wonderful flavor without breaking the bank on calories. If you are looking for pairings, check out the inspiration over at Amour de Cuisine!
Share Your Homemade Brown Gravy Success
And that’s it! You’ve just whipped up a truly magnificent, deep, flavorful homemade brown gravy without ever getting close to a meat roasting pan. I hope this recipe gives you the confidence to skip the packets forever, whether you’re serving this over biscuits or your Sunday roast.
I absolutely love hearing how you use my recipes! Did you make this for mashed potatoes? Did you manage to get that roux perfectly brown on the first try? Head down to the comments below and let me know! You can rate the recipe there, tell me what wonderful thing you smothered in this rich comfort food sauce, and if you’re sharing pictures of your dinner, please tag me! I’d love to see your work. You can check out some other wonderful ideas for side dishes over at Beyond the Coop!
If you are looking for more inspiration on rich sauces, I highly recommend diving into the fantastic selection of recipes found at Arora’s Recipe. Happy cooking, and thanks again for visiting Frosted Fancies!
PrintEasy Homemade Brown Gravy Without Drippings
Make rich, savory brown gravy from scratch on the stovetop in under 15 minutes. This recipe uses a simple roux and beef broth, requiring no meat drippings for deep flavor.
- Prep Time: 5 min
- Cook Time: 12 min
- Total Time: 17 min
- Yield: About 2 cups 1x
- Category: Side Dish
- Method: Stovetop
- Cuisine: American
- Diet: Vegetarian
Ingredients
- 4 tablespoons unsalted butter
- 4 tablespoons all-purpose flour
- 2 cups beef broth (low sodium preferred)
- 1 teaspoon Worcestershire sauce
- 1/2 teaspoon onion powder
- 1/4 teaspoon garlic powder
- 1/4 teaspoon black pepper
- Salt to taste
Instructions
- Melt the butter in a medium saucepan over medium heat.
- Whisk the flour into the melted butter until a smooth paste forms. This is your roux.
- Cook the roux, stirring constantly, for 2 to 3 minutes until it turns a light brown color. Do not let it burn.
- Slowly whisk in the beef broth, a little at a time, ensuring no lumps form before adding more liquid. Continue whisking until the mixture is smooth.
- Bring the gravy to a simmer, stirring often. It will begin to thicken as it heats.
- Stir in the Worcestershire sauce, onion powder, garlic powder, and black pepper.
- Continue to simmer for 5 to 7 minutes, or until the gravy reaches your desired thickness.
- Taste the gravy and add salt as needed. Serve hot over mashed potatoes, meatloaf, or roasted meats.
Notes
- For a deeper brown color, cook the roux for an extra minute or two until it reaches a darker peanut butter shade before adding the liquid.
- If the gravy becomes too thick upon cooling, whisk in a splash of hot beef broth or water to reach the correct consistency.
- This recipe is excellent for making quick gravy for mashed potatoes or roast turkey sides.
Nutrition
- Serving Size: 1/4 cup
- Calories: 95
- Sugar: 0.5
- Sodium: 280
- Fat: 7
- Saturated Fat: 4
- Unsaturated Fat: 3
- Trans Fat: 0
- Carbohydrates: 6
- Fiber: 0.2
- Protein: 2
- Cholesterol: 15