
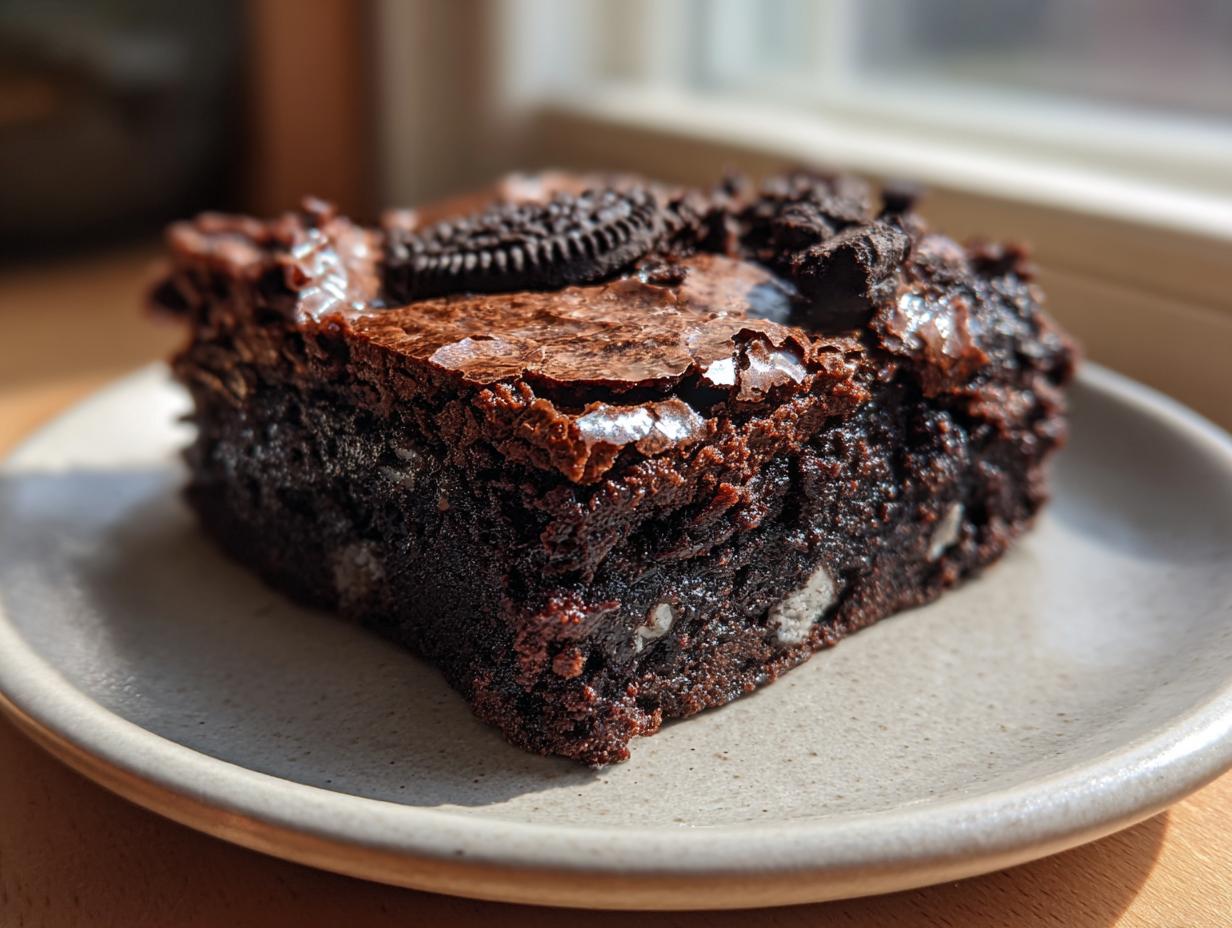
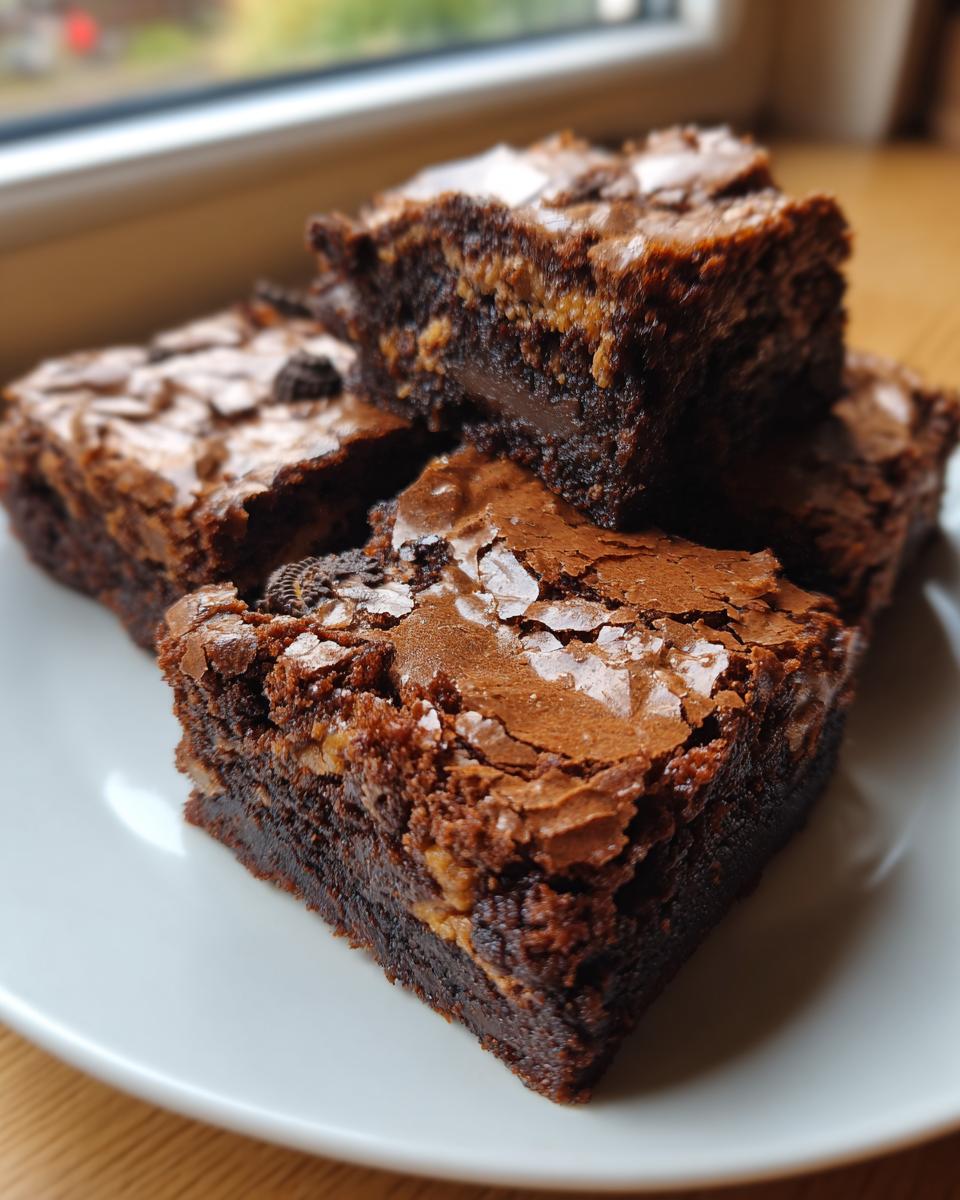
If you’re anything like me, sometimes only the absolute richest, most decadent chocolate dessert will do. Forget dry cake-like things; we are aiming for pure, melt-in-your-mouth indulgence here! That’s why I’m thrilled to share my recipe for the ultimate oreo brownies. What sets these bars apart—and what I spent years perfecting—is that incredible combination: a dense, perfectly fudgy center loaded with cookies, topped with that glorious, shiny, crackly crust everyone fights over.
I’m Katie Hayes, and thanks to my background in Food Science, I know exactly why this happens. Trust me, getting that gorgeous, crackly top on your chocolatey treats doesn’t rely on luck; it’s all about the technique and the basic ingredients you already have. Let’s get baking!
- Why You Will Make These Fudgy Oreo Brownies Again and Again
- The Science Behind Perfect Fudgy Oreo Brownies
- Gathering Ingredients for Your Oreo Brownies
- Step-by-Step Instructions for Ultimate Oreo Brownies
- Tips for Perfect Oreo Brownies Every Time
- Ingredient Notes and Substitutions for Oreo Brownies
- Storage and Reheating Instructions for Oreo Brownies
- Frequently Asked Questions About Brownies with Oreo Filling
- Estimated Nutritional Data for Fudgy Chocolate Dessert
- Share Your Ultimate Dessert Bars
Why You Will Make These Fudgy Oreo Brownies Again and Again
I feel like I don’t even need to sell you on these, but if you need convincing, here are the absolute highlights waiting for you:
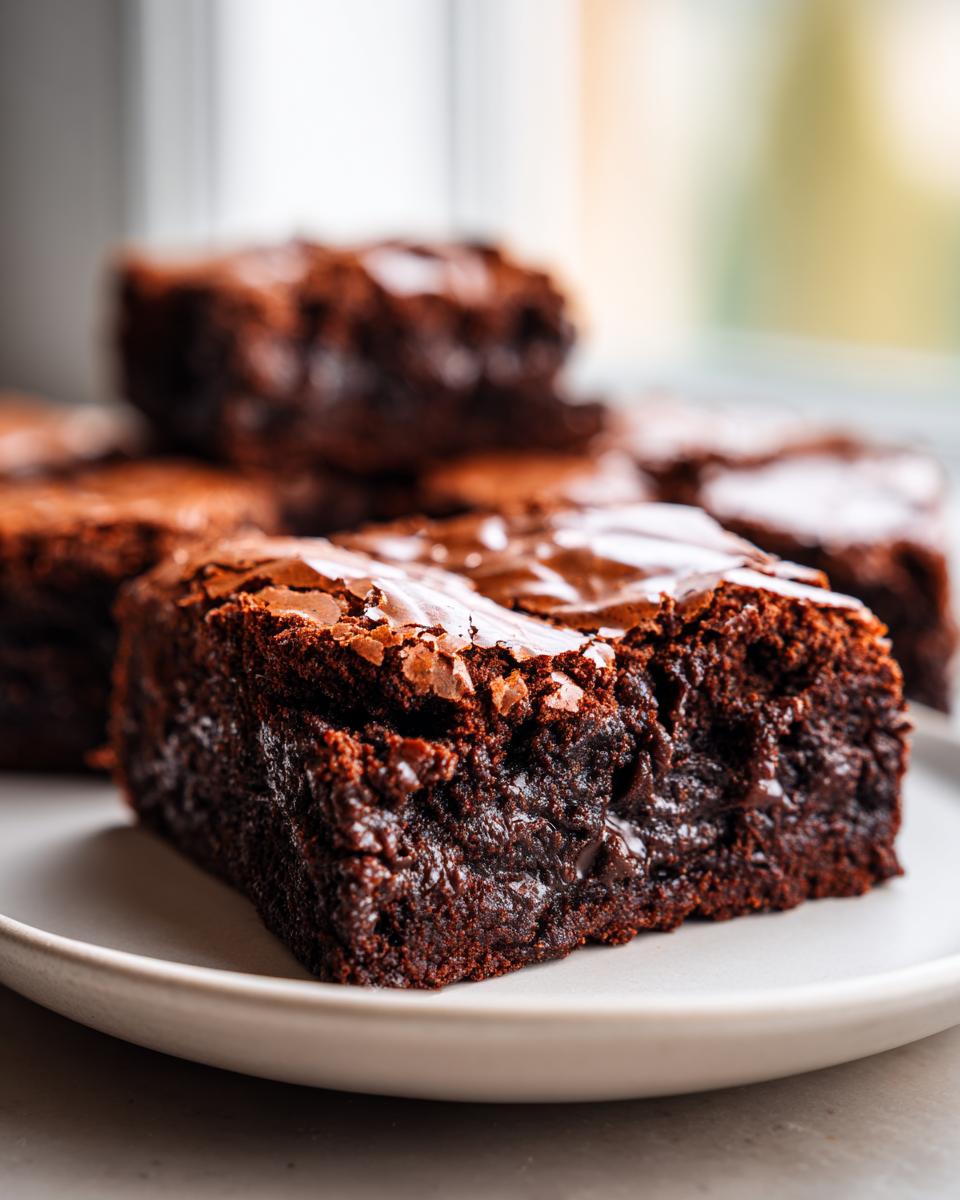
- They are intensely fudgy inside—truly the best texture you can get without pulling out the food processor!
- That sought-after, paper-thin, shiny crust forms perfectly every time.
- These Decadent Oreo Brownie Bars come together surprisingly fast, proving that the best things aren’t complicated.
- You create the ultimate dessert bars using basic pantry staples. If you made a batch right now, you could be eating them later today!
Honestly, you won’t want to wait to try them out! Find out exactly how I get them so perfect right here.
The Science Behind Perfect Fudgy Oreo Brownies
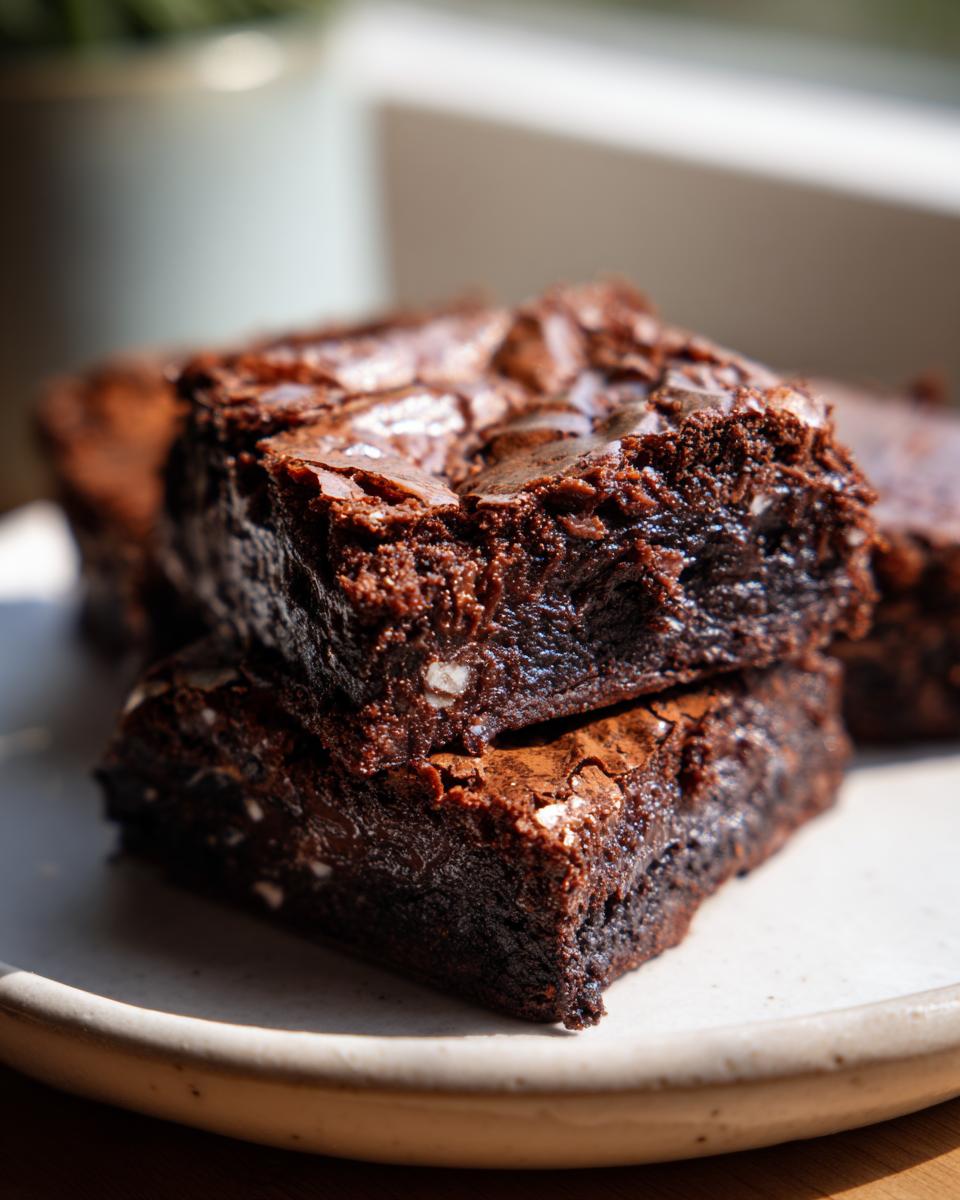
I know, I know, talking science in a dessert post sounds a little much, but understanding *why* these work is the fast track to becoming a better baker overall. For these incredible oreo brownies, it all comes down to the fat and sugar ratio. We use a generous amount of melted butter and pack in both granulated and brown sugar. When you whisk that sugar vigorously with the eggs—which you’ll see in the next section—the sugar granules actually start dissolving into the fat. That thin layer of sugar syrup coating the outside of the batter is what bakes into that gorgeous, paper-thin shiny crust! I tested batches for months just to get the crust to look like that.
If you overmix once the flour goes in, those sugar bubbles rupture, and you develop gluten, which leads to tougher, cakier results. No thanks! We want fudgy, and fudgy means keeping that fat content high and mixing just enough.
Ingredient Roles for Great Oreo Brownies
Two things I always insisted on for the ultimate texture: room temperature eggs and using both sugars. The eggs blend smoother into the melted butter when they aren’t cold, which helps create that initial glossy sheen crucial for the top crust. You can see another great explanation of this shiny top theory over here. Also, that brown sugar? It brings that nice chewiness right into the crumb of these oreo brownies!
Gathering Ingredients for Your Oreo Brownies
Alright, let’s get everything ready! Because we are going for that rich, fudgy texture, precision matters here. Don’t just eyeball anything; pull out your measuring cups! Having everything ready before you start melting butter makes the whole process feel much calmer. Remember, this recipe is about trust, and showing up with accurate ingredients is the first step to getting those perfect oreo brownies.
Here is exactly what you’ll need for this glorious batch of fudgy cookies and cream brownies:
- 1 cup (that’s exactly 2 sticks) unsalted butter, cut into little pieces, not melted yet!
- 1 1/4 cups granulated sugar
- 1 cup packed light brown sugar—make sure it’s packed down nicely!
- 4 large eggs, and try to make sure they are at room temperature if you can.
- 1 tablespoon of your favorite vanilla extract
- 3/4 cup unsweetened cocoa powder (I use Dutch-process, but natural works too!)
- 1 teaspoon salt
- 1/2 teaspoon baking powder
- 1/2 cup all-purpose flour
- 1 cup semi-sweet chocolate chips, chopped is fine.
- 12 whole Oreo cookies, just roughly chopped up for mixing.
- Plus 6 whole Oreos that we’ll save for sprinkling right on top!
Step-by-Step Instructions for Ultimate Oreo Brownies
Okay, deep breath! This is where the magic happens, but please, no rushed moves! We are aiming for that deep, fudgy center, and rushing the bake time is the fastest way to ruin a batch of oreo brownies. First things first: get your oven cranking up to 350°F (175°C). Next, grab that 9×9 baking pan. I used to skip this part, and trust me, those brownies died a tragic death stuck to the metal! Line the pan with parchment paper, but leave just a little bit hanging over two sides—that’s your handle for lifting them out later. Give that parchment a tiny spray of oil, just to be safe.
Now, let’s look at melting that butter. Pop it in a saucepan over low heat until it’s just liquid. Take it OFF the heat before you whisk in both the granulated and brown sugars. Keep whisking! This is your first workout session!
Mixing Techniques for a Shiny Top on Your Oreo Brownies
This is the secret handshake! Whisk those sugars into the butter, then bring in your room temperature eggs, one at a time, whisking hard after each one. You want this mixture looking smooth, slightly lighter in color, and super shiny—like a mirror reflecting a chocolate dream. Once you add the cocoa, salt, and baking powder, mix until it’s *just* combined. I mean it—stop mixing once you see streaks disappear. Then, fold in your flour, chocolate chips, and the 12 chopped Oreos. If you keep mixing now, that shiny top is going to bail on you! Trust the process here; gentle folding is your friend for these oreo brownies.
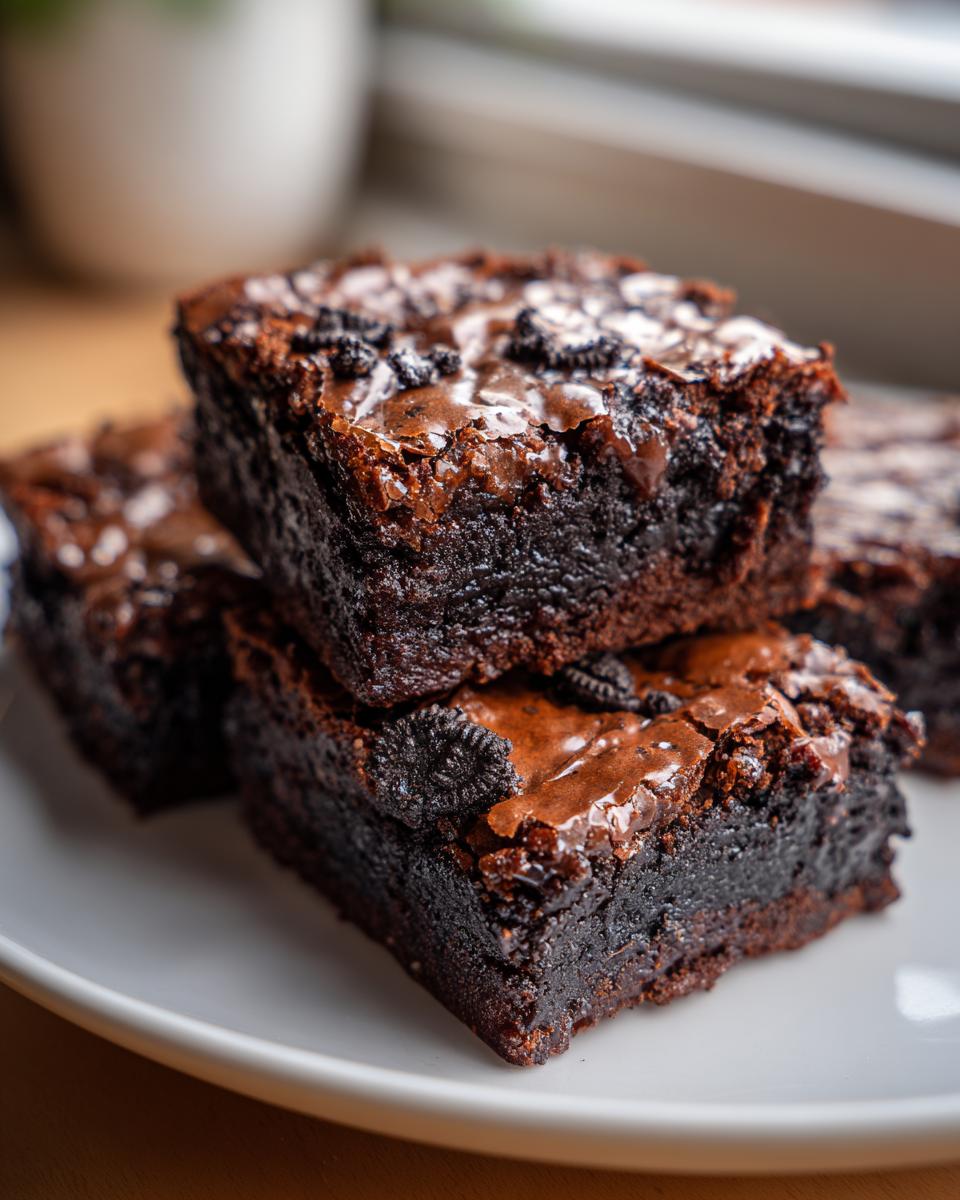
Layering and Baking Your Thick Layered Oreo Brownies
Spread about half of that rich batter into your prepared pan. Now for the fun part: take your 6 reserved whole Oreos and place them deliberately across the batter. They will anchor those cookies right in the middle! Gently spoon the rest of the batter over the top, making sure you cover those cookies completely. Bake time is critical for that ‘Chewy Oreo Brownie Recipe’ texture, so keep an eye on the timer. Bake for 30 to 35 minutes exactly. Remember, if a toothpick comes out totally clean, you’ve gone too far! You want moist fudgy crumbs clinging to it when you test the center. It takes practice to eyeball that doneness, but stick to that timing!
Tips for Perfect Oreo Brownies Every Time
Even with the best recipe, a few extra steps will elevate your fudgy chocolate dessert from good to absolutely legendary! The most important tip I can give you for these oreo brownies is patience during the cooling phase. Seriously, don’t even *look* at them for at least two hours! Cutting them while they are even slightly warm will result in melty messes instead of clean squares.
Also, remember what we talked about with the eggs? Always, always use room temperature eggs if you can manage it. Cold eggs shock the melted butter/sugar mixture and can stop that crucial glossy formation we need for the crust. If you want that perfect texture, trust me on the temperature game! You can read more tips on achieving fudgy perfection here: read my favorite tips for fudgy cookies and cream brownies.
Ingredient Notes and Substitutions for Oreo Brownies
I get so many questions about swapping ingredients, and I totally understand! Pantry limitations happen to the best of us when we are craving something like these amazing oreo brownies. When it comes to cocoa powder, I prefer Dutch-process because it gives a deeper, darker chocolate note, but natural cocoa powder will absolutely work just fine—just know the flavor might be slightly brighter.
What about the cookies? You can certainly use different ‘sandwich’ cookies, but the standard Oreo provides the perfect crunch-to-cream ratio we engineered this recipe for. If you use Double Stuf, you might find the center gets a tiny bit softer or chewier, which some people actually prefer! You can look for ideas on dressing these up here: check out these ideas for an extra layer of frosting. Just remember, when substituting the flour, keep the fat-to-flour ratio in mind so you don’t lose that fudgy factor!
Storage and Reheating Instructions for Oreo Brownies
The hardest part about baking the ultimate oreo brownies is definitely waiting for them to cool down! Once they are fully set—and I mean *fully*—they should be stored properly so they stay perfectly fudgy for days. Don’t leave them sitting out uncovered, or that perfect shiny crust will get dry and stale way too fast.
The best way to keep these is in a single layer inside a very sturdy, airtight container at room temperature. If your kitchen is particularly warm or humid, popping them in the fridge might be necessary, but honestly, I prefer them at room temp where the chocolate is softer. If you chill them, just let them sit on the counter for about 30 minutes before you plan to eat them so they can warm up slightly.
Now, if you’ve stored them a bit too long, or if you chilled them and they seem a little stiff, reheating is your secret weapon! You don’t need a microwave that heats unevenly; just wrap one square tightly in a tiny piece of foil. Pop that foil-wrapped brownie into a conventional oven preheated to about 300°F (150°C) for about 5 to 7 minutes. This gentle heat warms them right through, melts those chocolate chips again just a little, and brings back that incredible, fresh-from-the-pan fudginess. It’s like getting a second chance at the best bite!
Frequently Asked Questions About Brownies with Oreo Filling
This is where we handle all those last-minute questions that pop up when you’re about to start mixing a batch of oreo brownies! Believe me, I’ve been there—staring at the open fridge, wondering if I can swap out an ingredient. My goal here is to make this process as straightforward as possible, which is why we focus on simple pantry items.
Do you have to use brown sugar? Honestly, if you skip the brown sugar, you lose a lot of that deep molasses flavor and chewiness that makes these ultimate dessert bars so rich. I really wouldn’t recommend swapping it out if you want that perfect fudgy result we worked so hard for!
Another common question is about thickness. If you want even thicker decadent Oreo brownie bars, you can definitely use a smaller pan, like an 8×8 inch pan, but you must bake them longer! I tested that substitution, and while they get incredibly thick, you have to reduce the baking time slightly less than you think to keep them fudgy in the middle.
Can I make these Oreo Brownies without using a stand mixer?
Absolutely, yes, you can! I truly believe in keeping things accessible, which is why my original formula was designed to be beaten patiently by hand with a sturdy whisk or a good wooden spoon. We aren’t whipping meringue here; we are just creaming that butter and sugar until it’s shiny. It takes a little more arm power, but trust me, it works perfectly and doesn’t compromise the final texture of your cookies and cream brownies one bit!
Estimated Nutritional Data for Fudgy Chocolate Dessert
I always try to keep track of what we’re eating, but since every single ingredient—from the brand of cocoa powder to how much butter we use—can shift results slightly, please know these numbers are just an estimate! They are based on dividing the entire batch into 16 squares as I recommend in the recipe above. We are aiming for indulgence here, so expect a little sugar!
- Serving Size: 1 brownie square
- Calories: 320
- Sugar: 35g
- Fat: 18g
- Protein: 4g
If you’re looking for lighter alternatives, you might want to check out some of the substitutions mentioned elsewhere in the post, but for the ultimate experience, these rich bars are worth every little bit! For ideas on slightly less decadent versions, see this resource.
Share Your Ultimate Dessert Bars
And there you have it! You’ve conquered the quest for the perfect, unbelievably fudgy oreo brownies with that stunning, signature shiny top. I am so excited for you to try these decadent chocolatey treats!
When you make a batch, I truly want to hear how they turned out. Did you manage to keep your hands off them long enough to get clean cuts? Did that crust crackle perfectly when you tapped it? Head down to the comments below and let me know your experience—I read every single note!
If you happen to snap a photo of your finished ultimate dessert bars, please share it on social media and tag me! Seeing your kitchen creations is honestly the best part of running Frosted Fancies. We work hard to make sure these recipes bring joy, and seeing your success makes all the recipe testing worthwhile. Don’t forget to share this recipe with any fellow chocolate lovers who deserve a serious upgrade in their dessert game!
PrintThe Ultimate Fudgy Oreo Brownies with a Shiny Top Crust
Make rich, decadent Oreo brownies from scratch that feature a perfectly fudgy center and a desirable shiny, crackly top. This recipe uses simple ingredients for ultimate chocolatey indulgence.
- Prep Time: 20 min
- Cook Time: 35 min
- Total Time: 2 hours 55 min
- Yield: 16 servings 1x
- Category: Dessert
- Method: Baking
- Cuisine: American
- Diet: Vegetarian
Ingredients
- 1 cup (2 sticks) unsalted butter, cut into pieces
- 1 1/4 cups granulated sugar
- 1 cup packed light brown sugar
- 4 large eggs, room temperature
- 1 tablespoon vanilla extract
- 3/4 cup unsweetened cocoa powder, natural or Dutch-process
- 1 teaspoon salt
- 1/2 teaspoon baking powder
- 1/2 cup all-purpose flour
- 1 cup chopped semi-sweet chocolate chips
- 12 whole Oreo cookies, roughly chopped (plus 6 for topping)
Instructions
- Preheat your oven to 350°F (175°C). Line a 9×9 inch metal baking pan with parchment paper, leaving an overhang on two sides for easy removal. Lightly grease the paper.
- In a medium saucepan over low heat, melt the butter. Remove from heat. Whisk in the granulated sugar and brown sugar until fully combined.
- Add the eggs one at a time, whisking well after each addition until the mixture is smooth and glossy. Whisk in the vanilla extract.
- In a separate bowl, whisk together the cocoa powder, salt, and baking powder. Add this dry mixture to the wet ingredients and mix until just combined. Do not overmix.
- Gently fold in the flour, chopped chocolate chips, and the 12 roughly chopped Oreo cookies.
- Spread half of the batter evenly into the prepared pan. Arrange the 6 reserved whole Oreo cookies evenly over the batter. Top with the remaining batter, spreading carefully to cover the cookies.
- Bake for 30 to 35 minutes. The edges should look set, and a toothpick inserted near the center should come out with moist, fudgy crumbs attached, not wet batter. This timing is key for fudgy results.
- Let the brownies cool completely in the pan on a wire rack (at least 2 hours, or chill for faster setting).
- Once cool, use the parchment overhang to lift the brownies out of the pan. Cut into 16 squares.
Notes
- For the best shiny, crackly top, do not overmix the batter once the flour is added. Overmixing develops gluten, which prevents the crust from forming correctly.
- Using room temperature eggs helps create a smoother batter, which contributes to the desired shiny top.
- For extra fudgy texture, substitute 1/4 cup of the flour with an equal amount of cornstarch.
Nutrition
- Serving Size: 1 brownie square
- Calories: 320
- Sugar: 35
- Sodium: 180
- Fat: 18
- Saturated Fat: 11
- Unsaturated Fat: 7
- Trans Fat: 0
- Carbohydrates: 38
- Fiber: 2
- Protein: 4
- Cholesterol: 75