
Honestly, if you’re heading to a gathering, there’s one thing everyone expects to see vanish first: a plate piled high with creamy, tangy deviled eggs. They look cute, they taste nostalgic, and they disappear before the main course is even served! Now, I know why people hesitate—getting hard-boiled eggs to peel nicely feels like sorcery, and getting that yolk filling perfectly smooth can be tricky. But hey, that’s why I’m here! After spending years as a recipe developer perfecting dishes for millions of home cooks, I promise you this deviled eggs recipe is completely foolproof. We’re tackling the peeling problem head-on so you can serve the best deviled eggs without stress. Get ready for the easiest, creamiest batch you’ve ever made—no gray yolks allowed!
- Why This Deviled Eggs Recipe Is Your New Go-To Classic Appetizer
- Ingredients for Perfect Deviled Eggs
- How to Make Deviled Eggs: Foolproof Boiling and Peeling
- Creating the Creamy Filling for Your Deviled Eggs Recipe
- Assembling and Garnishing Your Deviled Eggs Recipe
- Tips for Success with Party Finger Food Deviled Eggs
- Storage and Serving Suggestions for Deviled Eggs
- Frequently Asked Questions About Your Deviled Eggs Recipe
- Nutritional Snapshot of This Deviled Eggs Recipe
- Share Your Success with This Deviled Eggs Recipe
Why This Deviled Eggs Recipe Is Your New Go-To Classic Appetizer
You need an appetizer that truly works, and this is it. Because I spent years in professional kitchens creating recipes that had to succeed hundreds of times across different ovens, I designed this formula based on food science principles. That means we’re controlling every variable! This isn’t just my family favorite; it’s a perfectly balanced, best deviled eggs recipe that ensures you get that smooth, tangy filling every single time you make it. Forget the weak, watery versions you’ve had before. This classic appetizer reliability is what I bring from the test kitchen right to your home. If you’re looking for other crowd-pleasers, check out my full list of go-to favorite appetizers!
Ingredients for Perfect Deviled Eggs
When you’re striving for perfection, the ingredients have to be exactly right. Don’t just grab any old things; we need precision here! For a batch of 24 halves—which, trust me, you’ll want—here is what you need to gather. Make sure your measurements are level, especially with the vinegar and mustard. These folks control the tanginess!
First up, you need a dozen large eggs. They have to be large—they hold up better when they’re halved. Then, for the creamy base, measure out a solid half cup of good quality mayonnaise—use the full-fat stuff for the best texture, okay? Flavor comes next: we’re using exactly two tablespoons of bright, familiar yellow mustard, one tablespoon of tart white vinegar, a half teaspoon of simple salt, and a quarter teaspoon of freshly cracked black pepper. Finally, save the best part for last: a little dash of paprika reserved just for sprinkling on top as our finishing touch.
Ingredient Notes and Substitutions for Your Deviled Eggs Recipe
I get asked all the time if you can swap things out, and usually, the answer is yes, but it changes the science of the flavor balance! For instance, I specify white vinegar here because its clean, sharp acidity cuts through the richness of the yolk and mayo just perfectly. Apple cider vinegar is lovely, but it brings a fruitier note that, honestly, distracts from the classic flavor profile we’re after.
Now, about that mayo. If you’re trying to lighten things up for a healthier party finger food, swapping half the mayonnaise for plain, full-fat Greek yogurt works wonders. It keeps that cool, creamy mouthfeel but cuts down on the fat content noticeably. Just be warned: if you swap all of it, the filling might be a little too stiff after chilling, so stick to half if you substitute! Remember, these are your easy deviled eggs, so make them work for your crowd!
How to Make Deviled Eggs: Foolproof Boiling and Peeling
Okay, deep breath. This is the moment that trips up everyone trying to make easy deviled eggs. Gray yolks and shells that tear off huge chunks of white? Ugh, no thank you. My secret here isn’t just boiling; it’s the timing and the temperature shock. We bring the water to a hard, rolling boil first—this sets the egg white quickly. Then, immediately kill the heat, cover the pot, and let them sit for EXACTLY 12 minutes. Not 11, not 13. That 12-minute sweet spot gives us a beautiful, bright sunny yellow center, every time!
Once that timer dings, you need ice. Fill a huge bowl with ice and cold water, and plunge those hot eggs right in. Let them chill completely—about 15 minutes. This rapid cooling is non-negotiable if you hate peeling struggle.
The Science Behind Easy-Peel Hard Boiled Eggs
This rapid temperature change is pure Food Science magic at work! When the eggs get super hot, the watery whites cook and firm up around the yolk. But the shell membrane sticks tightly to the egg white until it’s cooled. By shocking the egg rapidly in ice water, the egg contents cool down much faster than the outside shell. This causes the cooked white to shrink slightly away from the inner shell membrane, creating a tiny pocket of space! When this happens, the shell practically slips right off. If you want the deep science behind achieving perfectly cooked eggs, you know I’ve got the details!
Creating the Creamy Filling for Your Deviled Eggs Recipe
Once those whites are peeled and sitting pretty on your platter, it’s time for the best part: making the velvety smooth filling for our deviled eggs recipe! Take all those bright yellow yolks and pop them into a clean, medium mixing bowl. Now, you *must* mash them thoroughly with a fork until you have a powder finer than sand. If you still see lumps, keep going! Little hard bits just ruin the experience of a truly creamy bite.
After you’ve pulverized the yolks, it’s time to introduce the flavor crew. Add in all your mayonnaise, that yellow mustard, that splash of vinegar, and your salt and pepper. Mix it all together like you mean it! I stir mine until the mixture is completely homogeneous—no streaks, no lumps, just one gorgeous, pale yellow cloud of flavor. Before you stop, you simply have to taste it! Does it need a tiny pinch more salt? A little extra zip from the mustard? Don’t be shy about adjusting now, because once this filling goes into the whites, that’s it. If you want to learn more about the flavor science behind different mustards, I found a great resource about mustard varieties here. Once it tastes perfect to you, we’re ready to pipe!
Assembling and Garnishing Your Deviled Eggs Recipe
We’ve done the hard work—boiling, peeling, and whipping up that incredible creamy filling. Now comes the fun part: assembly! You can certainly use a small spoon to gently scoop the mixture back into those neat little egg white cradles, and I won’t tell anyone. But if you want these to look like true, show-stopping party finger food that makes people ask for your secret, you absolutely need to use a piping bag. It’s so much easier than you think!
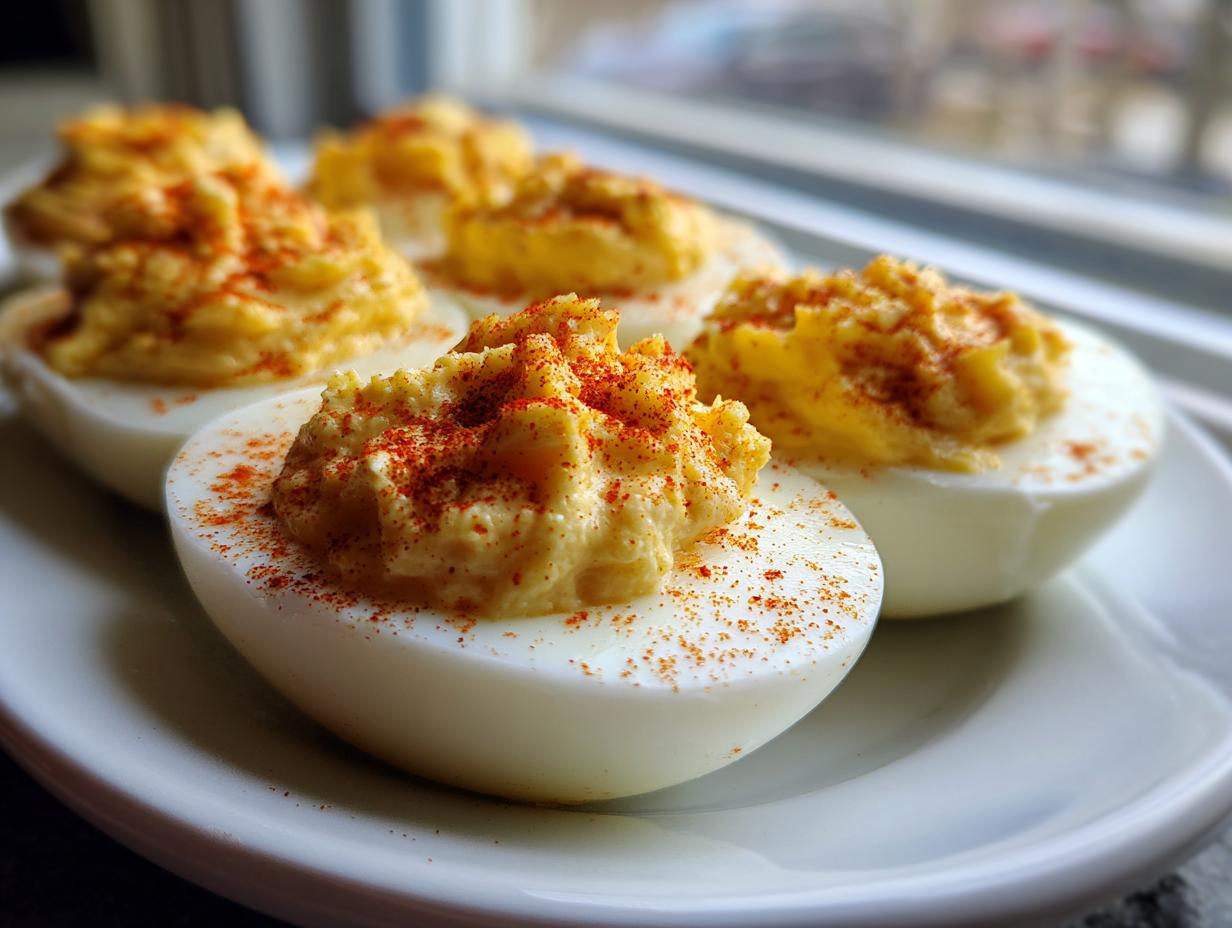
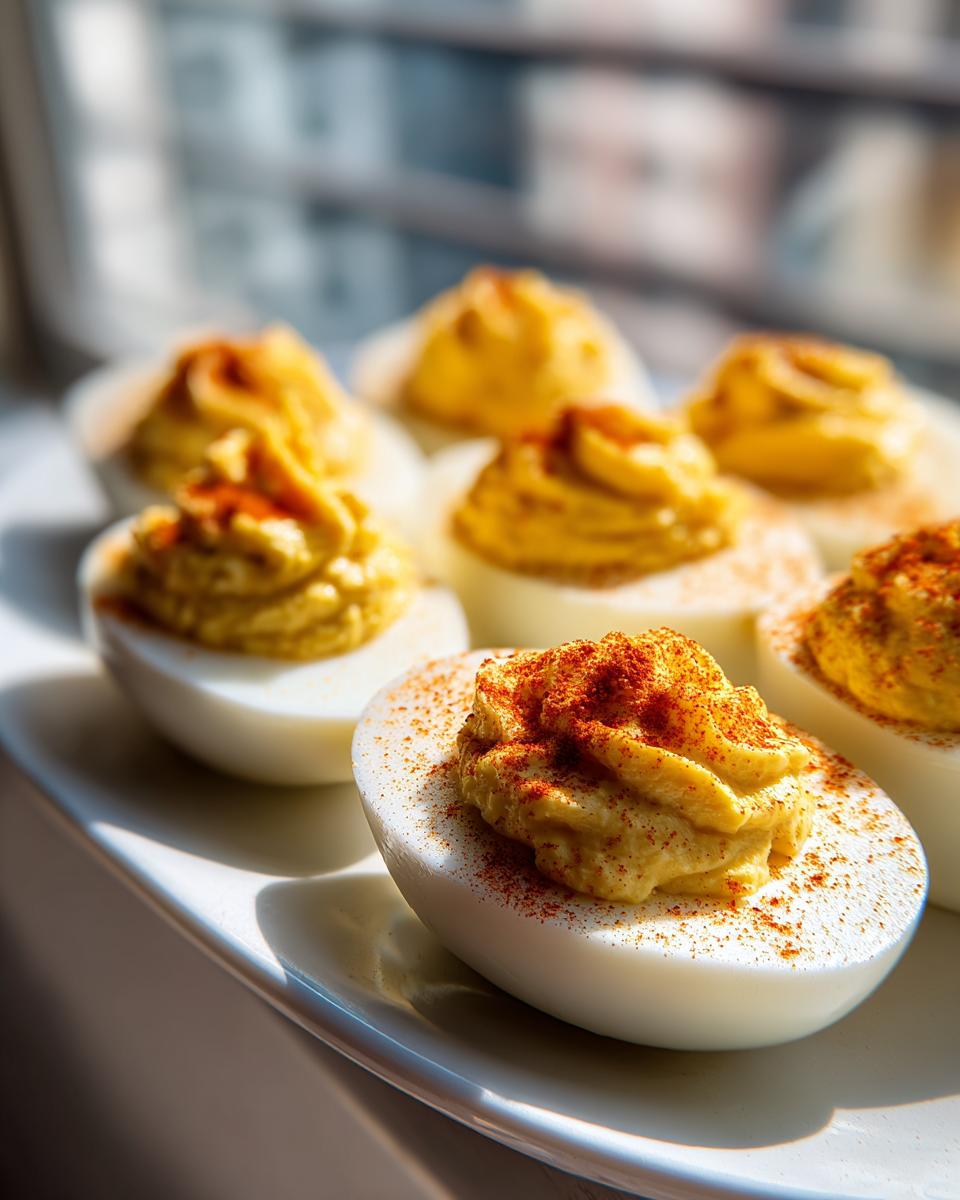
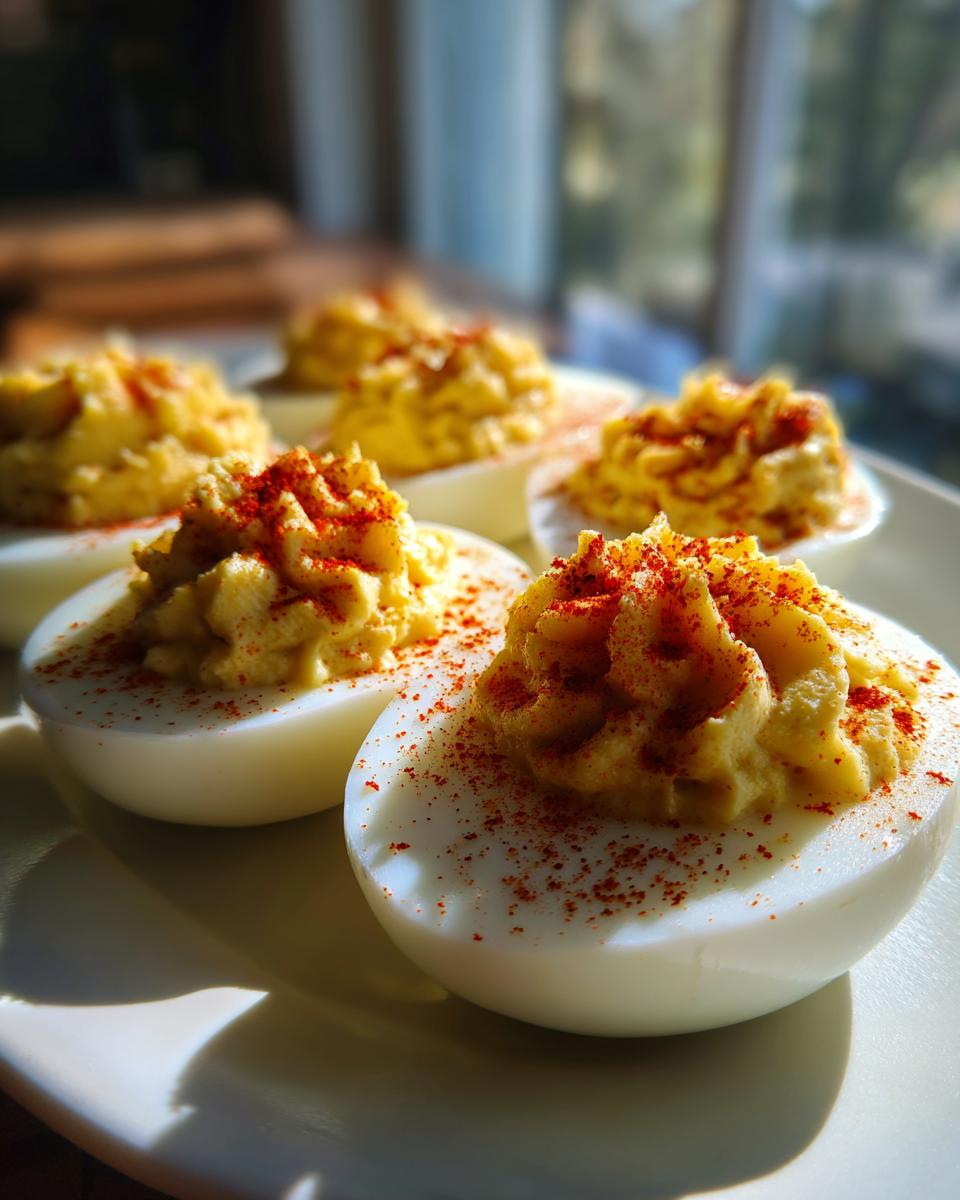
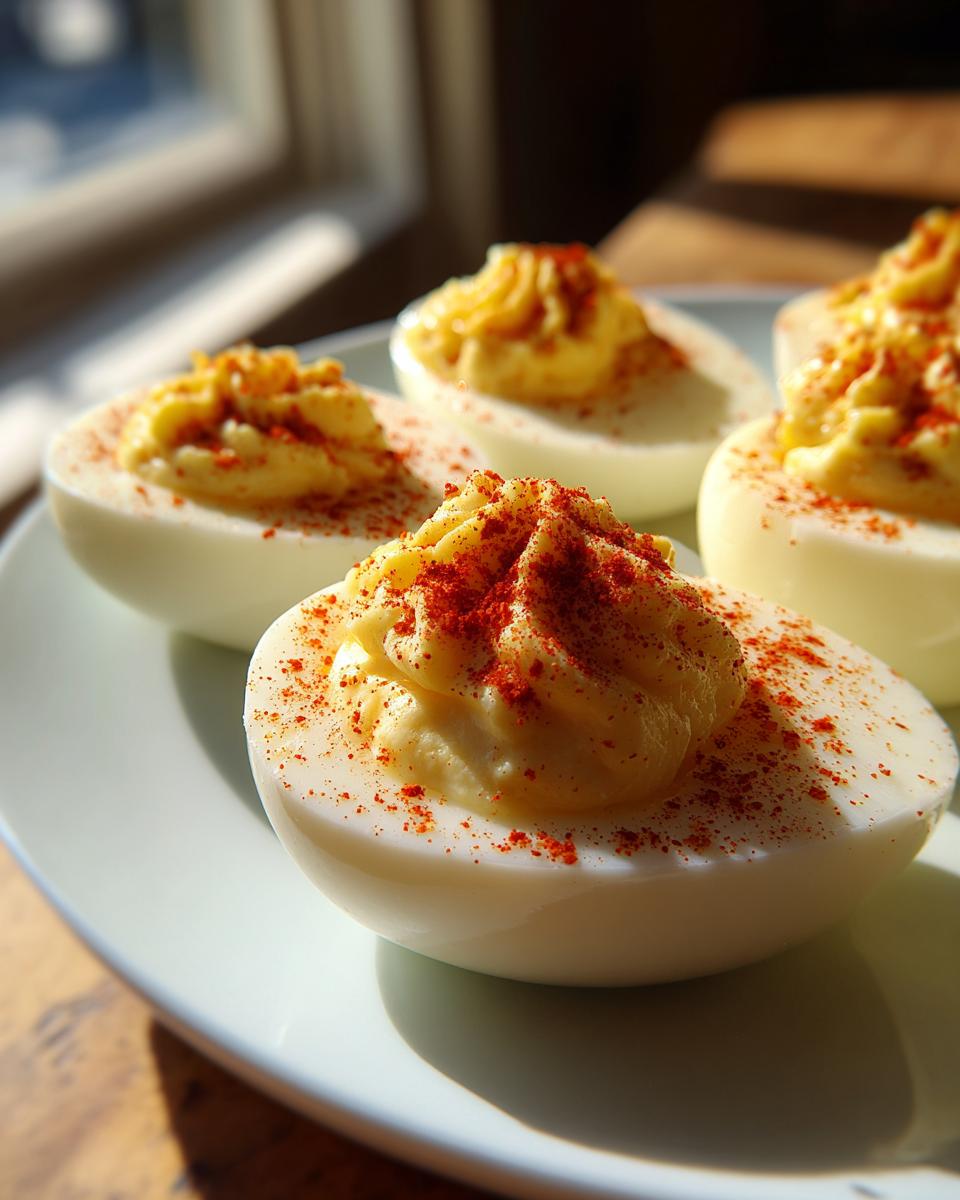
Grab a piping bag and fit it with a large star tip—that’s the secret to those gorgeous ridges. Gently spoon your filling into the bag, twist the top closed, and just pipe a lovely rosette of yolk mixture right into each egg white half. Don’t overfill them, or the tops tend to slump in the fridge! Finally, for that classic punch of color? A tiny, light sprinkle of paprika right over the top of the filling finishes the job. Seriously, a light dusting is all you need to make these gorgeous, savory bites ready for the party!
Tips for Success with Party Finger Food Deviled Eggs
Since these are such a popular party finger food, sometimes we have to make them a little ahead of time, right? The goal is always to serve them looking as fresh as possible, so I wanted to share a few tricks I picked up over the years to keep everything looking perfect.
First, if you’ve mixed the filling—that gorgeous, creamy yolk mixture we made—you need to get it chilled down before you pipe it. If the filling is even slightly warm when it goes into the egg whites, it might get too soft or start tasting a little weird, and it won’t hold that pretty piped shape. Wrap that bowl tightly in plastic wrap and chill it for at least 30 minutes. Trust me; cold filling pipes beautifully!
Here’s a big time-saver for very large batches: You can boil, peel, and halve your eggs up to 24 hours in advance! Keep the whites stored in an airtight container lined with a damp paper towel in the fridge. But please, DO NOT fill them until you are ready to serve. The filling dries out quickly, and the moisture from the whites can make the filling soggy if they sit too long together.
If you are bringing these to a picnic or an outside event, you absolutely must keep them cold. Deviled eggs really shouldn’t hang out at room temperature for more than about an hour total before they need to go back into the cooler. If you’re transporting a big platter, invest in one of those dedicated deviled egg carriers. They keep the halves separated and upright so none of your beautiful piping work gets smushed during transport. For tips on making your platter look extra gorgeous for maximum party impact, you can check out my thoughts on presentation and garnish styling!
Storage and Serving Suggestions for Deviled Eggs
So, you’ve made the perfect batch! Congrats! But now you have leftovers, or maybe you need to prep them before the party starts, which means we need a solid refrigeration plan. Keeping these little guys safe and tasty is just as important as making that smooth center!
For general overnight storage in the fridge, keep them covered tightly. Whether they are filled or just the peeled whites waiting for the filling, an airtight container is your best friend. If the eggs are already filled, make sure you cover them gently so the paprika doesn’t get smeared. Honestly, they taste best the day you make them, but they are generally safe and delicious for up to two days in the refrigerator. After that, the texture of the filling just starts to change in ways I don’t like!
If you’re transporting these to a work potluck or a friend’s house, please, please use a carrier if you have one! Those plastic trays with lids keep the eggs nestled securely right where you piped them. If you don’t have one of those special carriers, place the egg halves snugly into a 9×13 pan, but here’s the trick: use small pieces of crumpled wax paper or paper towels tucked gently between the halves to keep them from sliding around and bumping into each other when you drive. Nobody wants squished filling!
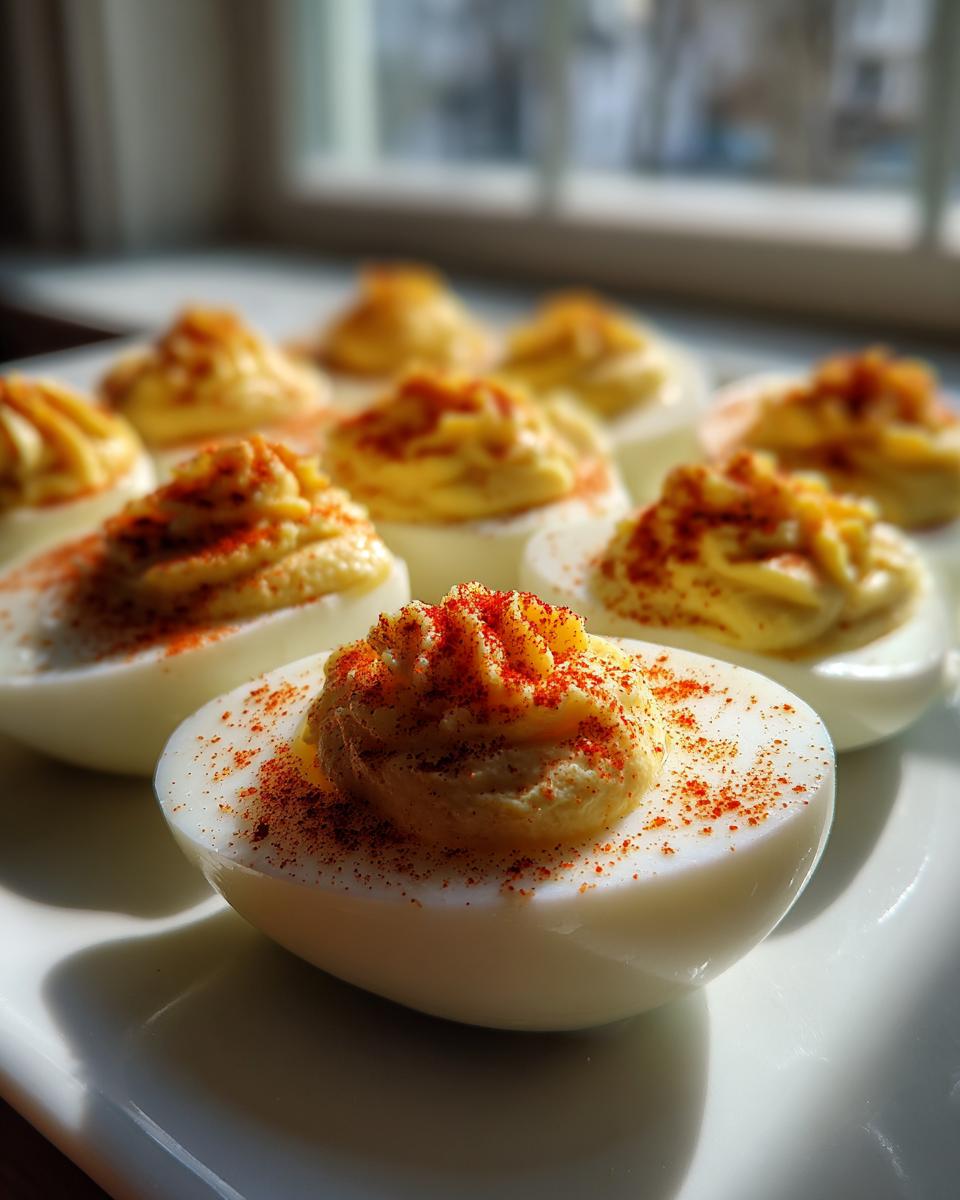
When it comes to serving this classic appetizer, simplicity is always the way to go. I usually arrange them on a plain white platter since the bright yellow and red paprika already look so festive. If you want a little something extra on the side, I love putting little bowls of crispy bacon bits or chopped fresh chives nearby. That way, folks can customize their bites right there on the platter. They pair perfectly with fresh veggies or just sit beautifully alongside chips and dips. Enjoy watching them disappear!
Frequently Asked Questions About Your Deviled Eggs Recipe
I know you might still have a few little cooking questions popping up in your head, and that’s totally fine! When you’re making something as beloved as these, you want it perfect. I’ve gathered the questions I get asked most often in my DMs and comments after readers try out this deviled eggs recipe!
Can I make the filling ahead of time for these easy deviled eggs?
Yes, you absolutely can! This is a great trick for serving a big crowd. You can mash the yolks and mix in all the mayonnaise, mustard, and seasonings up to 24 hours in advance. Remember what I said about keeping things cold? Store the finished filling in an airtight container in the coldest part of your fridge until you’re ready to pipe it. If you chill it down thoroughly first, it will hold its shape so much better when you finally fill the egg white halves.
Help! Why are my hard-boiled egg yolks gray or green around the edges?
Oh, that gray-green ring is the sign of an overcooked egg, sadly! It happens when there’s too much sulfur in the yolk reacting with the iron in the white, usually because the eggs were left simmering too long. That’s why my recipe calls for bringing the water to a boil, immediately taking it off the heat, covering it, and timing it for *exactly* 12 minutes. That specific temperature control prevents that ugly ring from ever forming, giving you the beautiful yellow color you need for the best deviled eggs!
What is the very best way to transport deviled eggs to a party?
Transporting these delicate little bites without ruining the presentation is key, especially if they are destined to be a star party finger food! My top recommendation, as I touched on before, is using a purpose-built deviled egg carrier. They have recessed spots that keep each half perfectly upright and stop the filling from getting jostled. If you don’t have one of those special carriers, try placing them snugly in a 9×13 pan and using wadded-up wax paper or paper towels tucked gently between the white cups to keep them from sliding around on the drive. And please, keep them cool!
Do I have to use paprika on top of my deviled eggs recipe?
You don’t *have* to, but honestly, I highly recommend it! Paprika adds that necessary visual “pop” that signals “classic deviled eggs” to most people. It’s not just for looks, either; the slight sweetness and smokiness (if you use smoked paprika!) really complement the tanginess of the filling. If you want something greener, a sprinkle of finely snipped fresh chives or a tiny dot of black olive also looks really sharp. But for the traditional look, paprika is the way to go! For more on presentation, I talk about styling egg platters here.
Nutritional Snapshot of This Deviled Eggs Recipe
I know some of you are keeping track of what you serve, and even though we’re talking about a really satisfying classic appetizer here, it’s good to know what you’re munching on! Because I spent so much time in the test kitchen figuring out ingredient ratios, I can give you a pretty solid estimate for this recipe. Remember, these numbers are based on the ingredients list provided—using specific brands of mayonnaise or different types of mustard can slightly change the counts!
Here’s a rough idea of what you’re looking at for two deviled egg halves served together. It turns out they’re not nearly as heavy as people sometimes think!
- Serving Size: 2 halves
- Calories: Around 90
- Fat: About 8 grams
- Protein: A nice little boost of 3 grams
- Carbohydrates: Very low, less than 1 gram
- Sugar: Less than 1 gram
Just a friendly note because I see this question often: these estimates do not include any extra toppings you might add, like bacon bits or a fancy relish, so keep that in mind if you’re piling on the extras! Enjoy these savory bites knowing they are perfectly balanced, tangy, and totally crowd-pleasing!
Share Your Success with This Deviled Eggs Recipe
Well, that’s it! You are officially equipped with the foolproof method for the best deviled eggs this side of the Mississippi. I’m absolutely thrilled that you’re giving this recipe a try. Making food is all about that connection, that joy of sharing something delicious with people you care about, whether they’re family or friends at a big potluck!
Since you followed the steps—especially that crucial ice bath timing for the perfect peel—I really, really want to hear how they turned out. Did the star tip give you those beautiful swirls? Did they disappear instantly? Please don’t be shy! Scroll down below and leave a rating for the recipe, and let me know in the comments exactly what your crowd thought of these easy deviled eggs.
If you made them for a special occasion, snap a picture! I love seeing my recipes shine on your tables. Tag us on social media if you share a photo; it truly makes my day to see my hard work translating into incredible homemade food for you. Happy cooking, and I can’t wait to read your feedback on this flawless classic appetizer!
PrintClassic Deviled Eggs Recipe

This is a reliable recipe for perfectly creamy and tangy deviled eggs, a classic appetizer that is simple to make for any gathering.
- Prep Time: 20 min
- Cook Time: 12 min
- Total Time: 32 min
- Yield: 24 halves 1x
- Category: Appetizer
- Method: Boiling and Mixing
- Cuisine: American
- Diet: Gluten Free
Ingredients
- 12 large eggs
- 1/2 cup mayonnaise
- 2 tablespoons yellow mustard
- 1 tablespoon white vinegar
- 1/2 teaspoon salt
- 1/4 teaspoon black pepper
- Paprika, for garnish
Instructions
- Place eggs in a large saucepan and cover with cold water by about one inch. Bring the water to a rolling boil over high heat.
- Once boiling, immediately remove the pan from the heat, cover it, and let the eggs stand for exactly 12 minutes.
- Prepare an ice bath by filling a large bowl with ice and cold water.
- Drain the hot water from the eggs and immediately transfer the eggs to the ice bath. Let them cool completely, about 15 minutes.
- Peel the cooled eggs. Slice each egg in half lengthwise.
- Carefully scoop the yolks into a medium bowl. Place the egg white halves on a serving platter.
- Mash the yolks thoroughly with a fork until smooth.
- Add the mayonnaise, yellow mustard, white vinegar, salt, and black pepper to the mashed yolks. Mix until the filling is completely smooth and creamy.
- Spoon or pipe the yolk mixture back into the hollows of the egg white halves.
- Sprinkle paprika over the top of each deviled egg before serving.
Notes
- For easy peeling, make sure your eggs are not too fresh; slightly older eggs peel better.
- To achieve a smooth filling, press the mashed yolks through a fine-mesh sieve before mixing in the other ingredients.
- You can use a piping bag fitted with a star tip for a professional look when filling the egg whites.
Nutrition
- Serving Size: 2 halves
- Calories: 90
- Sugar: 0.5
- Sodium: 120
- Fat: 8
- Saturated Fat: 2
- Unsaturated Fat: 6
- Trans Fat: 0
- Carbohydrates: 0.5
- Fiber: 0
- Protein: 3
- Cholesterol: 75