
Oh, Thanksgiving! It’s my absolute favorite holiday, but let’s be honest—the pressure to get everything right can be a lot! I remember staring at my list, thinking, “Where can I save time *without* sacrificing tradition?” That’s exactly how I perfected these incredibly soft dinner rolls. For years, I messed around with recipes that were too sticky or took forever to proof. Now, I have the foolproof, easy formula for the fluffiest, most tender bread that just soaks up all that amazing gravy. Trust me, after years developing recipes, I know exactly how to make this Thanksgiving classic simple enough for the holiday rush but delicious enough to earn rave reviews every single year.
- Why These Dinner Rolls Recipe Easy Are a Thanksgiving Classic
- Gathering Ingredients for Perfect Dinner Rolls
- How to Make Dinner Rolls: Step-by-Step Baking Science
- Baking and Finishing Your Golden Brown Dinner Rolls
- Tips for Success When Making These Dinner Rolls
- Storing and Reheating Classic Dinner Rolls
- Serving Suggestions for Your Holiday Dinner Rolls
- Frequently Asked Questions About Dinner Rolls
- Reader Feedback and Sharing Your Dinner Rolls
Why These Dinner Rolls Recipe Easy Are a Thanksgiving Classic
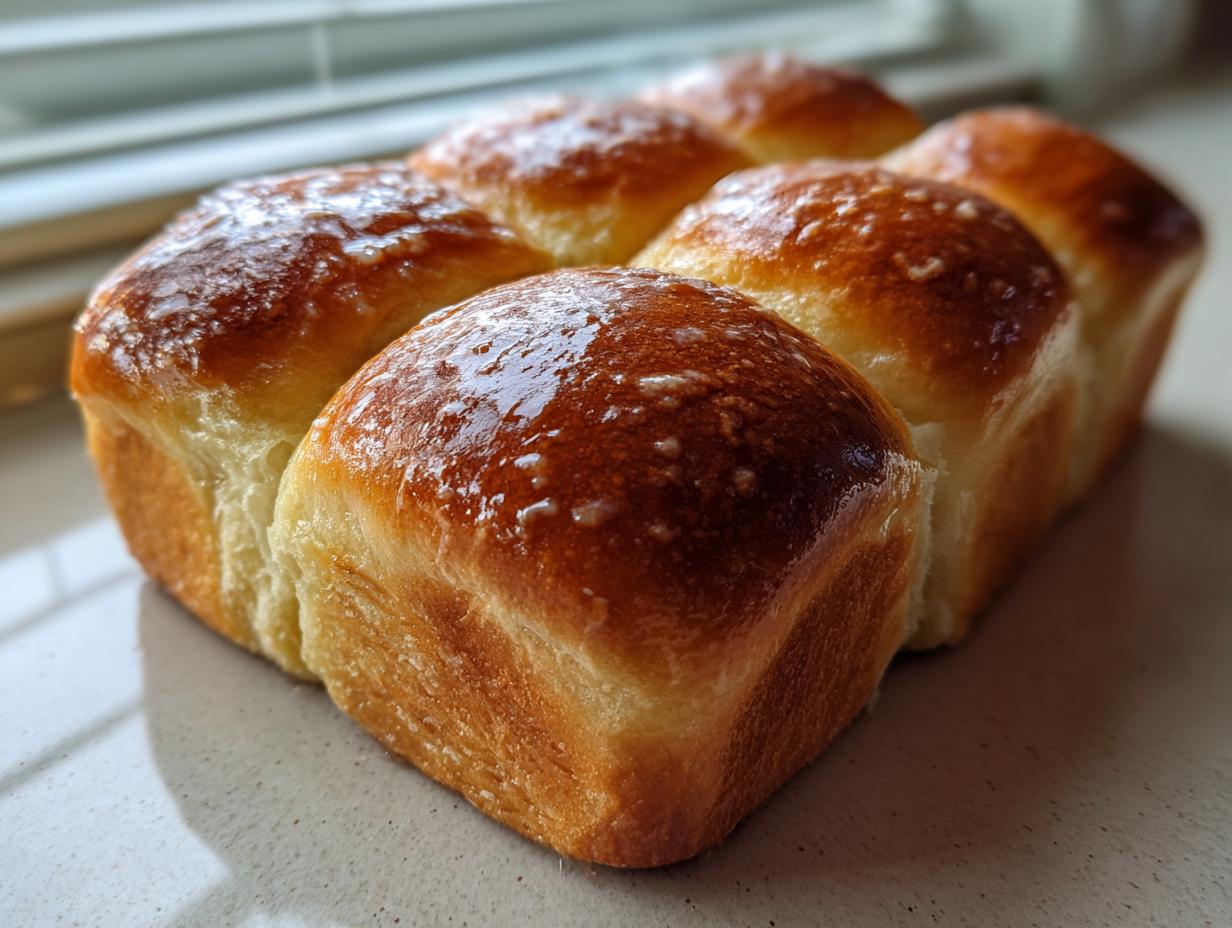
When your oven is already packed with turkey and stuffing, the last thing you need is a fussy bread recipe. That’s why this recipe is my go-to! These rolls have that wonderfully soft, pull-apart texture everyone craves, and they manage to look impressive without demanding all your attention.
Here’s why this dinner rolls recipe easy is officially locked in as our family’s Thanksgiving classic:
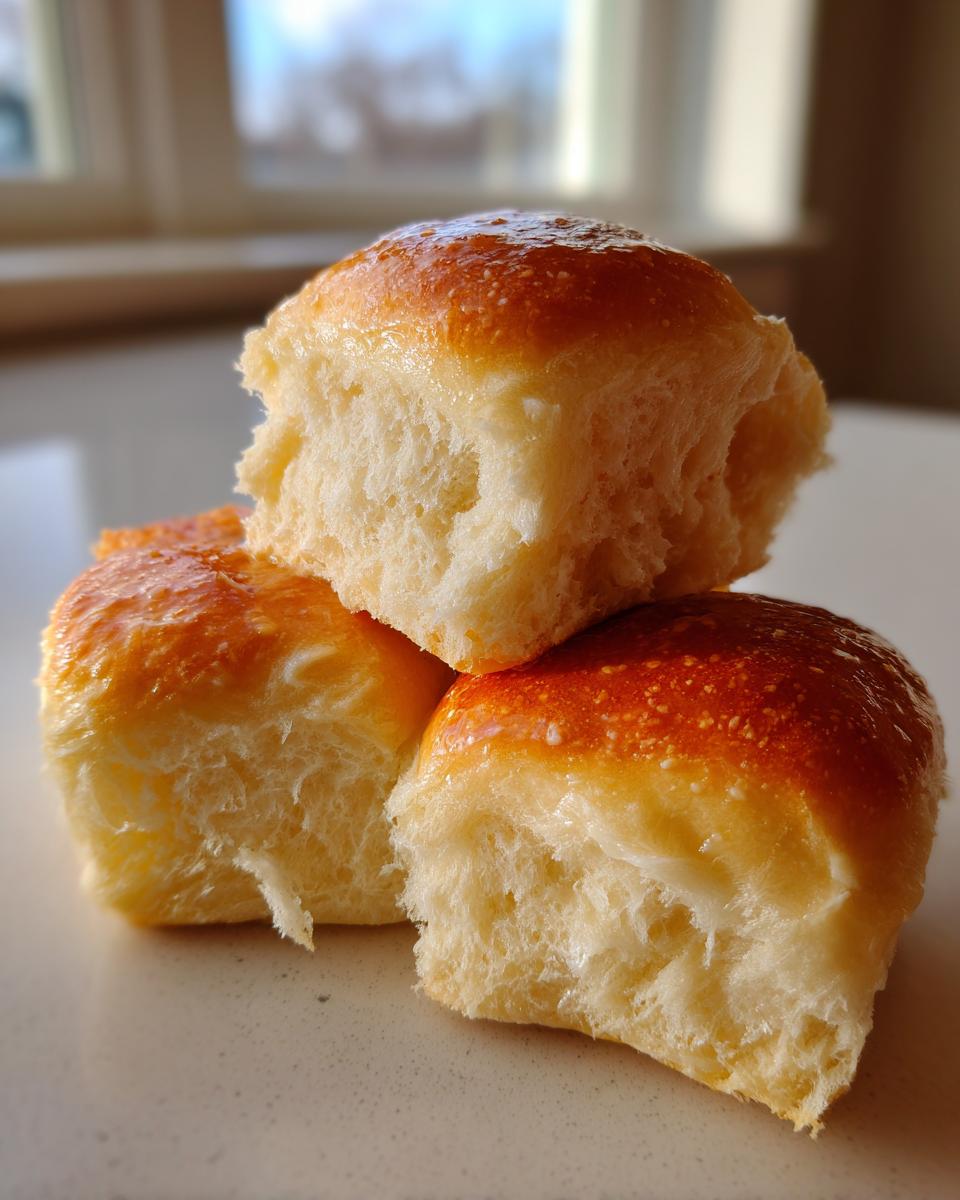
- They achieve maximum puffiness with a straightforward two-step rise. No complicated folding required!
- The flavor is perfectly mild and slightly sweet—they are total gravy magnets.
- I guarantee the softest crumb, even after they cool down a bit. Check out my best baking tips if you ever worry about dryness!
Gathering Ingredients for Perfect Dinner Rolls
Listen, the reason this recipe works so perfectly every time, even when I’m juggling six other things for my holiday baking, is because the ingredient list is so straightforward. We aren’t doing any weird soaks or starters here! You need standard pantry staples, but the preparation for a few items is crucial. Remember, the yeast won’t activate if your milk gets too hot—we are aiming for cozy, not scalding!
Here’s exactly what you need for a dozen perfect rolls:
- 1 cup warm milk (it should feel just slightly warmer than body temperature, around 110°F is the sweet spot!)
- 2 1/4 teaspoons active dry yeast (that’s one standard packet, easy peasy)
- 1/4 cup granulated sugar
- 1 large egg, brought up to room temperature before you start
- 1/4 cup unsalted butter, melted down and allowed to cool just a touch
- 1 teaspoon salt
- 3 1/2 cups all-purpose flour, plus whatever you need for dusting
- 2 tablespoons unsalted butter, softened just enough to smear easily (reserved for brushing later!)
Ingredient Clarifications and Substitutions for Dinner Rolls
I always get asked about the milk. If you look at the instructions, it says warm milk—this is critical chemistry! If the milk is much hotter than 120°F, it kills the friendly little yeast creatures, and your dough won’t rise. Think warm bathwater, not hot tea! You can absolutely use 2% milk instead of whole milk; the slightly lower fat content won’t ruin the structure here. Also, make sure your egg is at room temperature; cold eggs can sometimes shock the yeast mixture and slow down that beautiful rise we are aiming for, especially when you’re trying to get ahead for Thanksgiving.
How to Make Dinner Rolls: Step-by-Step Baking Science
Alright, time for the fun part! Learning exactly how to make dinner rolls that pull apart like clouds takes just a bit of timing and technique. We’re going to follow the flow, but pay close attention to those waiting periods; they are where the magic happens. Don’t rush the yeast, and don’t overwork the gluten—that’s my professional golden rule for yeasted breads! We want these ready to soak up all that gravy before anyone notices I’m sneaking one!
Activating Yeast and Mixing the Dinner Rolls Dough
First things first, get that yeast happy! Pour your warm milk (remember, bathwater temp!) into a sturdy bowl and toss in the yeast. Let it sit for about five minutes until it looks foamy and alive. If it doesn’t foam, dump it and start over—that means your yeast is dead, and we can’t have that! Once it’s bubbly, stir in the sugar, the room-temperature egg, your melted butter, and the salt. Now, start adding the flour gradually. Mix it up until it just comes together into a shaggy, messy ball. That’s exactly what we want before we hit the counter! For more details on yeast behavior, check out my guide on yeast activation tips.
Kneading and First Rise for Soft Dinner Rolls
Dump that shaggy mess onto a lightly floured counter. Now, we knead! You need to work this dough for a full 6 to 8 minutes. This is where you build the structure. I keep kneading until it feels smooth, soft, and really elastic—if you gently poke it, it should slowly spring back. If you’re unsure if it’s elastic enough, try stretching a small piece thinly; if it tears immediately, keep going! Once it passes the test, place it in a lightly oiled bowl, cover it up tight, and find it a warm, draft-free spot—like inside your oven with just the light on—for about an hour and a half until it’s doubled up, looking all puffy.
Shaping and Second Proofing of Your Dinner Rolls
Once it’s doubled, gently punch the air out—it’s so satisfying! Now, divide that beautiful dough carefully into 12 equal pieces. Roll each piece firmly between your palms until you create a smooth, tight ball. You want these balls to snuggle up together in your greased 9×13 pan, leaving about an inch of space between them because they are going to get friendly again! Cover them loosely and let them proof for just 30 to 45 minutes until they look noticeably puffy again. This last rise gives these wonderful rolls their final fluffy texture!
Baking and Finishing Your Golden Brown Dinner Rolls
Okay, your little dough balls are puffy and ready for their big moment! Go ahead and preheat your oven to 375°F (that’s 190°C). This temperature is perfect for baking bread quickly enough to get color but slowly enough that the inside cooks through without drying out. Slide that pan right into the hot oven for about 15 to 18 minutes.
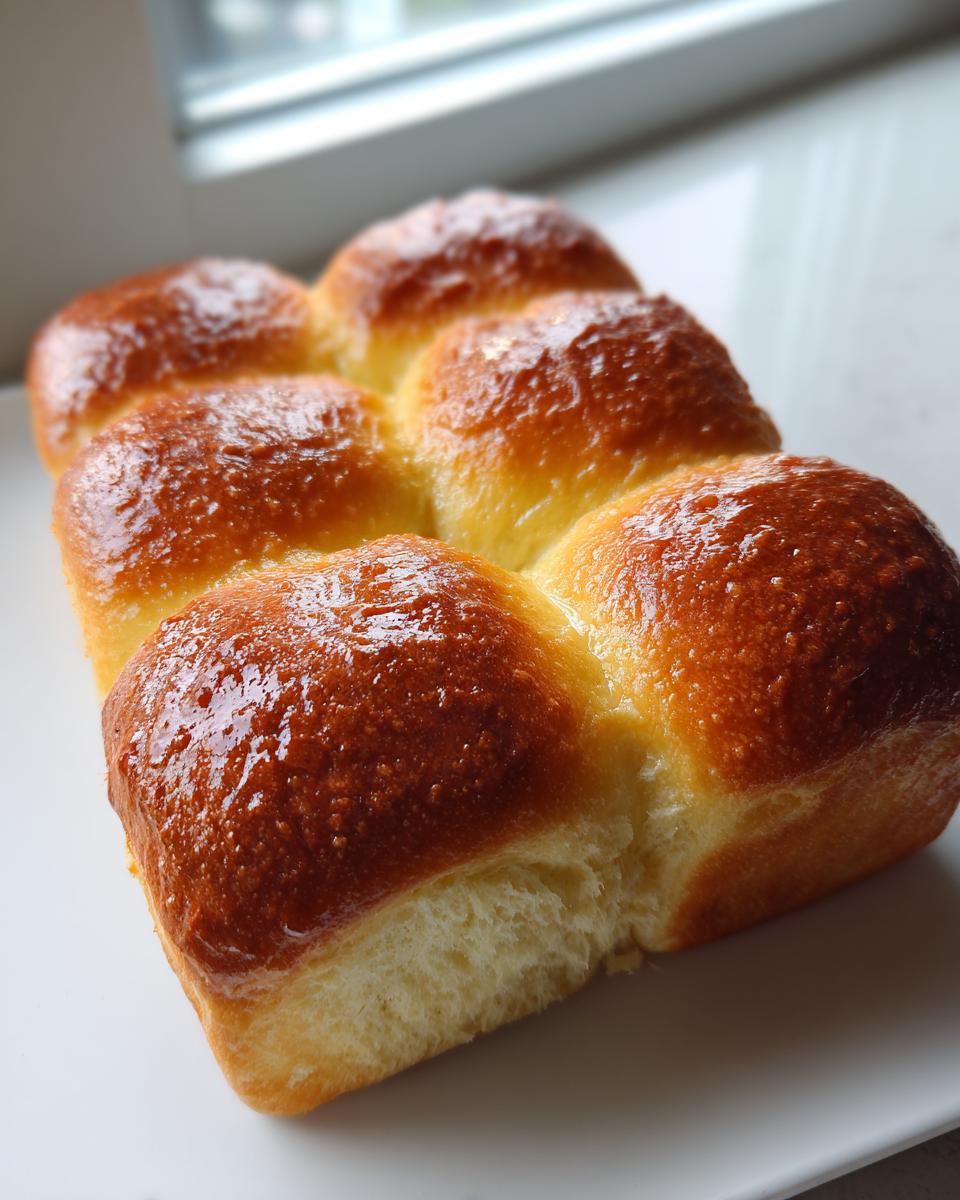
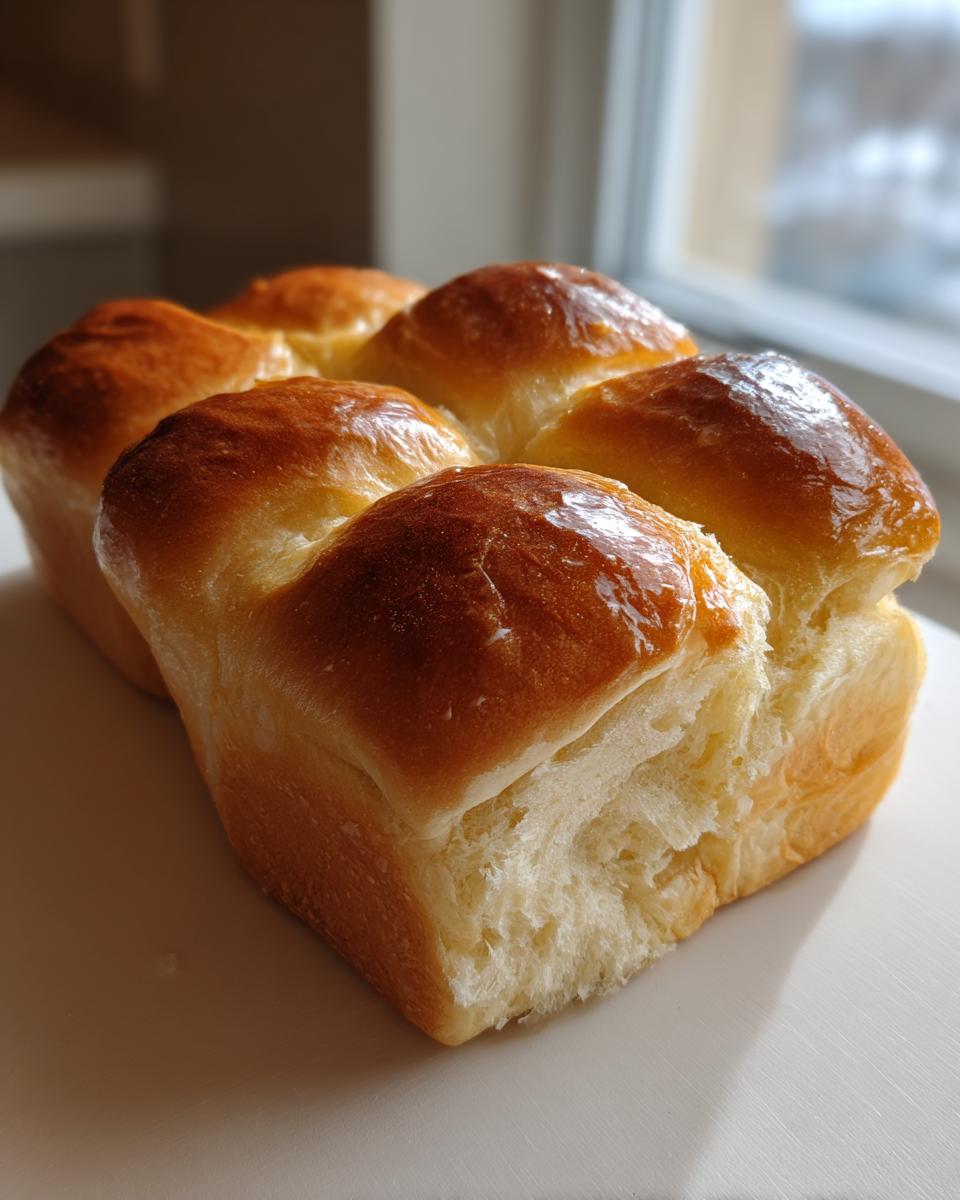
You’re looking for a really beautiful, deep golden brown on top—no pale spots allowed! The second they come out, get your reserved 2 tablespoons of softened butter and brush it all over the tops immediately. That’s the secret to that gorgeous sheen and soft crust on our perfect dinner rolls. Seriously, don’t wait—the melted butter soaks right in!
Tips for Success When Making These Dinner Rolls
Baking is chemistry, and when you’re dealing with a holiday schedule, you need reliability. Coming from years in the test kitchen, I developed a few tricks to make sure these rolls turn out perfectly spongy, even if your kitchen humidity is wacky or your oven runs hot.
- Understand Your Oven Zones: Ovens really don’t heat evenly, especially when you have a big bird roasting nearby! If your rolls look like they are browning too fast on one side, give the pan a half-turn halfway through the baking time. This prevents dark edges and keeps the tops perfectly blonde and beautiful together.
- The Humidity Factor in the Dough: If you live somewhere really humid, make sure you add the flour slowly. On damp days, the flour absorbs moisture from the air, so you might only need 3 1/4 cups instead of the full 3 1/2. Watch the dough, not just the measuring cup! Stop adding flour when the dough is soft but *no longer sticky* to the touch.
- Room Temperature is Your Friend: I mentioned it above, but I’m repeating it because it’s vital! Make sure that egg and milk are warm/room temp. Cold ingredients stop the yeast dead in its tracks. If your kitchen is chilly, make your first dough rise happen inside the actual oven—just turn the oven light on; that tiny bit of gentle heat is perfect.
- Don’t Skip the Brushing: Seriously, do not skip brushing those hot rolls with the melted butter right as they come out. That butter coating is what locks in the softness and creates that slight, crisp-yet-tender bite that makes people always ask for the recipe. It’s the final touch that elevates them from good to absolutely perfect.
Storing and Reheating Classic Dinner Rolls
You probably won’t have any leftovers, but just in case you do—or if you want to bake these ahead of time—storage is easy. Keep any leftover dinner rolls in an airtight container at room temperature for up to two days. They stay soft this way! If you need to keep them longer, wrap them tightly in heavy-duty foil and pop them in the freezer for up to a month; they freeze beautifully!
When you’re ready to eat the frozen ones, just pop them straight into a 350°F oven for about 10 minutes. If they are room temperature, wrapping them in foil and heating for just 5 minutes restores that just-baked tenderness. Always check general food safety guidelines when storing bread products, but these usually disappear too fast to worry about!
Serving Suggestions for Your Holiday Dinner Rolls
Honestly, these rolls are pretty much just a delivery vehicle for delicious things, right? They are designed to be the perfect sidekick for all the main actors on your Thanksgiving table. While they are wonderful all by themselves when they are hot out of the oven, they really shine when paired with the heavy hitters.
When I bring these to the table, I always make sure they are sitting right next to the turkey platter. They are absolutely essential for soaking up every last drop of that rich, savory gravy—don’t leave a single puddle behind!
Beyond the gravy, they handle sweetness so well, too. You have to pair them up next to the cranberry sauce. Whether you like it chunky or smooth, a little smear of tart cranberry preserves on a warm, soft roll is such a great contrast to the salty turkey flavor. And don’t forget to have some extra softened butter on standby for those who like to slather it on thick right away, even before the main course starts!
Frequently Asked Questions About Dinner Rolls
I know that when you’re baking under pressure for a big crowd, sometimes things don’t go exactly as planned. Don’t panic! If something seems off with your batch of dinner rolls, it’s usually a fixable issue we can trace back to the science of breadmaking. I’ve bundled a few things people ask me most often, especially when they are figuring out how to make dinner rolls for the first time for a holiday meal. You’ll find that most problems boil down to temperature or timing!
Troubleshooting Common Dinner Rolls Issues
The number one issue I always hear about is ending up with dense, squat rolls instead of the tall, puffy ones we want. This almost always means one of two things: your yeast was dead, or you didn’t let the dough rise long enough in the first proof. If your dough seemed heavy and didn’t double in size after that first hour and a half, the yeast simply wasn’t active enough to create the necessary gas bubbles. If you’re struggling with density, double-check the temperature of your milk next time, and make sure you’re kneading for those full 6 to 8 minutes to build strong gluten structure. You can find even more specific chemical solutions over in my baking troubleshooting guide!
Can I make these dinner rolls ahead of time for Thanksgiving?
Absolutely! That’s the beauty of this reliable recipe. You can finish shaping the rolls, place them in the pan, and cover them tightly. Then, place the whole pan in the refrigerator overnight (up to 24 hours). You’ll need to let them sit on the counter for about an hour to warm up slightly before baking, but they are wonderful for easing your holiday workload.
What if I don’t have a stand mixer? Can I still make this recipe?
Yes, good heavens, yes! I developed this recipe to be kneaded perfectly well by hand, and frankly, it connects you better to the dough. It will take you those full 6 to 8 minutes of kneading on the counter, just like I described, but your arms will get a great workout, and the rolls turn out just as soft!
Why did my rolls shrink after the second rise?
Shrinking usually happens if the second rise environment was too hot or had a draft. If they get too hot too fast, they puff up quickly and then deflate because the structure hasn’t set properly. Keep that second proofing area gentle and warm—not blazing hot!
Reader Feedback and Sharing Your Dinner Rolls
I truly hope these soft dinner rolls make your Thanksgiving table the absolute best part of the meal! When you try this recipe, please take a moment to come back and let me know how they turned out for you. Did they disappear first? Did you get compliments on how fluffy they were? Drop a rating right here on the page so others know they can trust this recipe during their own busy holiday baking sessions.
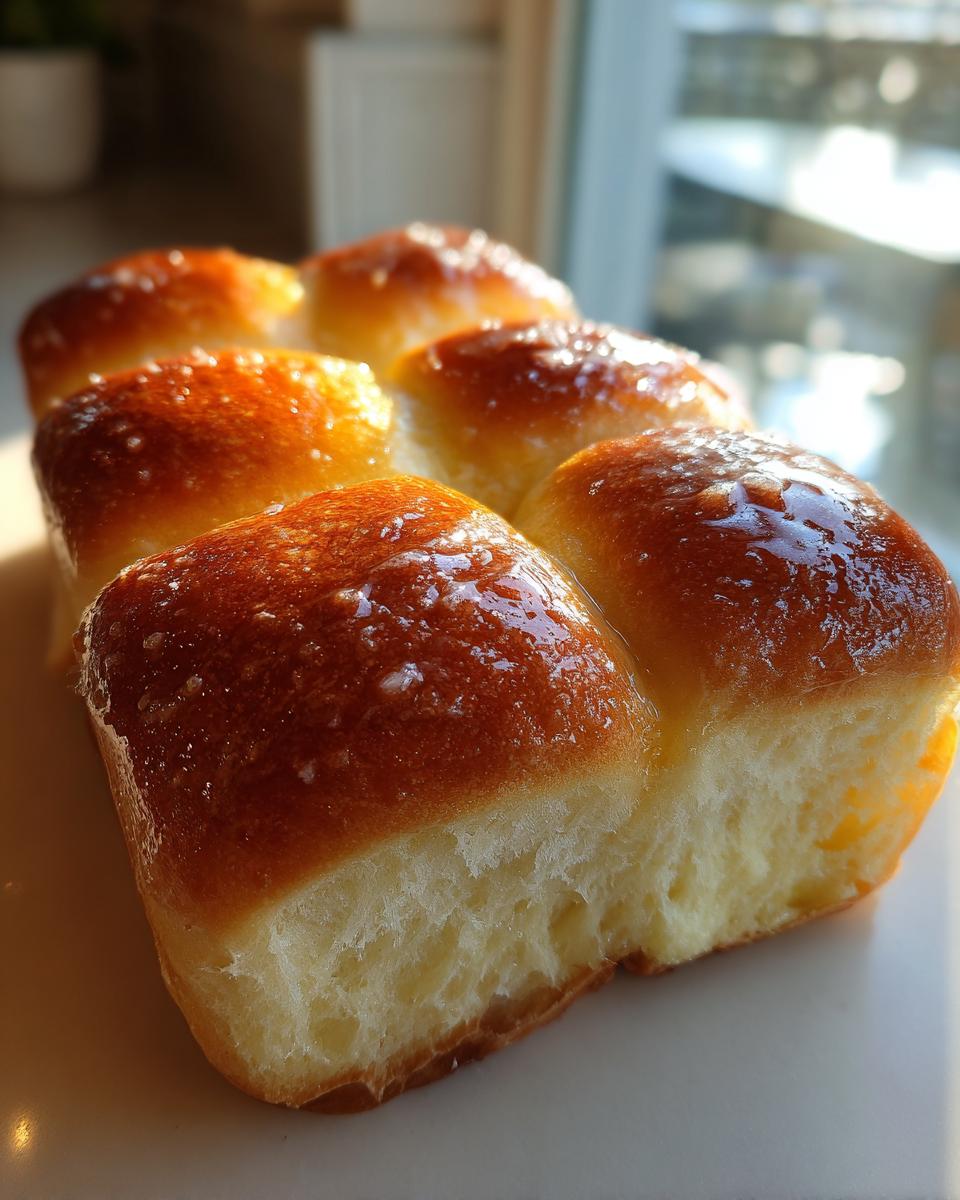
And please, if you snapped a picture of your perfectly golden-brown, buttery batch, I would be thrilled to see them! Tag me online so I can share your holiday success. Seeing your beautiful bread on your table just makes my day and reminds me why making simple, reliable recipes like this is so important.
PrintClassic Soft Dinner Rolls for Thanksgiving

Make tender, classic dinner rolls that are perfect for soaking up gravy at your holiday meal. This recipe is straightforward and yields soft, crowd-pleasing bread.
- Prep Time: 25 min
- Cook Time: 18 min
- Total Time: 1 hour 58 min
- Yield: 12 rolls 1x
- Category: Baking
- Method: Baking
- Cuisine: American
- Diet: Vegetarian
Ingredients
- 1 cup warm milk (about 110°F)
- 2 1/4 teaspoons active dry yeast
- 1/4 cup granulated sugar
- 1 large egg, room temperature
- 1/4 cup unsalted butter, melted
- 1 teaspoon salt
- 3 1/2 cups all-purpose flour, plus more for dusting
- 2 tablespoons unsalted butter, softened (for brushing)
Instructions
- Combine the warm milk and yeast in a large bowl. Let stand for 5 minutes until foamy. This activates the yeast.
- Stir the sugar, egg, melted butter, and salt into the yeast mixture.
- Gradually add the flour, mixing until a soft dough forms.
- Turn the dough out onto a lightly floured surface. Knead for 6 to 8 minutes until the dough is smooth and elastic.
- Place the dough in a lightly oiled bowl, turning to coat. Cover the bowl with plastic wrap or a clean towel. Let the dough rise in a warm place for 1 to 1 1/2 hours, or until doubled in size.
- Gently punch down the risen dough. Divide the dough into 12 equal pieces. Roll each piece into a smooth ball.
- Place the dough balls into a greased 9×13 inch baking pan, leaving about 1 inch between them.
- Cover the pan loosely and let the rolls rise again in a warm spot for 30 to 45 minutes, or until puffy.
- Preheat your oven to 375°F (190°C).
- Bake for 15 to 18 minutes, or until the tops are golden brown.
- Immediately brush the tops of the hot rolls with the 2 tablespoons of softened butter.
- Serve warm.
Notes
- For best results when making dinner rolls, ensure your milk is warm, not hot, to avoid killing the yeast.
- If you are short on time, you can let the first rise happen in a slightly warmer spot, like inside a turned-off oven with the light on.
- These rolls freeze well after cooling. Wrap tightly in foil and freeze for up to one month. Thaw overnight and reheat briefly.
Nutrition
- Serving Size: 1 roll
- Calories: 180
- Sugar: 5
- Sodium: 250
- Fat: 5
- Saturated Fat: 3
- Unsaturated Fat: 2
- Trans Fat: 0
- Carbohydrates: 30
- Fiber: 1
- Protein: 4
- Cholesterol: 25