

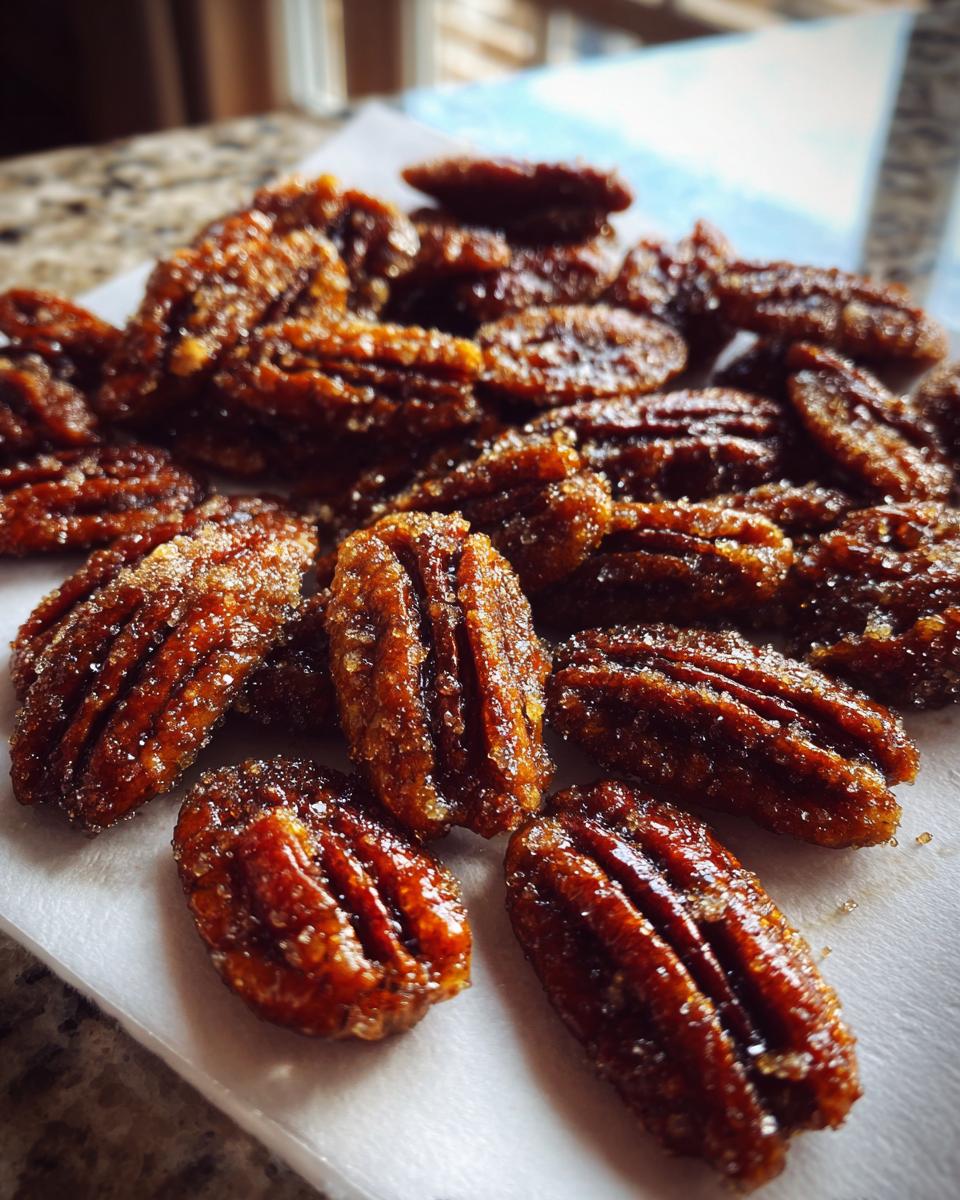
Hello, friend! Welcome back to Frosted Fancies. I’m Katie, and today we are making a treat that absolutely stops traffic: the very best, unbelievably quick candied pecans you will ever taste. Forget waiting hours for the oven to preheat; these beauties are done on the stovetop in under 20 minutes total! As someone who spent years developing recipes based in food science, I can tell you that the stovetop crystallizing method locks in that perfect cinnamon sugar shell and crunch fast. Trust me; once you master this speedy method, you won’t even look at the oven version again.
- Why You Will Love These Speedy Candied Pecans
- The Science Behind Perfect Stovetop Candied Pecans
- Ingredients Needed for Your Candied Pecans
- How to Make Speedy Stovetop Candied Pecans Recipe
- Tips for Success with Homemade Glazed Pecans
- Creative Variations for Your Candied Pecans
- Serving Suggestions for Candied Pecans
- Storage and Keeping Your Candied Pecans Crispy
- Frequently Asked Questions About Making Candied Nuts
- Sharing Your Kitchen Creations
Why You Will Love These Speedy Candied Pecans
Seriously, these homemade glazed pecans are a game-changer when you need a quick snack or topping. I’ve tested countless batches of candied nuts to ensure maximum flavor payoff for minimal effort. You are going to adore these because:
- They are incredibly fast—truly under 20 minutes from start to finish.
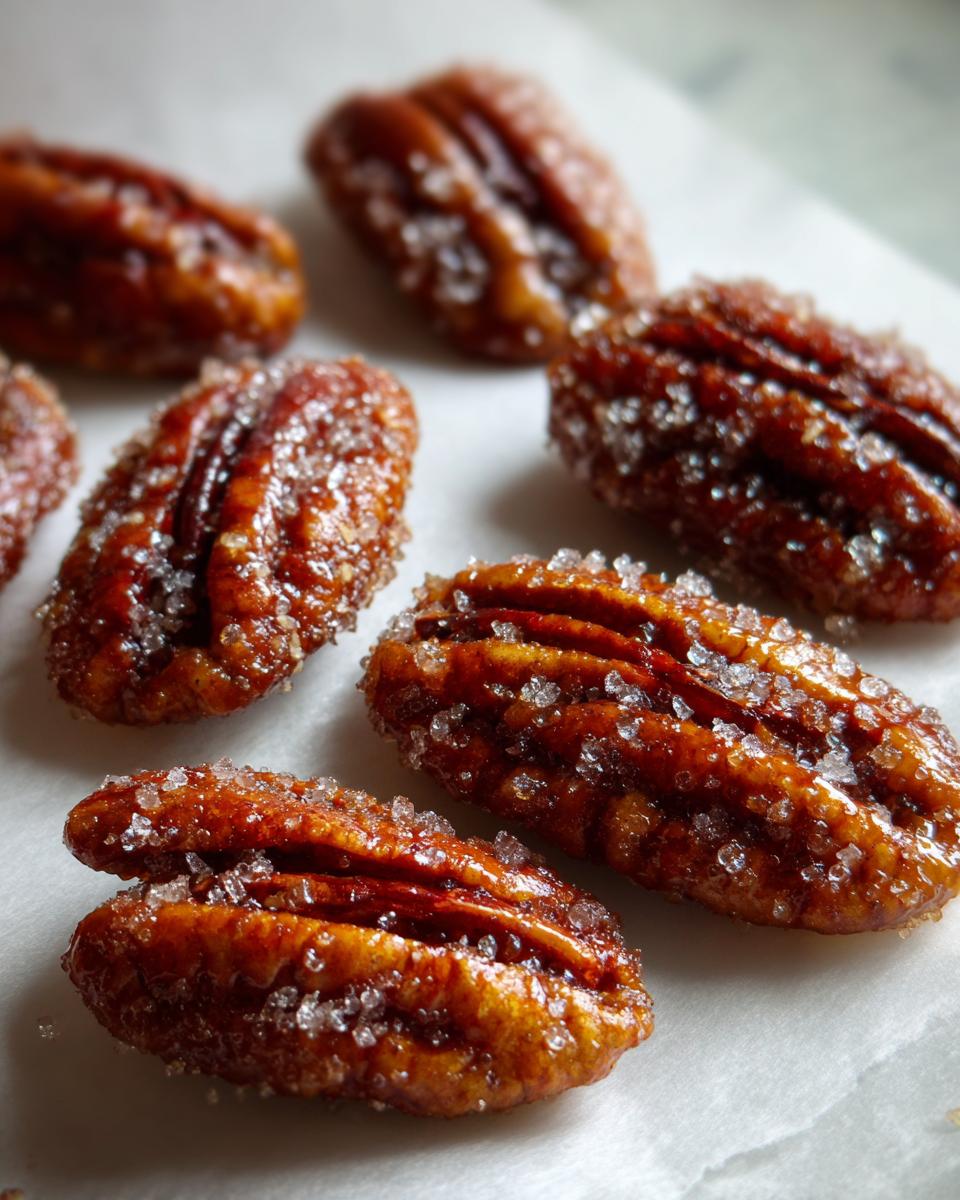
- That gorgeous cinnamon sugar coating becomes perfectly crispy candied pecans that don’t get sticky later.
- They are reliable! Because I fine-tuned the egg white binder based on my testing experience, they come out perfectly toasted every time.
The Science Behind Perfect Stovetop Candied Pecans
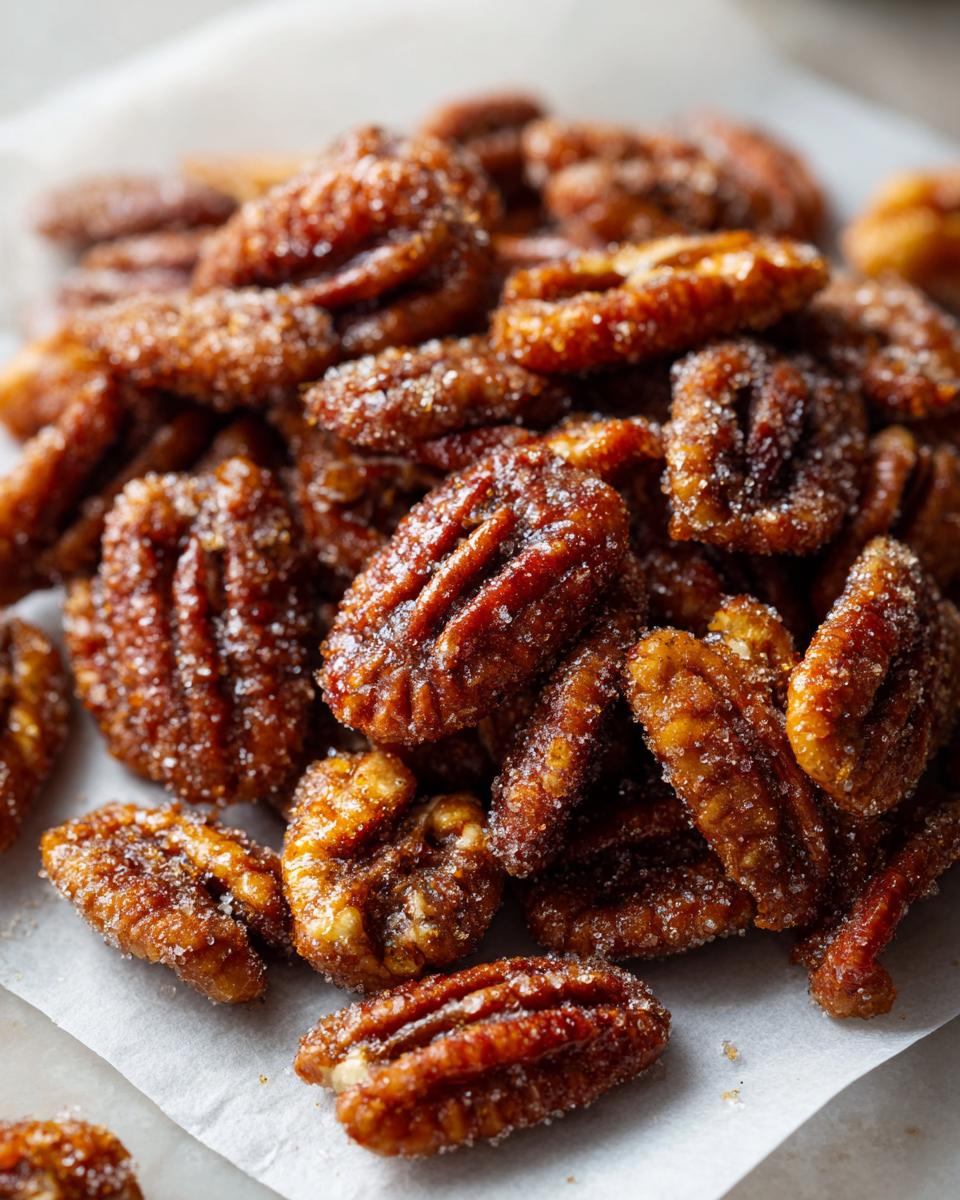
I know, *science* sounds intense, but trust me, this is where the magic happens that separates a sticky mess from truly exceptional candied pecans. The beauty of the stovetop method isn’t just that it’s fast; it’s about controlling the sugar’s chemistry. When you stir constantly over medium heat, you manage the crystallization process perfectly to get those sweet crunchy pecans we want.
If you bake these, the moisture evaporates slower, often leading to a softer gloss. But on the stove, we force that change quickly. Watching the sugar mixture transition from wet goo to dry, sandy coating right before our eyes is the marker of success!
Ingredient Spotlight: Egg White and Sugar Coating
The egg white is our secret weapon, acting as the primary adhesive. When we whisk it lightly with a tiny bit of water, you create a protein matrix that coats the nuts. This thin, sticky layer grabs onto the sugar mixture immediately.
We use both granulated sugar and brown sugar, which is intentional. The granulated sugar helps create that sharp, brittle crunch when it melts and re-hardens. Meanwhile, the brown sugar, with its higher molasses content, introduces that lovely hint of caramel flavor—it keeps the coating from being one-note sweet and helps achieve a slightly chewier interior structure, balancing out the overall crispness.
Ingredients Needed for Your Candied Pecans
Getting the ingredients right is step one, and honestly, with this recipe, it couldn’t be easier! We are using simple pantry staples, but if you take one piece of advice from my test kitchen days, it’s this: use the best pecans you can find. Since this recipe is so fast, the quality of the nut really shines through.
For these easy candied pecans, you’ll need to gather the following items:
- 1 cup pecan halves (Use good quality ones! They’re the star here.)
- 1 large egg white (This is our essential binder, don’t skip it!)
- 1 tablespoon water
- 1/4 cup granulated sugar
- 2 tablespoons packed light brown sugar
- 1 teaspoon ground cinnamon (Be generous with this; it makes them amazing!)
- 1/4 teaspoon salt (Just a little bit balances all that sweetness.)
That’s it! See? No corn syrup, no messy candy thermometers, just pure, simple goodness waiting to happen. The proportions are set based on rigorous testing to ensure that dry, light coating adheres perfectly during that quick stove time.
How to Make Speedy Stovetop Candied Pecans Recipe
Alright, this is where we put everything together for the ultimate batch of candied pecans. Because we are using the stovetop, we gain speed, but we must respect the heat! Make sure your pan is large enough so the sweet crunchy pecans fit in a relatively single layer, otherwise, they steam instead of toast. This recipe moves fast, so read all the steps before you turn that burner on!
Coating the Pecans
First things first: we need glue! In a separate little bowl, take that egg white and your tablespoon of water and whisk it aggressively until it gets a little bit frothy. Don’t worry about stiff peaks; we just need it slightly foamy. Pour this over your pecan halves in the main bowl. Toss everything until every nut has a lightweight, damp coating. Next, dump in that glorious cinnamon-sugar mixture and toss it again until the pecans look completely covered in that sparkly, sandy blend. You want the coating to be even—that’s the secret to getting those crispy candied pecans!
Cooking and Crystallization on the Stovetop
Heat up a big, dry, non-stick skillet over medium heat. No oil, no butter—it just needs to be warm enough to melt that sugar. Once warm, slide your coated pecans right in. Now here’s the crucial part: constant movement! This takes about 8 to 12 minutes, and you cannot walk away. Stir constantly, scraping the bottom and sides. At first, the sugar coating will look wet and glossy, almost like a glaze. Keep stirring! You will see the sugar start to change texture, turning drier and looking almost sandy again. This crystallization is exactly what traps that flavor and makes them crackle when you bite them. I almost burned my very first batch because I looked away for thirty seconds—don’t be me!
Cooling for Maximum Crunch
The instant the coating looks dry and the pecans smell toasted—usually when they start smelling deeply of cinnamon—yank that pan off the heat! Seriously, move fast. Immediately spread those pecans out onto a piece of parchment paper or a silicone mat as soon as they are off the flame. Use a fork to separate any big clusters right away. If you wait even a minute too long, they will seize up as one giant pecan brick. Let these cool completely—they will transition from warm jewels to perfectly crispy candied pecans as they sit. You can check out other great methods like oven baked candied pecans, but honestly, this immediacy is why I love the stovetop!
Tips for Success with Homemade Glazed Pecans
Now that you’ve seen how fast these turn out, I want to make sure your results are flawless every single time. Achieving that perfect sugary shell on your homemade glazed pecans really comes down to a couple of tiny details. I learned these the hard way, believe me! When I first tried making a simple sugar-coated pecan batch years ago—way before I knew the science behind it—I got distracted by a phone call, and the resulting pan looked like a shiny, black glass disaster. That was the day I learned that stirring equals success in this recipe!
If you’re worried about the batch size, remember this recipe yields about one cup. If you double the recipe, you *must* use a larger skillet, or those nuts won’t have enough surface area to dry out properly. You end up cooking in stages, which is usually fine, but don’t try to crowd the pan!
Stovetop vs. Oven Baked Candied Pecans
People often ask me if they should use the oven instead. Both methods absolutely work, but they give slightly different results. The oven method, which I sometimes use if I’m baking cookies simultaneously, is wonderfully hands-off. You toss the nuts in the coating and bake them low and slow (like 300°F for about 15 minutes). This gives you a beautiful, even toasting.
However, because we are aiming for maximum speed and that signature crystallized crunch, I always come back to the stovetop. The stovetop gives you direct control over the melting and crystallization moment, which is why I find it results in slightly crispier candied pecans when you’re in a rush. If you decide to bake them instead, refer to the notes section, but stick close to the skillet method for the quickest flavor!
Creative Variations for Your Candied Pecans
While our basic cinnamon sugar coating is practically famous for a reason—it’s the best flavor combination for snacking—I love encouraging you all to play around once you’ve mastered the core technique. Think of this as your entry point into making customized holiday snacks! Since we are already dealing with sugar and spice, adapting this recipe for different flavor profiles is incredibly simple because the egg white binder holds everything together so reliably.
If you want to jazz things up, try creating a batch of truly unique spiced pecans recipe right here on the stovetop. The key is adding the extra seasoning right along with the existing cinnamon and sugars in Step 3.
One variation I always keep on hand for gifting involves adding a splash of vanilla and maybe a little something extra:
- Vanilla Bean Pecans: Scrape half a vanilla bean right into your sugar mixture for an intensely rich aroma. It smells like a fancy bakery in here!
- Citrus Zest: A fine grate of orange or lemon zest added during the sugar toss gives the coating a bright, surprising background note. This is fantastic if you plan to use them as a best pecan topping for salads.
- Nutmeg and Allspice: If you want to lean heavy on that cozy holiday feel captured in recipes you might see over at other blogs, add just a tiny pinch of nutmeg and ground allspice alongside the cinnamon. Don’t overdo it, or the spice will totally cover the pecan flavor!
Remember, since this method is so fast, you can whip up a small batch of plain pecans, then wipe out the pan and make a small batch of citrus pecans right after. It’s a fun way to stock up on unique food gift pecans!
Serving Suggestions for Candied Pecans
So, you’ve got a beautiful, fresh batch of these crackly, sweet wonders, and now what? That’s the most fun part! Having these crunchy nuts on hand transforms everyday meals into something special, and they are truly fantastic for gifting because they feel so much more personal than store-bought variety.
Because we used that robust stovetop method to get these candied pecans nice and sturdy, they hold up really well in various applications. I always make a double batch just for the sheer versatility of it.
Here are my favorite ways to use these simple sugar coated pecans:
- The Salad Supercharger: This is my absolute favorite way to use them. Sprinkle a handful of these—they make the absolute best pecan topping for salads. Picture a basic green salad with some goat cheese and thinly sliced apples; these pecans bring the necessary sweet crunch that makes the whole thing sing!
- Dessert Topping Royalty: Forget plain whipped cream. Heap these over vanilla ice cream, stir them into brownies right before baking (they resist sinking better than plain nuts!), or use them to crown your favorite pumpkin pie for texture contrast.
- The Perfect Food Gift Pecans: Honestly, these are an ideal food gift pecans during the holidays. They look professional, smell incredible, and taste homemade. Just put them in cute little jars or cellophane bags with a nice ribbon. Everyone loves getting homemade treats that aren’t cookies!
- Cheese Board Essential: Next time you’re setting up a cheese board, scatter some of these around alongside sharp cheddar or creamy brie. The savory cheese cuts through the sweetness of the coating beautifully; it’s a perfect pairing.
I always make sure to have an extra jar lying around just for mindless snacking straight out of the cupboard. They truly are addictive!
Storage and Keeping Your Candied Pecans Crispy
Okay, listen up, because this is the part where people accidentally ruin their glorious work. We went through all that effort to get these crispy candied pecans off the heat and onto the parchment just so they would achieve maximum crunch, right? If you store them incorrectly, that beautiful, brittle sugar shell will start absorbing ambient moisture almost immediately, turning your perfect snack into sad, chewy nuts overnight. That is the absolute tragedy of homemade glazed nuts, and we are avoiding it!
The main rule here is simple: moisture is the enemy. You absolutely have to let them cool completely—and I mean completely cool to room temperature—before you even look at putting them into a container. If there is any residual warmth, condensation forms, and bam, you’re back to chewy city. This usually takes about 30 minutes on the counter.
Once they are totally cool, pop them into a truly airtight container. I prefer heavy-duty glass jars with screw-on lids, but a high-quality zip-top bag with all the air pressed out works in a pinch. Store them in a cool, dark pantry. They should keep beautifully like this for about a week. Seriously, they rarely last that long in my house!
Now, let’s talk about the resurrection of slightly softer nuts. It happens! Maybe you left the container open for a bit, or maybe your kitchen is just humid. Don’t throw them out! If your candied pecans have lost their snap, you can bring them back to life easily.
Just spread your not-quite-crispy nuts back out onto a small baking sheet. Pop them into a 300°F oven for about 5 to 7 minutes. This low heat gently drives off any surface moisture that has softened the coating. Take them out, let them cool completely again on the pan away from drafts, and they should be snappy all over again. It works every time, and it gives me so much confidence knowing I can always revive my treats!
Frequently Asked Questions About Making Candied Nuts
I always get emails asking for clarification on a few points when people first tackle making their own nuts, especially for holiday baking or when they are looking for that perfect holiday pecan snack. Since I love getting things right the first time for you folks, I’ve compiled the most common questions I get about mastering the stovetop method for these tasty treats. If you followed the steps correctly, you should have fantastic results, but here are my two cents on some common snags!
Can I use maple syrup instead of sugar for these candied pecans?
That’s a great question if you’re looking to switch up the flavor! Maple syrup brings wonderful richness, but that’s a totally different chemical reaction than what we are doing here. This specific technique relies on that mixture of granulated and brown sugar melting, flowing, and then rapidly crystallizing back onto the nuts to create that thin, dry shell. If you substitute maple syrup, you’re essentially switching to a praline-style glaze, which requires a much lower heat and far slower cooking time to manage the syrup.
For this *Speedy Stovetop* recipe, stick to the sugars specified to get the quick, dry coating associated with classic easy candied pecans. Maple syrup will result in a much stickier, glossier finish that usually requires that oven-bake method!
How do I prevent my pecans from clumping together after cooking?
I see this one a lot, and it’s all about timing right at the finish line. You want those nuts separated for the best snacking experience—nobody wants one giant pecan clump! The key to avoiding this is speed once they hit the cooling surface.
Remember when I told you when the sugar looks dry and sandy, pull them *immediately* off the heat? As soon as you spread them onto the parchment paper, you need to work quickly. Use a fork or a spatula to gently push and pull the nuts apart so they are sitting in a single layer while they are still very warm. The sugar is softest right off the skillet, and once it cools for even two minutes, it hardens like cement. If you give them a quick little poke and separate any major pieces right then and there, they will set up perfectly loose as they cool down. This attention to detail is why I trust my simple sugar coated pecans every single time!
Are these sweet crunchy pecans suitable for a cheese board?
Absolutely! I love that you are thinking about how to use these beyond just snacking! These sweet crunchy pecans are wonderful on an appetizer platter. Their sweetness provides a beautiful counterpoint to savory elements. They pair especially well with sharp flavors.
On your next cheese board, try setting these alongside a wedge of aged Parmesan or a creamy, earthy brie. The sugar coating offers a lovely textural crunch you don’t get from plain nuts, and it helps cut the richness of the cheese. They also look gorgeous sprinkled over a platter of sliced prosciutto or fig jam!
If you want to try a batch that’s totally different but still easy, check out the notes in the main recipe for adding nutmeg—that makes them taste almost like a true holiday confection!
Sharing Your Kitchen Creations
I truly hope you loved making this batch of candied pecans and that your house smells wonderfully of toasted cinnamon right now! For me, testing recipes in the kitchen is only half the fun; the very best part is knowing that you, my readers, are out there actually making these things and enjoying them with your families and friends.
Since I’ve put so much work into perfecting the science behind that super-fast stovetop method, I’d love to know how they turned out for you. If you followed my instructions for achieving those lovely crispy candied pecans, please take a moment to leave a rating below using the five stars! Even quick feedback helps me ensure that every recipe here on Frosted Fancies is reliable for every home cook.
And don’t be shy! If you snapped a picture of your perfectly coated, crunchy nuts—maybe sprinkled over a salad or tucked into a festive gift bag—I want to see them! Tag me on social media or drop a comment below. I look forward to hearing all about it.
Now, I have a serious question for you: after you made these easy candied pecans, were they inhaled immediately right off the parchment paper (I won’t judge, I promise!), or did you manage to save some for a specific purpose? Tell me, what’s the first dish or occasion you are using these homemade glazed pecans for?
PrintThe Ultimate Speedy Stovetop Candied Pecans with Cinnamon Sugar

Make sweet, crunchy candied pecans quickly on the stovetop. This recipe delivers irresistible cinnamon sugar coated pecans perfect for snacking, salads, or holiday gifting.
- Prep Time: 5 min
- Cook Time: 12 min
- Total Time: 17 min
- Yield: 1 cup 1x
- Category: Snack
- Method: Stovetop
- Cuisine: American
- Diet: Vegetarian
Ingredients
- 1 cup pecan halves
- 1 large egg white
- 1 tablespoon water
- 1/4 cup granulated sugar
- 2 tablespoons packed light brown sugar
- 1 teaspoon ground cinnamon
- 1/4 teaspoon salt
Instructions
- Place the pecan halves in a medium bowl.
- In a separate small bowl, whisk the egg white and water together until slightly frothy. Pour this mixture over the pecans and toss gently until all the nuts are lightly coated.
- In a small bowl, mix the granulated sugar, brown sugar, cinnamon, and salt. Sprinkle this dry mixture over the coated pecans and toss again until the pecans are evenly covered.
- Heat a large, dry, non-stick skillet over medium heat. Add the coated pecans to the skillet in a single layer if possible.
- Cook the pecans, stirring frequently, for 8 to 12 minutes. You must stir constantly to prevent burning and ensure even coating as the sugar melts and caramelizes.
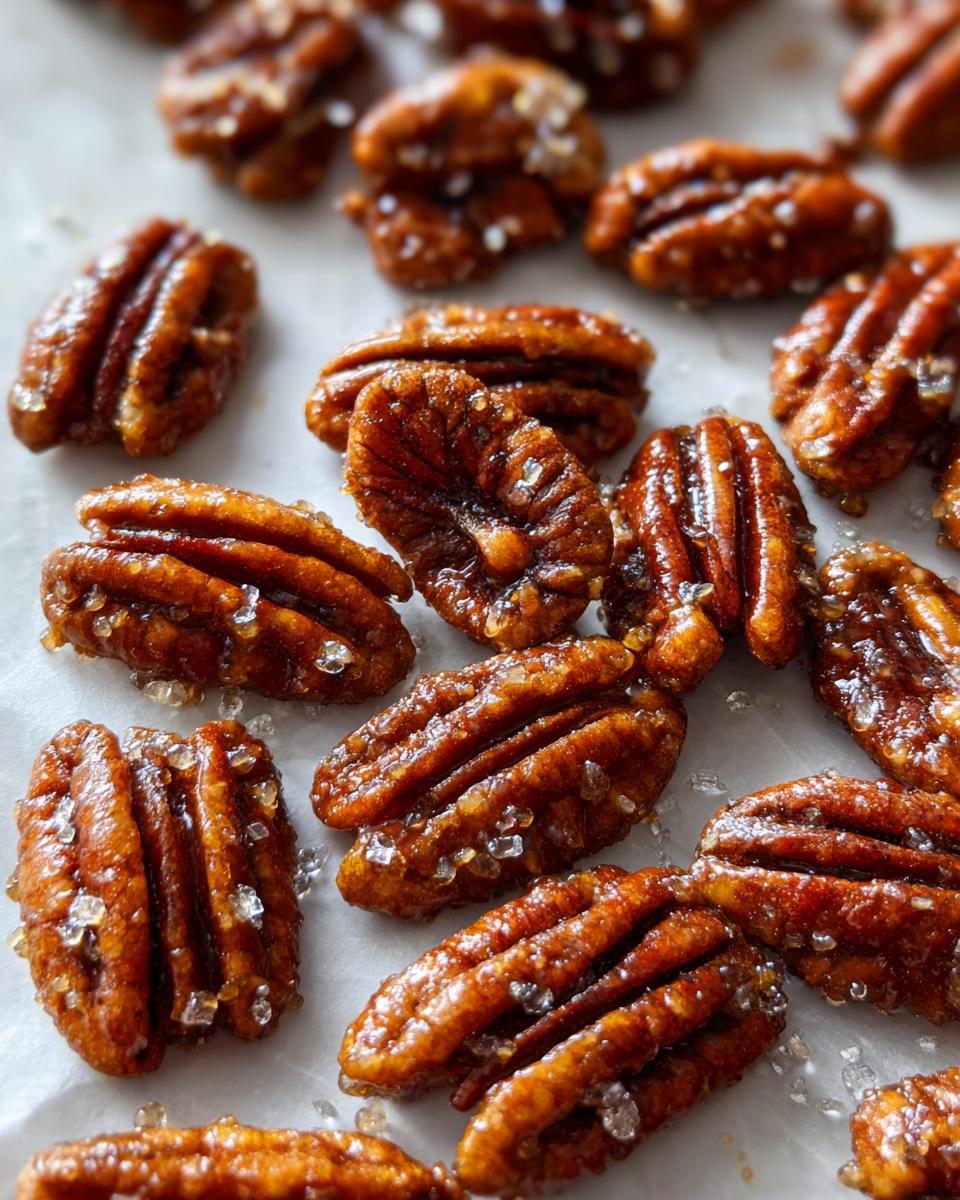
- The sugar coating will look wet, then it will begin to crystallize and look dry and sandy. Continue cooking until the sugar coating dries out and the pecans are toasted and fragrant.
- Immediately spread the candied pecans onto a sheet of parchment paper or a silicone baking mat in a single layer. Separate any clumps with a fork while they are still warm.
- Let the pecans cool completely. They will become crisp as they cool. Store in an airtight container.
Notes
- For extra crispiness, you can bake these pecans after coating them. Spread them on a baking sheet and bake at 300°F for 10 to 15 minutes instead of using the stovetop method.
- These homemade glazed pecans are an excellent food gift during the holidays.
- If you want spiced pecans, add a pinch of nutmeg or a dash of vanilla extract to the sugar mixture before coating the nuts.
Nutrition
- Serving Size: 1/4 cup
- Calories: 270
- Sugar: 15
- Sodium: 45
- Fat: 22
- Saturated Fat: 2
- Unsaturated Fat: 20
- Trans Fat: 0
- Carbohydrates: 17
- Fiber: 3
- Protein: 4
- Cholesterol: 0