
Hello and welcome to Frosted Fancies! I’m Katie, and I am genuinely thrilled you stopped by today. If you’ve ever looked at those stunning, smooth sugar cookies decorating every bakery window during the holidays and thought, “I could never do that,” you are exactly in the right place. Now, you absolutely can!
Today, we are diving into the secret sauce for those professional-looking bakes: the most reliable **royal icing recipe** you will ever use. I’m not just sharing a bunch of random steps here; I’m giving you the method I perfected over years in professional recipe development, blending my Food Science background with my home-baking passion. This specific recipe uses meringue powder—trust me, it’s a game-changer—to guarantee your icing dries rock hard, smooth as glass, and ready for all your intricate sugar cookie decorating projects!
Forget batches that crack or stay sticky! This is the one that works, every single time.
- Why This is the Best Royal Icing Recipe for Cookie Decorating
- Ingredients for Your Professional Royal Icing Recipe
- How to Prepare This Easy Royal Icing Recipe Step-by-Step
- Tips for Perfect Royal Icing Success
- Ingredient Notes and Substitutions for this Royal Icing Recipe
- Storage and Reheating Instructions for Your Cookie Decorating Icing
- Frequently Asked Questions About This Royal Icing Recipe
- Serving Suggestions for Your Stunning Cookie Decorations
- Sharing Your Results with Frosted Fancies
Why This is the Best Royal Icing Recipe for Cookie Decorating
I’ve seen so many kitchen disasters trying to get that perfect bakery-style finish, and honestly, it usually comes down to the wrong ingredients or rushed mixing. This **royal icing recipe** is different because it’s designed for real life—it delivers that stable, **smooth cookie icing** we all want. I leaned hard on the stability science when developing this, which is why I insist on meringue powder. I remember testing batches with fresh egg whites that went south quickly; meringue powder keeps everything predictable, ensuring your decorations result in **icing that dries hard** and doesn’t weep when humidity hits!
It’s sturdy enough for gifting, but thin enough to get that lovely, glossy flood finish. You can check out more tips on keeping your icing perfect here.
Consistency Control: From Piping to Flooding
This is where many beginners get nervous, but don’t you worry! This versatile **royal icing recipe** gives you total control. We’re aiming for thick icing right off the mixer, which is perfect for what I call ‘Piping Consistency’—that’s for drawing sharp outlines on your cookies. If you need to flood or fill in those outlined areas, you just gently thin it out a bit more with water until it flows beautifully but still takes a moment to settle back into itself.
Ingredients for Your Professional Royal Icing Recipe
Okay, let’s get down to brass tacks. Good decoration starts with good measurements, and since this is a **professional icing recipe**, precision matters! We’re using simple pantry components, but the quality really shows up in the final shine. My biggest tip, which I learned in the Food Science labs, is to always sift your powdered sugar first. It prevents tiny, annoying lumps that ruin that perfectly **smooth cookie icing** finish.
Here is exactly what you need for about two dozen medium cookies. Feel free to bookmark this page so you have it ready to go when inspiration strikes!
- 4 cups powdered sugar, sifted
- 5 tablespoons meringue powder
- 1 teaspoon clear vanilla extract
- 6 to 8 tablespoons warm water
I always recommend using clear vanilla extract if you want a pure white icing. You can read more about why meringue powder is a favorite over on Healthy Little Peach right here!
How to Prepare This Easy Royal Icing Recipe Step-by-Step
Alright, getting this **royal icing recipe** mixed up is honestly the fun part! But listen closely, because the mixing time is crucial for that professional look. You’ll need your stand mixer or a good hand mixer for this; doing it by hand takes forever, and we need time for those air bubbles to build up!
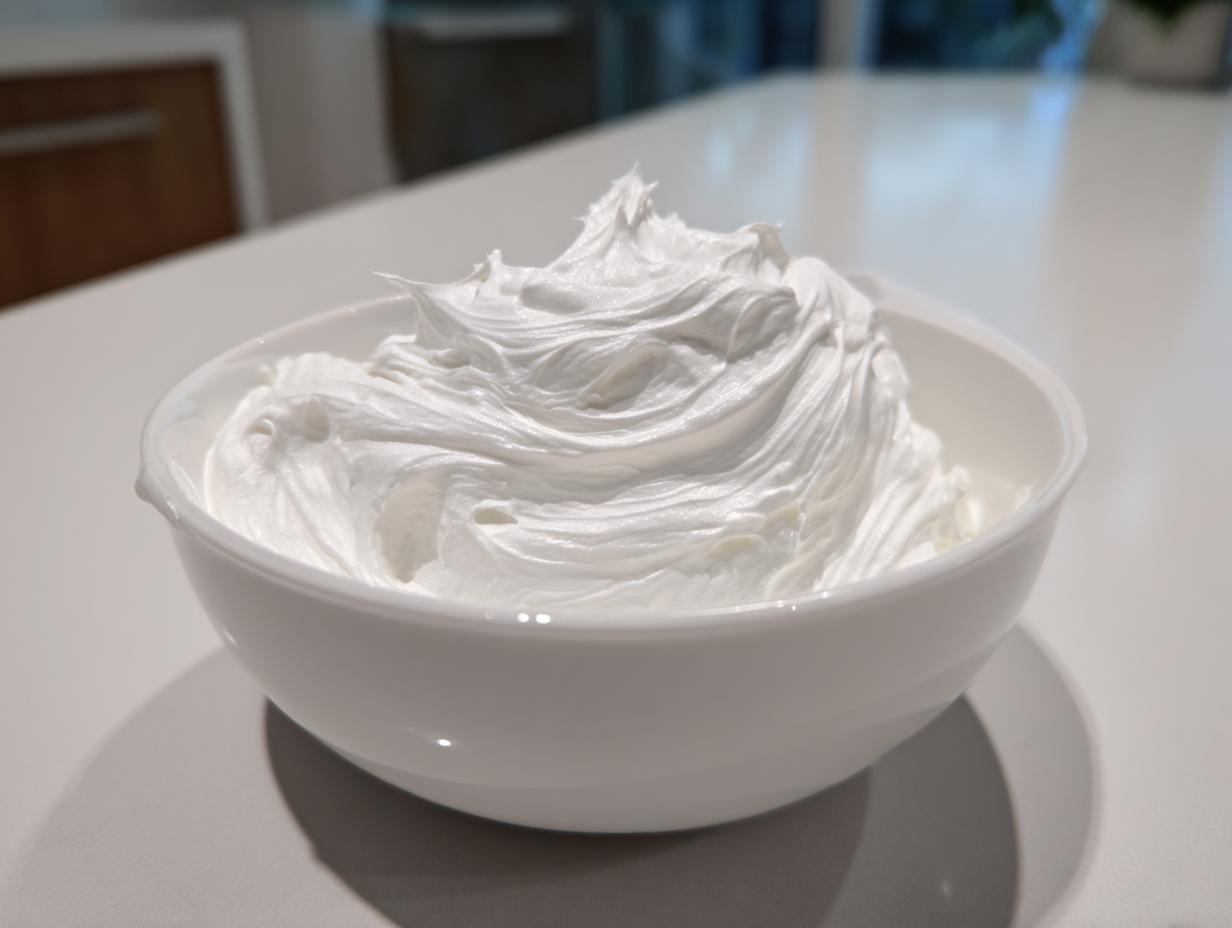
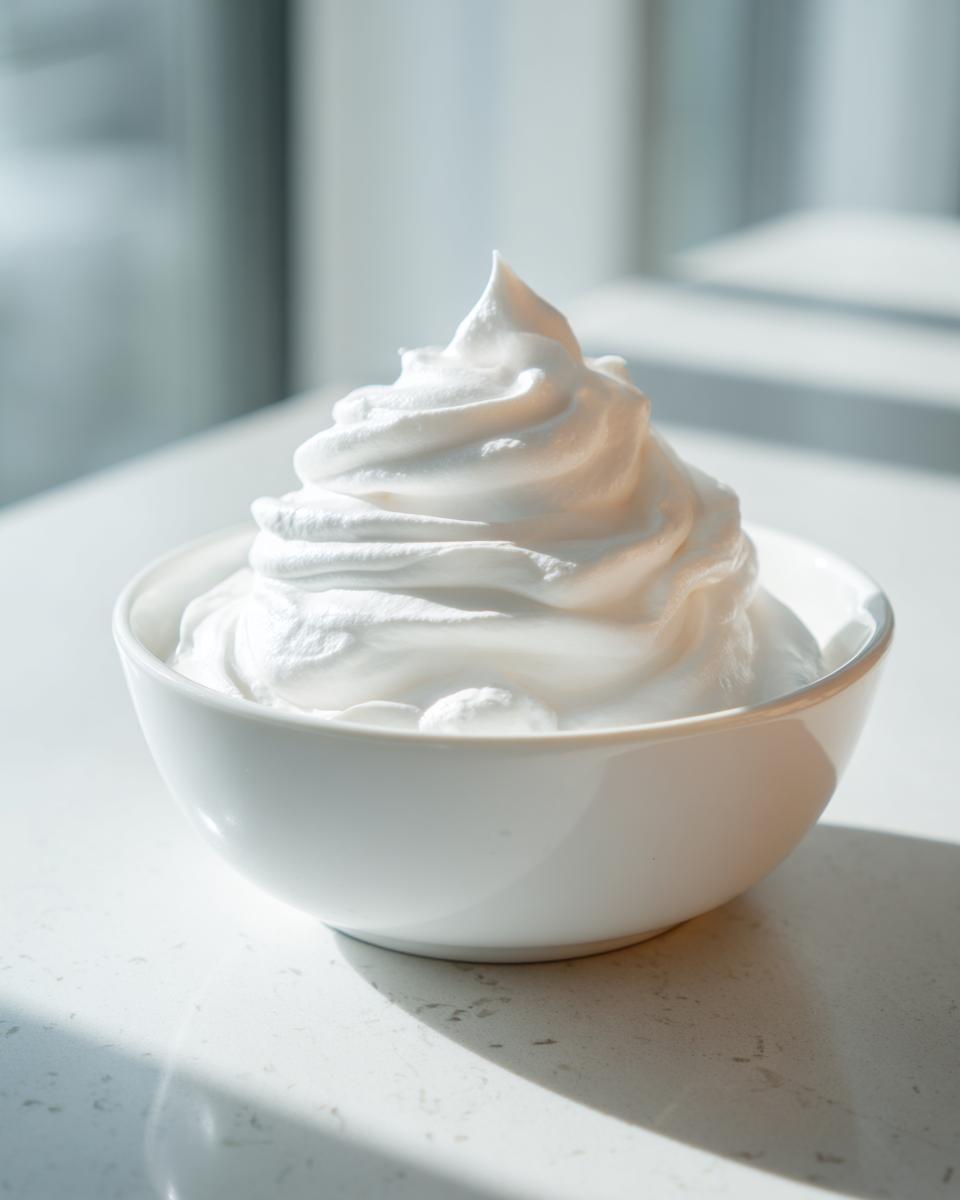
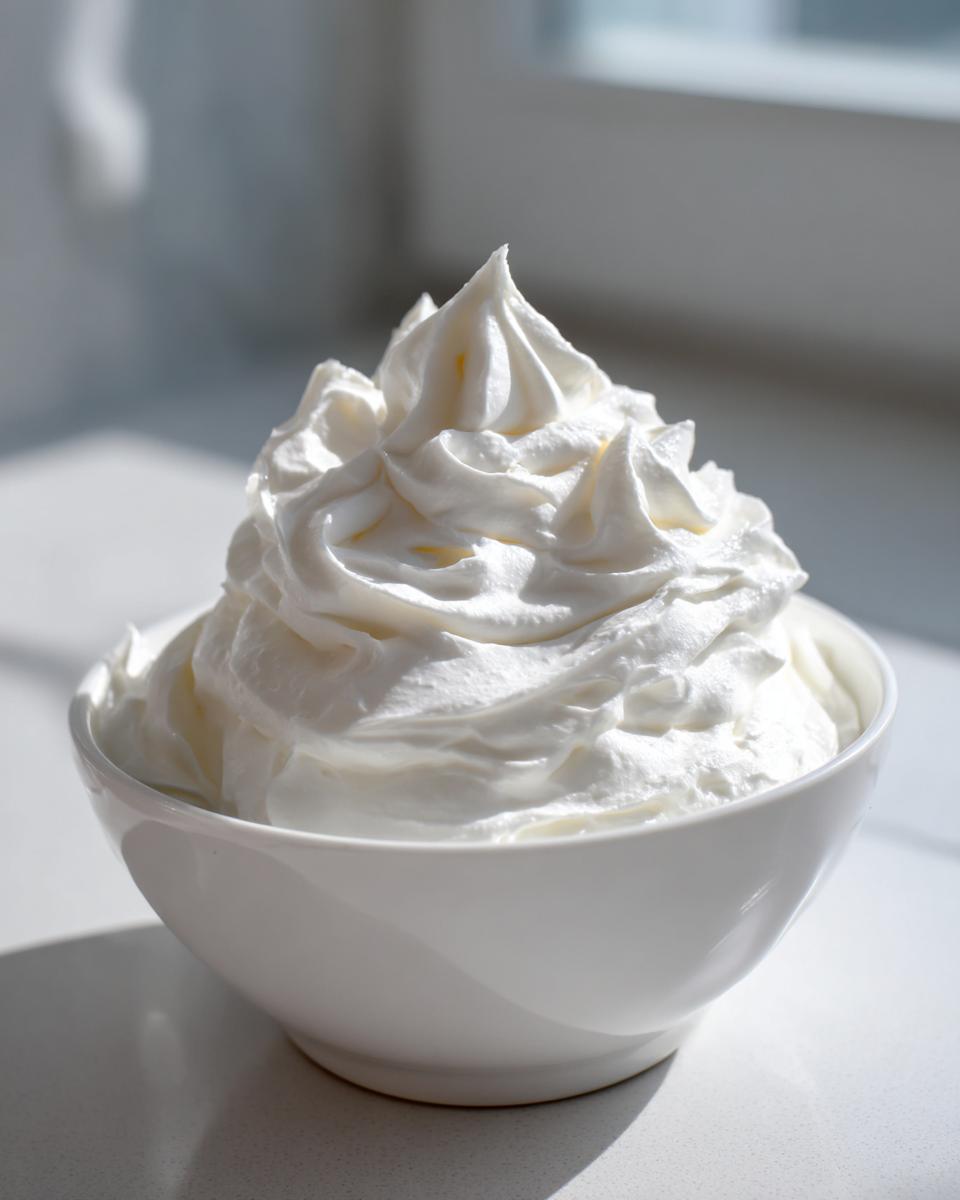
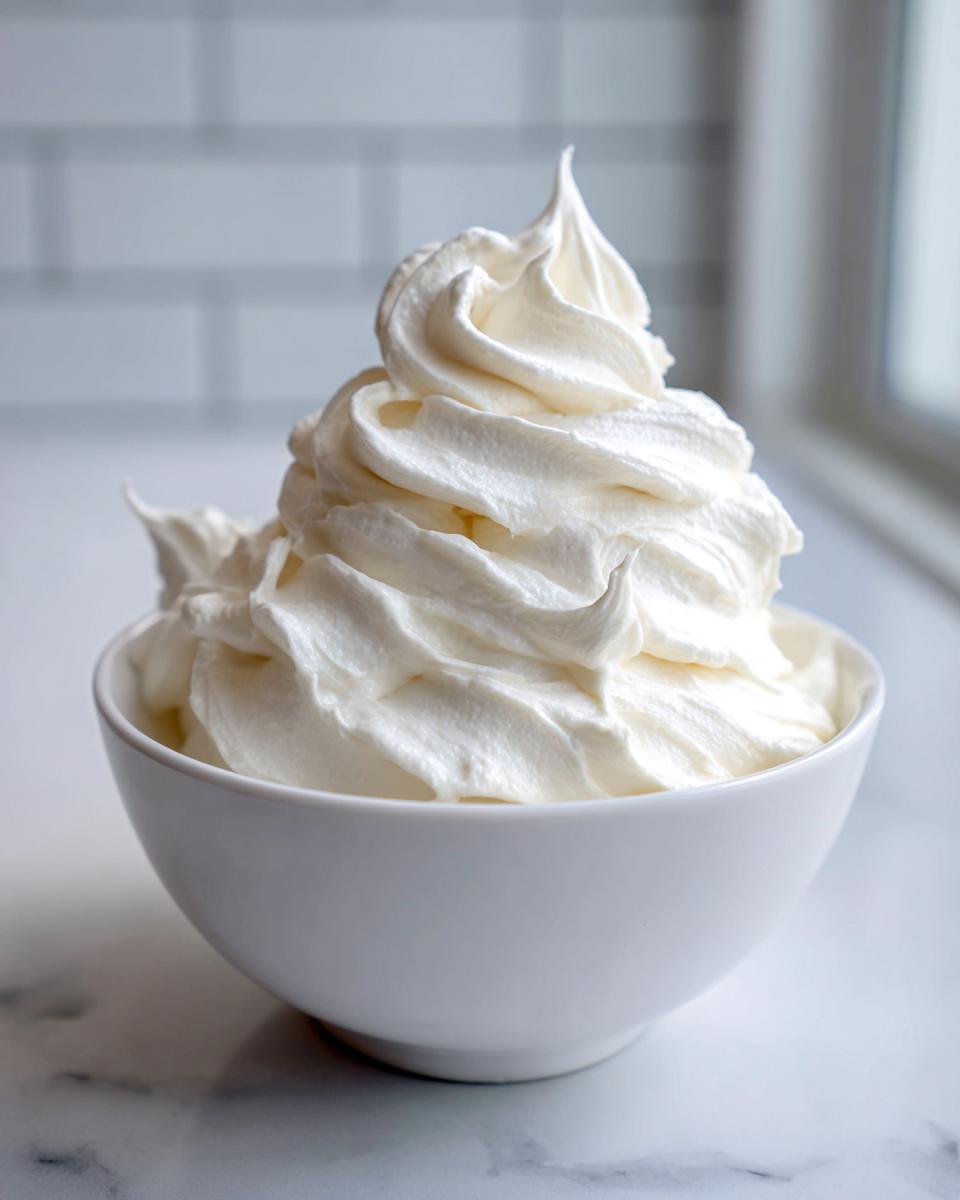
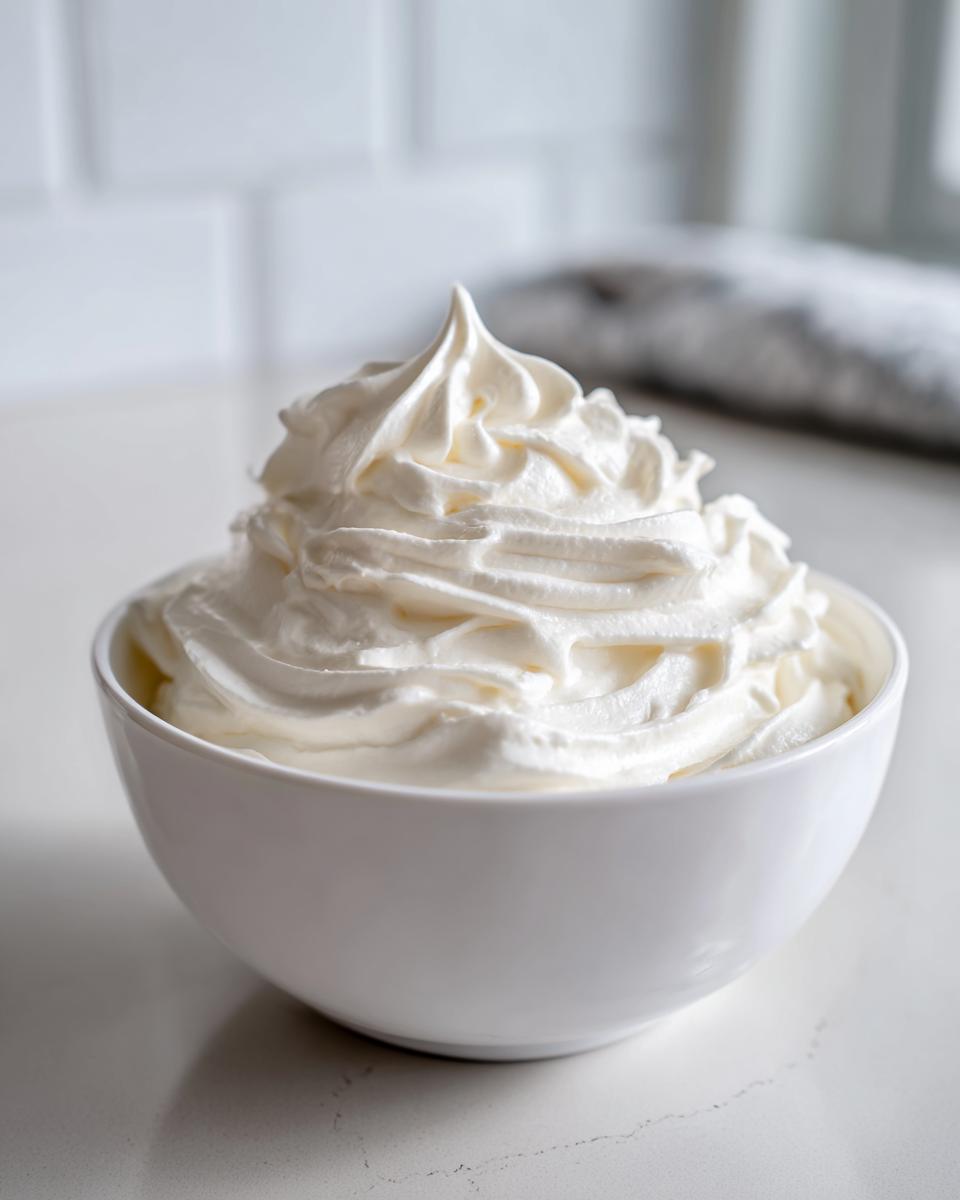
First things first: dump your sifted powdered sugar and meringue powder right into your large bowl. Then, add the teaspoon of clear vanilla extract. Now, this is where we start slow. Add 6 tablespoons of warm water. Set your mixer speed to low until everything is just incorporated—we don’t want a sugar dust cloud in the kitchen, oops! Now, really crank that speed up to medium-high. You need to beat this icing for a solid 7 to 10 minutes. Seriously, set a timer! When it’s done, it should be super thick, fluffy, and bright white. That long beat time is your guarantee for that glossy finish you’re after. You can check out more tips on getting that perfect mix, just like they explain over at RecipeChow, here!
Once it’s thick, you check your consistency. If it seems too stiff for immediate piping, add *just* a tiny bit more of your remaining water, mixing really well after every single drop. I always reference guides like the one on Seasonal Crave when I’m dialing in my cookie icing, so check that out if you need more visuals! Seasonal Crave has some great steps too.
Achieving Piping Consistency Icing
For outlining your cookies, you want ‘Piping Consistency.’ This means when you pull the beater out of the mixer, the icing that drips off should hold its shape and form a stiff, but slightly soft, peak for just a second before drooping. It needs enough body to stand up straight when it’s squeezed through the piping tip. That’s the ticket for clean, crisp edges on your designs!
Mastering Flooding Icing Technique
Flooding—filling in those outlined areas—requires thinner icing. This is the **flooding icing technique**. Keep adding the water one teaspoon at a time after you’ve hit that piping stage. You’re aiming for a smooth flow. The benchmark? When you lift the mixing utensil, the trailing icing should smoothly sink back into the bowl, and it should disappear completely within about 10 seconds. Don’t rush this part, or you’ll end up with soup!
Tips for Perfect Royal Icing Success
Now that you’ve mixed up this incredible **royal icing recipe**, let’s talk about keeping it perfect while you decorate. The biggest enemy of royal icing is, without a doubt, air! Once you’ve got your icing divided into bowls for coloring, you must cover every single batch with plastic wrap. Make sure that plastic wrap is pressed directly onto the surface of the icing—no gap allowed!
Also, remember my earlier obsession with sifting? Please don’t skip that step! Sifting your powdered sugar ensures you get that incredibly **glossy icing recipe** you’re hoping for. If you are taking a break or stepping away from decorating, just pop the whole bowl under plastic wrap. A little trick I learned—if the icing stiffens up a bit while you’re coloring, just stir in half a teaspoon of water until it flows again. It’s so much easier to adjust than starting over!
For other great troubleshooting ideas for making this **durable cookie icing**, Owl Baking has a great little guide over here.
Ingredient Notes and Substitutions for this Royal Icing Recipe
I know some of you are purists and are wondering about the fresh egg whites. Look, I’ve used them, and they certainly work, but for my **royal icing recipe**, I stand by meringue powder 100% of the time. Why? Stability and safety, plain and simple! Meringue powder is pasteurized, which means I don’t have to worry about raw eggs, and it gives the absolute best structure for that hard, professional dry finish. It’s just more reliable for beginners, which is my whole goal!
If you absolutely cannot find meringue powder, you can substitute 2 large fresh egg whites for it, but you *must* treat them carefully for food safety. As for the vanilla, the clear extract is preferred to keep that bright white color, but honestly, if you’re using brown coloring for most of your decorating, a splash of regular **vanilla royal icing** works just fine too. You can see some tips on substitutions when using this recipe over at Cake Whiz if you need backup! Check it out here!
Storage and Reheating Instructions for Your Cookie Decorating Icing
Handling leftovers with this **royal icing recipe** is super easy, which is another huge win! If you don’t use all your icing right away, cover it tightly. I mean *tightly*—plastic wrap pressed right down onto the surface of every single bowl, even the colored ones. If you leave a gap, you’ll find crunchy icing the next day, and nobody wants that!
It keeps really well in the fridge for about 3 days, but honestly, I prefer just leaving sealed containers on the counter for a day or two. If it gets a little stiff when you take it out, don’t panic! Just add a tiny drop—and I mean a drop—of water and mix it slowly until you get that perfect flow again. You can see more tricks for keeping your **cookie decorating icing** fresh over at Semisweet Designs on their site.
Frequently Asked Questions About This Royal Icing Recipe
I always get so many great questions whenever I post this favorite **royal icing recipe**! It’s all about small details to get that professional look, so let’s tackle the most common ones right here. Don’t feel silly asking—we’ve all been there trying to figure out why our **simple icing for cookies** isn’t behaving!
If you are looking for more troubleshooting, Quick Meal Recipe has some fantastic input on common issues too, which you can check out here.
How long does this icing that dries hard actually take to set?
That’s the million-dollar question, right? You want that **durable cookie icing** finish! Generally, if you have used the right ratio and the humidity isn’t crazy high, a thin flood layer should be dry enough to touch in about 2 to 4 hours. For being able to stack those gorgeous decorated cookies or package them up, I recommend waiting a full 12 to 24 hours. Seriously, patience pays off! If you rush it, you risk the beautiful details smudging, especially if you’ve created truly **stunning cookie decorations**.
Why is my royal icing cracking after it dries?
Cracking is usually caused by one of two things, folks. First, too much air trapped in the mixture—that’s why beating for the full 7-10 minutes is vital! Second, and this is common, it’s often because you added too much water trying to thin it out for flooding. If you get cracking, try reducing your water quantity next time or ensure you are pressing the plastic wrap directly onto the surface while resting to keep moisture in until you are ready to use it.
Can I use fresh egg whites instead of meringue powder?
Yes, you totally can substitute 2 large fresh egg whites for the 5 tablespoons of meringue powder. However, remember my Food Science background? Meringue powder is pasteurized, which means you avoid any raw egg concerns, and it’s far more stable for a beginner’s **vanilla royal icing**. If you use fresh whites, just be meticulous about keeping your mixer and bowls spotless!
Does this need chilling for storage?
No, it surprisingly doesn’t! This **easy royal icing recipe** does great sitting in an airtight container on the counter for up to 48 hours, as long as it’s wrapped tightly. If you need to store it longer, pop it in the fridge, but you’ll need to beat it again vigorously with a tiny bit more water once it comes back to room temperature to bring that lovely, smooth texture back.
Serving Suggestions for Your Stunning Cookie Decorations
Now that you have this amazing **cookie decorating icing**, you have to use it, right? This durable glaze is simply perfection on classic sugar cookies, of course! But don’t stop there! Try it on spiced gingerbread cutouts for the holidays—it shines beautifully as a **holiday cookie icing**. Honestly, any sturdy, crisp cookie base will hold up well under this beautiful finish. You can find fantastic flavor pairings over at Recipe Explore to go with your perfect **royal icing**!
Sharing Your Results with Frosted Fancies
I genuinely hope you feel ready to dive into decorating now! Seriously, I want to see what you create with this **royal icing recipe**. Once you’ve let your **stunning cookie decorations** dry completely—and I mean *completely*—I’d be so tickled if you snapped a picture and shared it with me! Seeing your successes is truly the best part of running this whole site.
If you made this, please come back and leave a rating; star ratings help other home cooks feel confident trying it out, too. You can also tag us on social media when you show off your beautifully set, glossy cookies! If you’re looking for some next-level inspiration on decorating techniques, you have to check out the ideas on Peanut Blossom right here. And when you’re ready to share those masterpieces publicly, maybe check out what others are doing over at Cookies Biscuits!
Happy decorating, friends! I can’t wait to see your beautiful work.
PrintThe Best Foolproof Royal Icing Recipe for Perfect Cookie Decorating

This reliable royal icing recipe uses meringue powder to give you smooth, firm icing that dries hard, perfect for outlining and flooding sugar cookies. It is simple enough for beginners.
- Prep Time: 10 min
- Cook Time: 0 min
- Total Time: 10 min
- Yield: Enough to cover approximately 2 dozen medium cookies
- Category: Baking
- Method: Mixing
- Cuisine: American
- Diet: Vegetarian
Ingredients
- 4 cups powdered sugar, sifted
- 5 tablespoons meringue powder
- 1 teaspoon clear vanilla extract
- 6 to 8 tablespoons warm water
Instructions
- In a large bowl, combine the sifted powdered sugar and meringue powder.
- Add the vanilla extract and 6 tablespoons of warm water to the dry ingredients.
- Mix on low speed with an electric mixer until the ingredients are just combined.
- Increase the speed to medium-high and beat for 7 to 10 minutes until the icing is very thick, bright white, and holds stiff peaks.
- Check the consistency. If the icing is too thick for piping, add the remaining water, one teaspoon at a time, mixing well after each addition.
- To achieve piping consistency (for outlines), the icing should hold a soft peak when the beater is lifted.
- To achieve flooding consistency, add more water, one teaspoon at a time, until the icing flows smoothly off the beater and settles back into the bowl in about 10 seconds.
- Divide the icing into separate bowls for coloring, if desired. Cover all unused icing with a damp cloth or plastic wrap pressed directly onto the surface to prevent drying.
- Use immediately for decorating sugar cookies.
Notes
- For the smoothest results, always sift your powdered sugar before measuring.
- Meringue powder provides stability and a reliable, hard finish, making this recipe ideal for durable cookie decorating.
- If you need to thin the icing for flooding, add water very slowly; it is easy to add more but difficult to correct if you add too much.
- This icing dries firm and glossy, making it perfect for stacking and gifting cookies.
Nutrition
- Serving Size: 1/4 cup
- Calories: 400
- Sugar: 100
- Sodium: 5
- Fat: 0
- Saturated Fat: 0
- Unsaturated Fat: 0
- Trans Fat: 0
- Carbohydrates: 100
- Fiber: 0
- Protein: 1
- Cholesterol: 0