

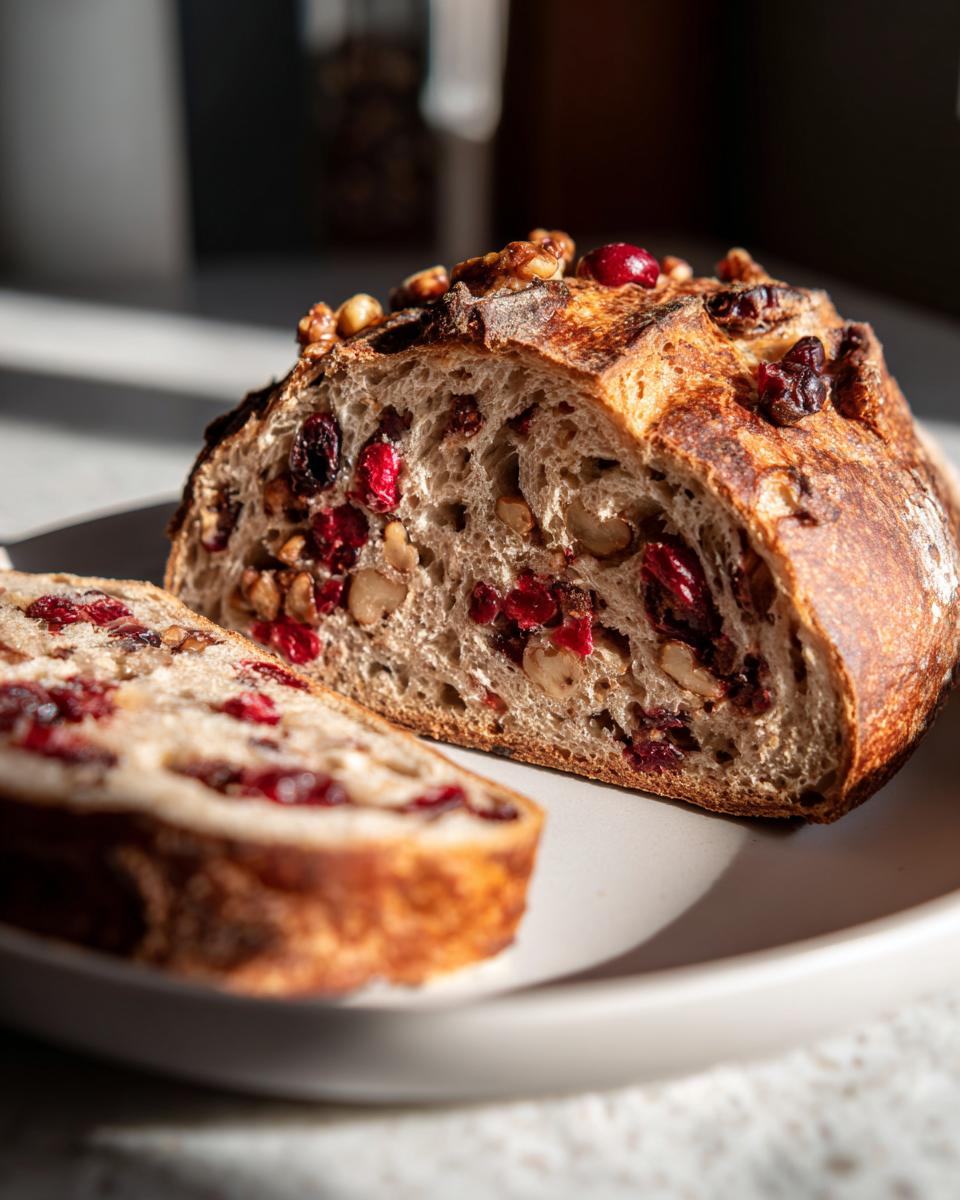
Hello there, and welcome to Frosted Fancies! I’m Katie, and I’m thrilled you stopped by today. If your kitchen isn’t currently filled with the glorious aroma of warm cinnamon, tart cranberries, and toasty nuts, we need to fix that immediately! We’re diving into what I genuinely believe is the best cranberry walnut bread you’ll ever make at home. Forget kneading until your arms ache; this is a totally reliable, easy, no-knead artisan recipe. As someone who spent years testing recipes professionally using my food science background, I promise this simple process delivers that perfect crackly crust and soft interior every single time. Get ready for your new favorite holiday breakfast staple!
- Why This No-Knead Cranberry Walnut Bread Recipe Works (E-E-A-T)
- Gathering Your Ingredients for Cranberry Walnut Bread
- Step-by-Step Instructions for Your Cranberry Walnut Bread Recipe
- Tips for Success Making Moist Cranberry Loaf
- Serving Suggestions for Festive Breakfast Loaf
- Storing Your Cranberry Walnut Bread Properly
- Frequently Asked Questions About Cranberry Walnut Bread
- Nutritional Estimates for Your Sweet Loaf Recipe
- Share Your Cranberry Walnut Bread Creations
Why This No-Knead Cranberry Walnut Bread Recipe Works (E-E-A-T)
So, what makes this loaf stand out from the sea of quick bread recipes out there? It’s all about applying a bit of food science to a simple concept. The long, slow fermentation—that 12 to 18-hour rise—is where the real magic happens. That rest time lets the yeast work slowly, developing complex, savory flavors you just can’t rush. It completely changes the game compared to standard yeast breads, resulting in that deep, satisfying taste you expect from true Artisan Cranberry Bread.
Plus, skipping the kneading saves your back but doesn’t sacrifice texture. Because we aren’t developing a tight gluten structure, the interior stays wonderfully tender while we still get those gorgeous sweet-and-tart bursts from the cranberries and the satisfying crunch of the walnuts. This careful layering of textures is what makes it the best cranberry walnut bread in my book, giving you a bakery-worthy outcome with hardly any effort. If you are looking for that large, incredible loaf similar to what you see at warehouse stores, this is the method to use; I even use a method similar to one found over here for that perfect size.
Achieving the Perfect Artisan Cranberry Bread Crust
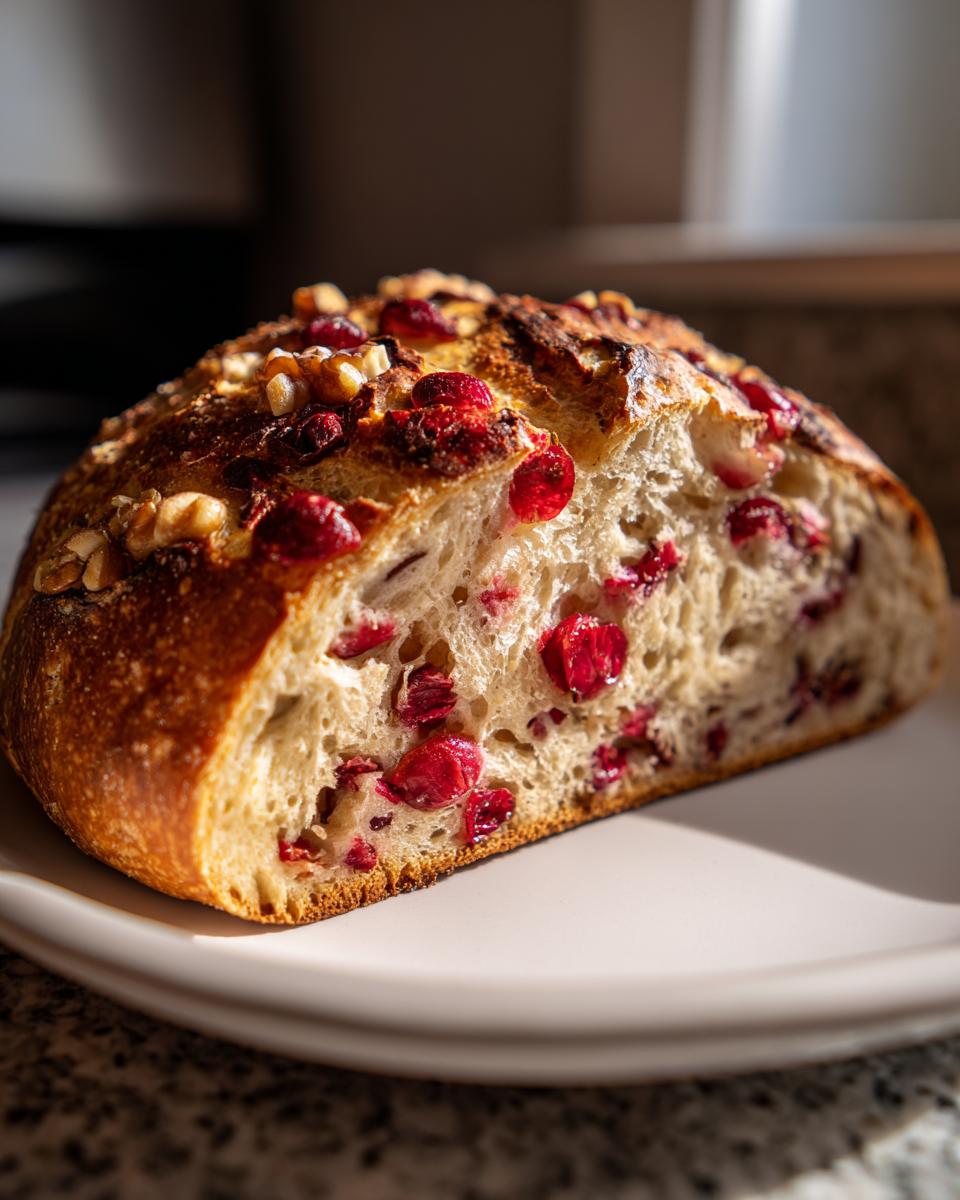
You hear ‘no-knead’ and might expect a pale, slightly sad crust, but absolutely not here! The secret to that beautiful, crackly exterior everyone wants is steam. We achieve this by baking the bread inside a preheated Dutch oven with the lid on. Trapping the steam released by the dough keeps the crust soft initially, allowing the bread to expand fully into that beautiful rustic shape. When you take the lid off for the final bake, the temperature shocks the dough, creating that deep golden-brown, shatteringly crisp shell. It truly mimics a professional bread oven!
Gathering Your Ingredients for Cranberry Walnut Bread
Before we get to the magic of the long rise, we need to assemble our components properly. Since this is a yeasted loaf, precision matters just a little more than in a quick bread. Trust me when I say that using room-temperature water—not cold, not hot—is absolutely critical for waking up the yeast properly in step one! If you’re curious about how to pair ingredients in baking, I’ve certainly covered some interesting combinations over here!
Ingredient Clarity: Tips for Walnuts and Cranberries
When it comes to the add-ins, we want distribution, not clumps! Make sure you chop your walnuts to a medium size before adding them; if they are too big, they can tear the dough structure during the brief mixing phase. For the dried cranberries, sort through them and discard any that feel too brittle or rock-hard—we want them pliable so they don’t suck moisture out of your dough while it rests. Plump ones mean a moister loaf inside!
Step-by-Step Instructions for Your Cranberry Walnut Bread Recipe
Okay, deep breath! This is the part where you might feel like you’re not doing anything for most of the day, but trust me, this slow approach is what makes this Cranberry Walnut Bread Recipe so fantastic. We are going for a very relaxed process here—no heavy lifting required. I want you to approach this the same way you would a relaxing weekend project; there’s plenty of time for the chemistry to work its magic. If you want to peek at how others manage this dough, I always check in on tips from places like this site when I’m planning my bake!
Mixing the Dough and Starting the Long Rise for Cranberry Walnut Bread
First up, get that yeast activated with the warm water and honey until it gets a little foamy. That’s your sign it’s ready to go! Next, dump in the flour and salt. You are going to mix this with a wooden spoon until it just comes together. And I mean *just*! It should look messy, rough, and what we call ‘shaggy.’ Do not feel the urge to knead this even once; honestly, kneading is the enemy here! Once it’s shaggy, gently fold in your cranberries, walnuts, and that optional cinnamon. Cover that bowl tightly with plastic wrap, find a spot on the counter that’s out of the way, and let it sit for anywhere from 12 to 18 hours. When you come back, you’ll see a bubbly, slightly ballooned mass—that’s delicious flavor developing!
Preheating and Baking Your Artisan Cranberry Bread
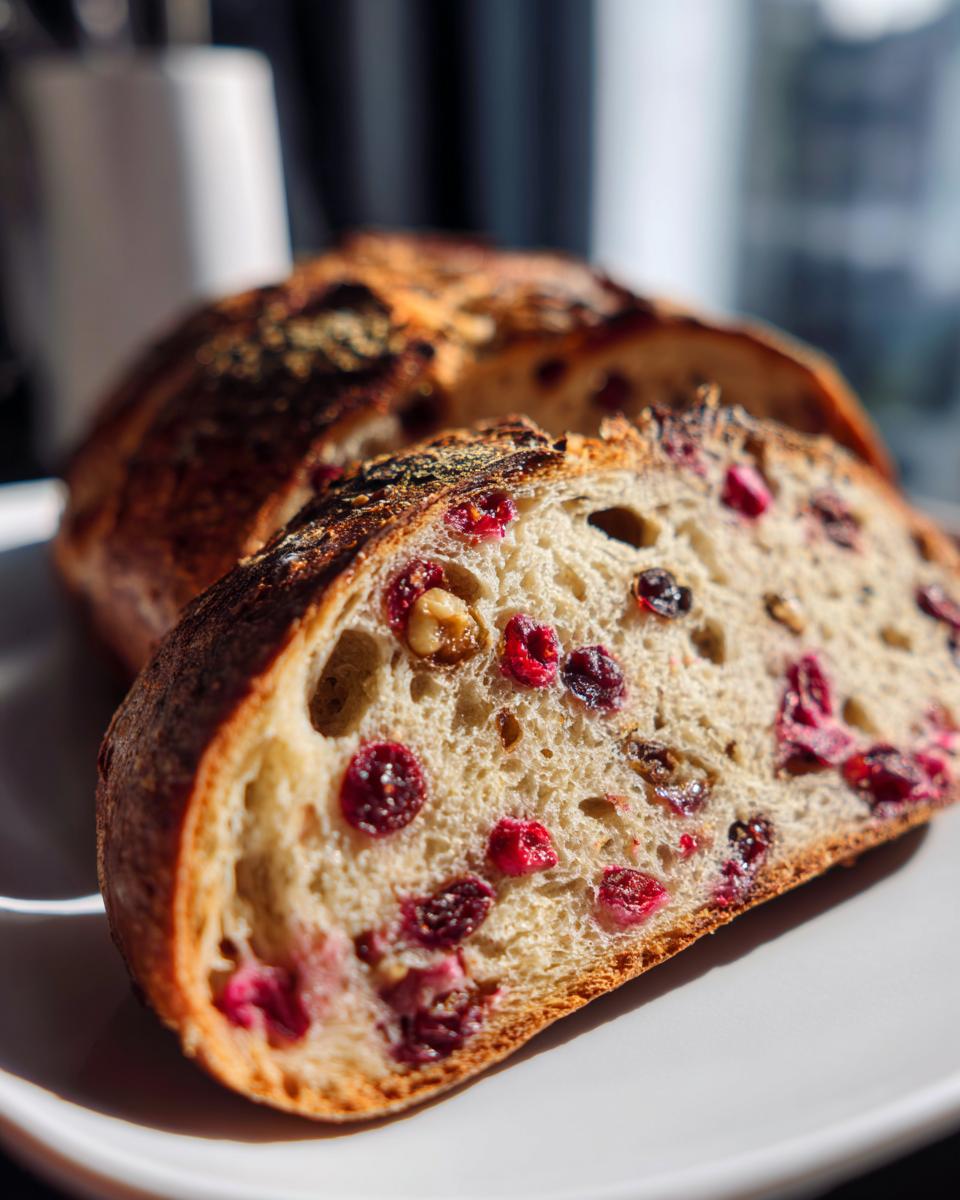
About half an hour before your dough is done resting, it’s time to fire up the oven to 450 degrees Fahrenheit. Make sure you put your Dutch oven, lid and all, right inside the oven while it heats up. This incredibly hot environment is key to that amazing crust! When the oven is screaming hot, carefully take out that Dutch oven—wear great oven mitts, please! Gently scrape your dough (still on its parchment sling) right into the hot pot and slap the lid back on quickly. Bake it covered for 30 minutes to trap the steam. Then, take the lid off and let it bake another 15 to 20 minutes until that crust turns that beautiful, deep, rustic brown color. The final, most crucial step? Letting it cool completely on a wire rack before you slice it. If you cut it too soon, all that internal steam rushes out and can make your interior slightly gummy!
Tips for Success Making Moist Cranberry Loaf
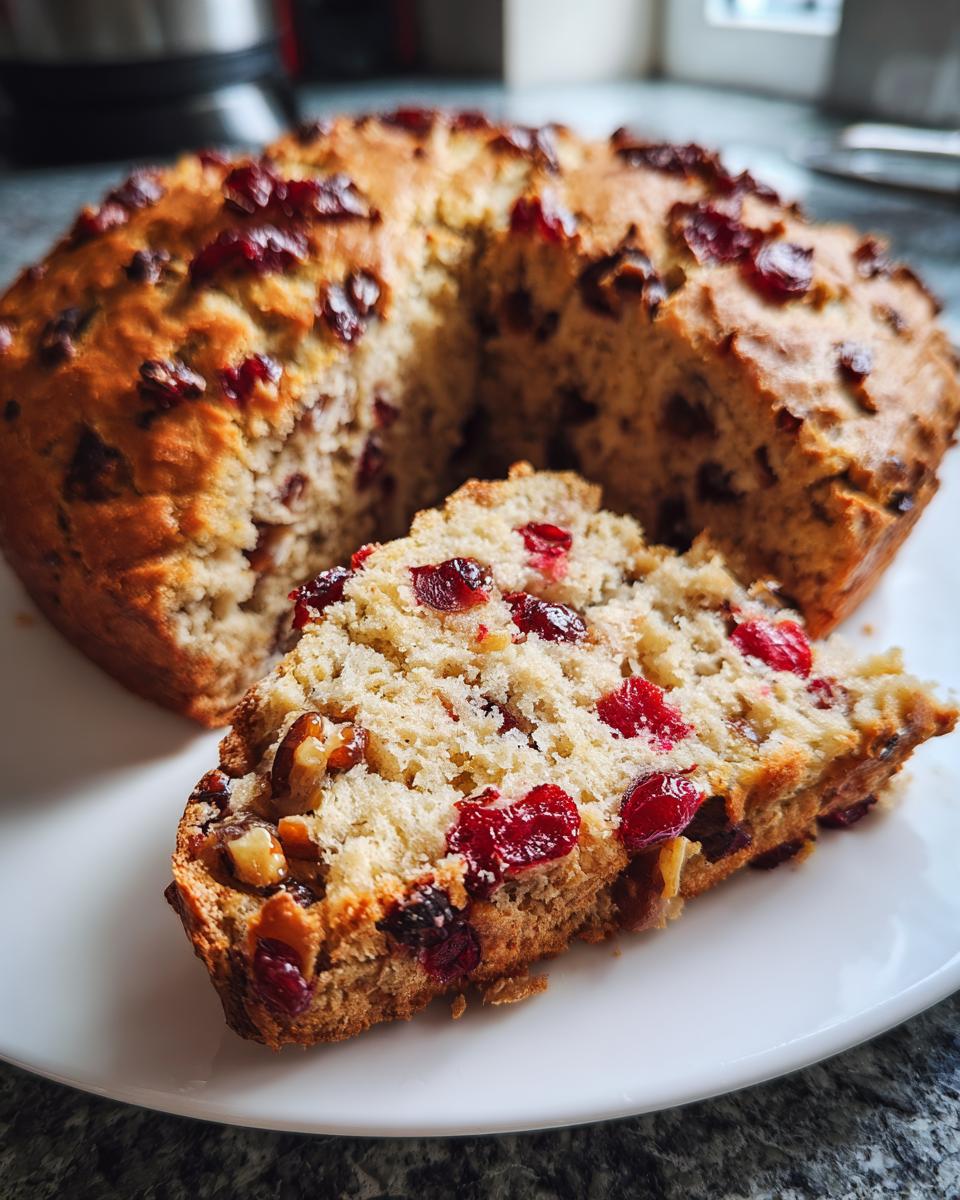
We’ve gone through the hard work of the mixing and the waiting, so let’s make sure we finish strong and keep this loaf wonderfully moist. Since this is a yeast bread, moisture retention is key, especially when you’re aiming for that slight sweetness that makes this a great Costco copycat experience! You want that tender interior to last until the last slice is gone, right?
One thing I learned perfecting these recipes is that toasting your walnuts before you mix them in really wakes up their flavor. It’s a small step, but it adds a layer of depth that really comes through against the tart berries. Also, remember that honey we used in the starter? That also plays a big role in keeping the crumb soft long after it’s cooled down. It’s just another little bit of gentle science working for us!
Variations for Your Homemade Cranberry Nut Bread
While this Cranberry Walnut Bread is perfect as is, sometimes you want to switch things up! If you want to add a little more complexity without changing the structure of this no-knead loaf, try tossing in a little extra spice. A tiny pinch more cinnamon, or maybe even just a scraping of nutmeg, works beautifully with the fruit flavor. Some people even add a tablespoon or two of raisins along with the cranberries for different bursts of sweetness. Just make sure whatever you add in is dry or plump—no overly juicy additions here, or you risk upsetting the delicate moisture balance we worked so hard to achieve!
Serving Suggestions for Festive Breakfast Loaf
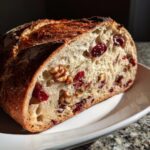
This beautiful, rustic **Festive Breakfast Loaf** deserves the best accompaniment! Since the flavor profile balances that lovely tartness from the cranberries against the earthiness of the walnuts, you want spreads that complement that tang. Honestly, the best thing you can do is serve a thick slice warmed just slightly—you’ll get that lovely crackle from the crust again.
In our family, we always keep a jar of orange marmalade handy. The bright citrus cuts through the richness of the dough perfectly. If you prefer something creamier, you simply can’t go wrong with a smear of softened, high-quality cream cheese. For a real treat, try mixing a little maple syrup into your cream cheese before you spread it on! It’s divine with the nutty crunch left over from the bake. Find some other great holiday pairings over here!
Storing Your Cranberry Walnut Bread Properly
Now that you have this beautiful, artisan loaf, we need to make sure it lasts! The biggest concern with any no-knead bread is that fantastic crust—it hates humidity. For short-term storage, meaning the next day or two, you want to keep it at cool room temperature, but not airtight. I recommend wrapping it loosely in a clean kitchen towel or placing it in a paper bag.
If you need it to last longer, freezing is your best friend! Just slice the loaf completely first, place the slices in a heavy-duty freezer bag, and squeeze all the air out before sealing. It keeps beautifully for up to three months. When you’re ready for a slice, just pop one directly into the toaster! That heat brings back a little bit of that fresh-baked joy. You can check out some great tips on handling **Homemade Cranberry Nut Bread** preservation here.
Frequently Asked Questions About Cranberry Walnut Bread
I know when you’re trying a new recipe, especially one that involves a long patience period like this one, you might have a few questions bubbling up! That’s perfectly normal. I’ve gathered the most common ones I hear about this Cranberry Walnut Bread Recipe to give you that extra boost of confidence before you start mixing. If you’re looking for more detailed dives into bread science, I highly recommend checking out the great resource here!
Can I substitute dried cranberries for fresh ones in this cranberry walnut bread?
That’s a great question! While you certainly can use fresh cranberries, I strongly recommend sticking to dried for this particular No Knead Bread recipe. Fresh ones release way too much liquid during that long, slow rise, and it can mess with the hydration balance we’ve carefully engineered for the artisan crust. If you must use fresh, you’ll need to cut them down significantly and probably add them in much later—maybe even right before baking—but for guaranteed success, use the dried ones!
What is the best flour to use for this No Knead Bread?
For the absolute chewiest crumb, like you’d find in a professional bakery, bread flour is technically the best choice because it has a slightly higher protein content. However, since this is a relatively low-hydration recipe and we aren’t kneading it aggressively, all-purpose flour works wonderfully well here too! Don’t stress about running out to buy bread flour if you have AP on hand; this Sweet Loaf Recipe is forgiving either way.
How do I make sure my walnuts are crunchy?
This is key for a great texture in your Homemade Cranberry Nut Bread! While the recipe notes mention toasting them for a ‘Costco copycat’ feel, simply making sure your walnuts aren’t old or stale is the first defense. If they are slightly soft, toss them in a dry pan over medium heat for just 3 or 4 minutes until they smell nutty and fragrant. Let them cool completely before folding them into the shaggy dough, and you’ll get that perfect crunch in every slice!
Can I make this faster? I want Cranberry Bread today!
Ah, the need for speed! If you are looking for an immediate bread, this **Artisan Cranberry Bread** isn’t it, because that 12 to 18-hour rest is essential for the flavor. If you need something today, you’ll want to look for a traditional quick bread method, which relies on baking soda and powder instead of yeast. Those are great, but they won’t give you this rustic, chewy, artisan texture we are aiming for here. Patience earns you the best reward in this case!
Nutritional Estimates for Your Sweet Loaf Recipe
I always think it’s helpful to have a general idea of what’s in every delicious slice of this **Sweet Loaf Recipe**. Remember, because this is a homemade bread using natural ingredients like honey, these numbers are just estimates based on the detailed ingredient list. Every time you change the flour or the amount of nuts you manage to sneak in, the totals can shift a little!
We calculated these based on one slice being the serving size:
- Serving Size: 1 slice
- Calories: 250
- Sugar: 8g
- Sodium: 300mg
- Fat: 7g
- Protein: 6g
- Carbohydrates: 42g
Even with the honey and the richness from the walnuts, this **Cranberry Walnut Bread** comes out surprisingly well-balanced, especially considering it’s yeast-leavened rather than relying heavily on added fats you often find in quick breads. Enjoy it guilt-free!
Share Your Cranberry Walnut Bread Creations
My absolute favorite part of sharing a recipe isn’t just seeing you all bake it—it’s hearing about your experience! Did you manage to capture that perfect, crackly artisan crust? Did you serve it warm with orange marmalade? I want to hear every detail!
Please, if you made this **Cranberry Walnut Bread**, leave a rating below. Those five stars really help other home cooks feel confident trying out this easy, no-knead method. And if you snapped a picture of your beautiful loaf before slicing into it, tag me on social media! It makes my day to see my digital kitchen connect with yours. Maybe you even found a new favorite way to enjoy this **Festive Breakfast Loaf**.
If you’re looking for more cozy winter baking ideas, I’ve shared some wonderful thoughts over here, and for even more bread inspiration, check out the gems awaiting you at this link. Happy baking, friends. I hope this loaf brings tons of joy to your table!
PrintNo-Knead Artisan Cranberry Walnut Bread
You can make this easy, rustic Cranberry Walnut Bread at home. This no-knead recipe results in an artisan loaf with a crisp crust and a soft interior, perfect for holiday breakfasts or brunch.
- Prep Time: 15 min
- Cook Time: 50 min
- Total Time: 13 hours 5 min
- Yield: 1 loaf 1x
- Category: Breakfast
- Method: Baking
- Cuisine: American
- Diet: Vegetarian
Ingredients
- 1.5 cups room-temperature water
- 1 teaspoon active dry yeast
- 3 cups bread flour or all-purpose flour
- 1.5 teaspoons salt
- 2 tablespoons honey
- 1 cup dried cranberries
- 1 cup chopped walnuts
- 1 teaspoon ground cinnamon (optional)
Instructions
- In a large bowl, mix the water, yeast, and honey. Let stand for 5 minutes until slightly foamy.
- Add the flour and salt to the bowl. Mix with a wooden spoon until just combined into a shaggy dough. Do not knead.
- Fold in the dried cranberries, chopped walnuts, and cinnamon, if using.
- Cover the bowl tightly with plastic wrap. Let the dough rise at room temperature for 12 to 18 hours. The dough will become bubbly and increase in volume.
- About 30 minutes before baking, place a Dutch oven with the lid inside your oven. Preheat the oven to 450°F (232°C).
- Carefully remove the hot Dutch oven from the oven. Gently scrape the dough onto a piece of parchment paper.
- Score the top of the dough with a sharp knife if desired.
- Using the parchment paper as a sling, carefully lower the dough into the hot Dutch oven. Cover with the lid.
- Bake for 30 minutes with the lid on.
- Remove the lid and continue baking for another 15 to 20 minutes, until the crust is deep golden brown.
- Carefully remove the bread from the Dutch oven and let it cool completely on a wire rack before slicing.
Notes
- For a Costco copycat flavor, lightly toast the walnuts before adding them to the dough.
- If you want a sweeter loaf, add 1 tablespoon of brown sugar along with the honey.
- This bread is excellent served with orange marmalade or cream cheese.
Nutrition
- Serving Size: 1 slice
- Calories: 250
- Sugar: 8g
- Sodium: 300mg
- Fat: 7g
- Saturated Fat: 1g
- Unsaturated Fat: 6g
- Trans Fat: 0g
- Carbohydrates: 42g
- Fiber: 2g
- Protein: 6g
- Cholesterol: 0mg