
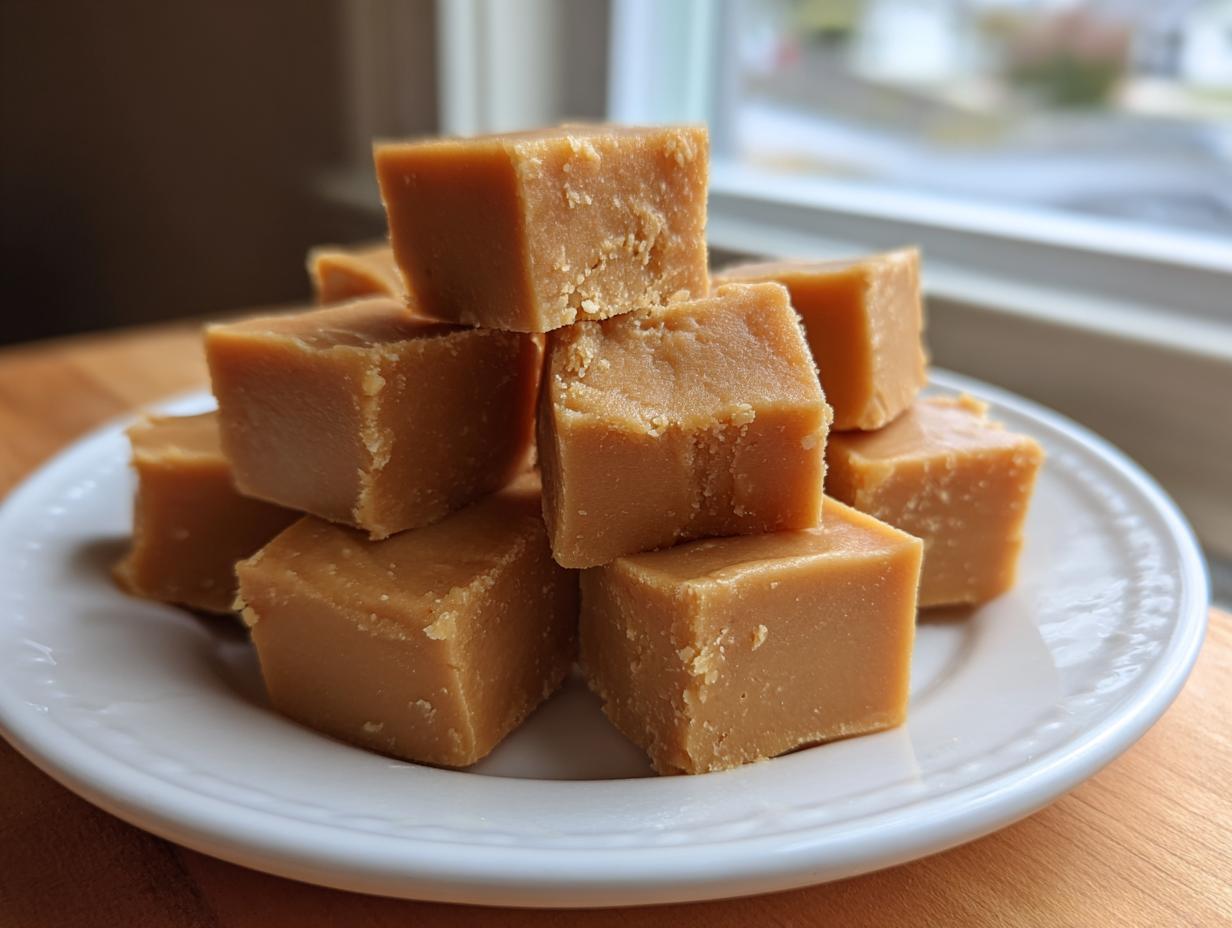
Hello there, and welcome! I’m Katie, and I’m so excited you stopped by Frosted Fancies today. If you’re anything like me, you dream about that ridiculously smooth, melt-in-your-mouth texture when you think about **peanut butter fudge**. Grainy fudge is just the worst, right? Well, don’t you worry one bit!
That’s where my background in Food Science and years developing recipes for magazines comes in handy. I’ve perfected this approach using just four simple ingredients—yes, four!—and the best part? There’s absolutely no candy thermometer involved. This no-bake recipe is the most foolproof way to get rich, creamy squares every single time. Trust me, this is the **best peanut butter fudge** you’ll ever make at home.
- Why This Creamy Peanut Butter Fudge is Your New Favorite
- Gathering Ingredients for Perfect Peanut Butter Fudge
- Step-by-Step Guide to Making Foolproof Peanut Butter Fudge
- Expert Tips for the Best Peanut Butter Fudge Texture
- Variations on Classic Peanut Butter Fudge
- Storing and Serving Your Homemade Candy Recipe
- Frequently Asked Questions About Peanut Butter Fudge
- Nutritional Estimates for This Simple Dessert Squares
- Share Your Success with This Easy Fudge Recipe
Why This Creamy Peanut Butter Fudge is Your New Favorite
Listen, when you need a sweet fix, you need it fast, and you need it perfect. That’s why this particular **peanut butter fudge** recipe is what I turn to when company drops by unexpectedly or when I need a fast treat for a bake sale.
Here’s why I think you’ll love it as much as I do:
- It gives you that incredible **melt in your mouth fudge** texture we all crave.
- No candy thermometer means zero stress for beginners or even seasoned bakers who hate fussing with temperamental sugar syrups.
- It truly is a **quick four ingredient dessert**, meaning minimal trips to the grocery store!
- We’ve figured out the science so you get a perfectly smooth finish instead of grainy sugar crystals. You can see some other great foundational recipes over at this great spot!
Gathering Ingredients for Perfect Peanut Butter Fudge
The beauty of this **peanut butter fudge** comes from its simplicity, but simplicity means every single ingredient needs to be just right. Since there are only four stars in this recipe, we can’t afford any weak links! You’ll notice I always list ingredients with a quick note about crucial preparation—that’s the professional baker in me making sure you succeed.
First up, make sure your butter is properly softened. I mean soft enough to easily mash with a spoon, but definitely not melted! Melted butter changes the whole structure and leads to sloppy fudge. Also, please, please, please sift your powdered sugar. It seems like an extra step, but it’s non-negotiable for achieving that wonderfully smooth, no-grain texture we want in the finished product.
Here’s what you need to grab before you start:
- One cup of creamy peanut butter—I stick to the standard shelf-stable creamy kind, not the natural runny stuff, just to keep things consistent!
- One cup of unsalted butter, softened (that’s two sticks, folks).
- Four cups of powdered sugar, which must be sifted!
- One teaspoon of pure vanilla extract. It truly makes a difference compared to imitation.
Step-by-Step Guide to Making Foolproof Peanut Butter Fudge
Okay, now for the fun part! Since this is a **no bake peanut butter treats** recipe, we aren’t worrying about oven temperatures, but we do need to prep our stage carefully. This whole process is quick, maybe 10 minutes of hands-on time, but the setting time is important for that perfect texture. Remember, baking success is often about prep!
Preparing Your Pan and Creaming the Base
First things first: get your 8×8 inch pan ready. This helps prevent sticking, which is always the downfall of an easy fudge recipe! I line mine with parchment paper, but make sure you leave a little overhang on two sides. This gives you little handles later so you can just lift the entire block out later—no wrestling with the corners!
Next, take that softened butter and beat it until it looks lighter and totally creamy. Don’t use melted butter; we need that structure! Then, stir in your soft peanut butter until the mix looks uniform and delicious. This is our rich base for the **peanut butter fudge**.
Combining Peanut Butter and Incorporating Sugar
Now comes the slightly messy part, so pay attention! You’re going to add the sifted powdered sugar one cup at a time. My biggest tip here, pulled straight from my test kitchen days? Always start mixing on the absolute lowest speed your mixer has. Seriously, low! If you start high, you’ll end up wearing a cloud of powdered sugar, and trust me, it’s not fun to clean up.
Keep mixing gently until everything is just combined before adding the next cup. The vanilla goes in with that final cup of sugar. Beat it just until the mixture looks smooth and perfectly uniform. You are building that amazing, **creamy peanut butter fudge** texture right here.
Setting and Cutting Your Smooth and Rich Dessert
Once it’s all mixed, scrape that glorious dough into your lined pan. Use a spatula or the back of a spoon—I like to gently press it down to make sure it fills every corner. Smooth out the top so it looks nice for gifting or serving!
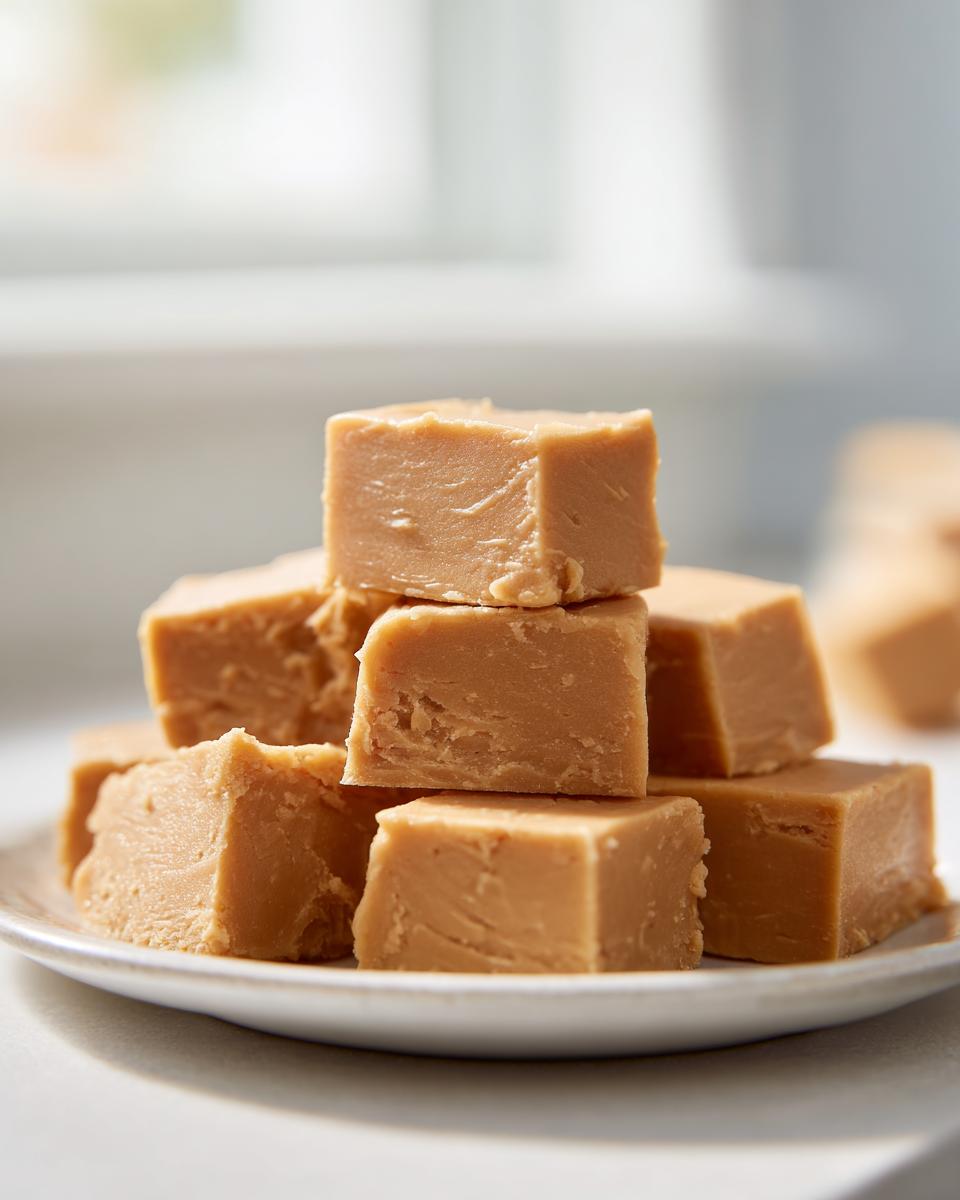
Then, put the pan in the fridge. You need at least two hours for it to chill and firm up properly. Don’t rush this bit! Once it’s completely set, use those parchment paper handles to lift the whole slab out onto a cutting board. Cut it into small squares—you get a lot from this batch, perfect for a quick dessert treat. Enjoy looking at those clean cuts!
Expert Tips for the Best Peanut Butter Fudge Texture
You know, it took me years as a professional recipe developer to truly understand *why* some batches of **peanut butter fudge** turned out silky smooth and others got a little grainy. I remember one Christmas when I was rushing; I tossed all the powdered sugar in at once on high speed, and the fudge completely seized up. It was gritty, and I almost cried! I learned then that avoiding that grainy texture is all about respecting the process, even in a quick recipe.
My biggest piece of advice for that perfect, **smooth and rich dessert** quality is the gentle addition of that sugar. Also, remember those notes about the peanut butter? If your peanut butter is stiff—I mean really hard right out of the jar—it helps to soften it first. You can microwave it for maybe 20 seconds. This slight warming helps it blend beautifully with the butter before the sugar even hits the bowl.
If you want a little extra flavor complexity, try swapping out just half a cup of your regular peanut butter for melted peanut butter chips. It deepens the flavor without messing up the structure too much. For more fantastic ideas on keeping your fudge perfect, check out what others are doing over at Shugary Sweets!
Variations on Classic Peanut Butter Fudge
Now, while I truly believe this four-ingredient **peanut butter fudge** is perfection on its own—it’s incredibly rich and smooth—I know you bakers like to experiment! That’s why I love sharing ways to dress this up for holidays or just because you have an extra ingredient lying around. These are all quick additions that won’t compromise our beautiful texture.
If you’re feeling fancy, a simple layer of melted chocolate on top takes this straight into decadent territory. Let the fudge set up partially, then spread melted semi-sweet chocolate evenly across the top and chill until firm. For those who love texture, swapping that creamy peanut butter for crunchy peanut butter adds a nice little surprise in every bite!
Speaking of flavor boosts, a little pinch of flaky sea salt sprinkled on top right before the final chill is heavenly. It balances out the sweetness so perfectly. If you’re looking for more fun ways to twist up your homemade candy, take a peek at the great recipes linked over at Kippi at Home!
Storing and Serving Your Homemade Candy Recipe
Here’s the good news: this fantastic **peanut butter fudge** is extremely stable! Because of the high amount of sugar and butter, it stays fresh for quite a while. I usually recommend keeping it in an airtight container right in the refrigerator. It lasts beautifully for up to a week there, making it a wonderful make-ahead option for any holiday fudge recipe.
If you need to serve it, just pull it out about 20 minutes before you plan to eat it. That little bit of time lets it soften just enough to get that signature *melt-in-your-mouth* quality. You can find some other great tips for keeping things fresh over at Gimme That Flavor!
Frequently Asked Questions About Peanut Butter Fudge
Can I swap my creamy peanut butter for crunchy peanut butter?
You absolutely can! If you prefer a little texture, crunchy peanut butter is a fantastic substitute here. Just know that since crunchy peanut butter has less fat overall, your **peanut butter fudge** might set up slightly firmer. But honestly, either way, it’s delicious! This is a great way to make an easy holiday candy treat.
I heard about recipes using condensed milk. How does this powdered sugar version compare?
That’s a great question! Many people use a **condensed milk fudge recipe**, which is also easy, but it tends to yield a slightly chewier confection, sometimes leaning toward being stickier. My recipe, using powdered sugar and softened butter, guarantees that dense, crumbly, almost whipped texture that lets it truly *melt in your mouth*. For the silkiest texture, stick to this method!
I’m worried about graininess. What’s the absolute best way to ensure smooth fudge?
The science behind avoiding graininess is twofold: first, sift that powdered sugar! Second, incorporate it slowly on low speed. If you dump it all in at once, the sugar crystals don’t dissolve properly into the fat base, and you get that gritty feel. Keep your mixer speed low until everything is just combined for a truly **smooth and rich dessert**.
How long does this easy fudge recipe really last, and does it need refrigeration?
Because this recipe uses butter and no heavy dairy stabilizers, I highly recommend keeping your finished **peanut butter fudge** in an airtight container in the fridge. It stays perfectly firm and fresh for about a week. If you leave it out on the counter, it will soften up quickly, especially the warmer the room is! We talk more about keeping things fresh over at Salty Side Dish.
Nutritional Estimates for This Simple Dessert Squares
I always try to be upfront about what’s in my treats, even when they are as simple as these **simple dessert squares**! Please remember that these numbers are just an estimate based on the four main ingredients we used here. Since ingredients vary (especially peanut butter brands!), your final count might shift a little bit, but this gives you a good ballpark figure.
For one small square of this homemade candy recipe, here are the estimated breakdowns:
- Calories: 155
- Sugar: 18g
- Fat: 9g
- Protein: 3g
It’s a rich treat, for sure, but satisfying when you know exactly what went into it!
Share Your Success with This Easy Fudge Recipe
That’s it! You’ve made the creamiest, smoothest **peanut butter fudge** ever, and you didn’t even have to turn on the stove for that part! I truly hope you love how simple this was. If you made a batch, please pop down into the comments below and leave me a rating. I love hearing about your successes! And if you share a photo on social media, tag me so I can see your delicious squares. You can find more great inspiration like this at Shugary Sweets, and don’t forget to check out the original inspiration over at Everyday Cooking Tips!
PrintThe Best 4-Ingredient Creamy No-Bake Peanut Butter Fudge
Make this rich, smooth peanut butter fudge with only four simple ingredients. This no-bake recipe sets up perfectly every time, giving you a melt-in-your-mouth dessert without needing a candy thermometer.
- Prep Time: 10 min
- Cook Time: 0 min
- Total Time: 2 hr 10 min
- Yield: About 64 small squares 1x
- Category: Dessert
- Method: No-Bake
- Cuisine: American
- Diet: Vegetarian
Ingredients
- 1 cup creamy peanut butter
- 1 cup (2 sticks) unsalted butter, softened
- 4 cups powdered sugar, sifted
- 1 teaspoon vanilla extract
Instructions
- Line an 8×8 inch baking pan with parchment paper, leaving an overhang on two sides for easy removal. Lightly grease the paper.
- In a large bowl, beat the softened butter until smooth using an electric mixer.
- Add the peanut butter to the butter and beat until fully combined and creamy.
- Gradually add the sifted powdered sugar, one cup at a time, mixing on low speed until incorporated. Add the vanilla extract with the last cup of sugar. Beat until the mixture is smooth and uniform.
- Press the fudge mixture evenly into the prepared baking pan. Use a spatula or the back of a spoon to smooth the top surface.
- Refrigerate the fudge for at least 2 hours, or until firm enough to cut.
- Lift the fudge out of the pan using the parchment paper overhang. Cut into 1-inch squares.
Notes
- For a richer flavor, substitute 1/2 cup of the peanut butter with melted peanut butter chips.
- If your peanut butter is very stiff, microwave it for 15-20 seconds to soften before mixing.
- Sifting the powdered sugar prevents lumps and helps achieve a smoother texture in your final fudge.
- Store leftovers in an airtight container in the refrigerator for up to one week.
Nutrition
- Serving Size: 1 square
- Calories: 155
- Sugar: 18g
- Sodium: 65mg
- Fat: 9g
- Saturated Fat: 4g
- Unsaturated Fat: 5g
- Trans Fat: 0g
- Carbohydrates: 18g
- Fiber: 0g
- Protein: 3g
- Cholesterol: 15mg