
Hello and welcome, friends! I’m Katie, and I’m so excited you stopped by Frosted Fancies today. Have you ever looked at two of your favorite desserts and thought, “Why not put them together?” That’s exactly how this incredible recipe was born! We are taking the creamy, melt-in-your-mouth texture of a classic cheesecake and swirling it with the elegant coffee and mascarpone magic of Italian tiramisu. Trust me, this **tiramisu cheesecake** is the ultimate dessert fusion, and because it’s entirely no-bake, it’s completely foolproof. My background in Food Science helps me understand the stability of chilled desserts, so I promise you—this assembly is sturdy, simple, and guaranteed to impress without ever turning on your oven!
- Why This No Bake Tiramisu Cheesecake Recipe Works Every Time
- Gathering Ingredients for Your Tiramisu Cheesecake
- Step-by-Step Instructions for Your No Bake Tiramisu Cheesecake
- Tips for Success with Your Italian Inspired Layered Dessert
- Serving Suggestions for Your Decadent Cheesecake Fusion
- Storage and Make-Ahead Instructions for Tiramisu Cheesecake
- Quick Answers About This Ultimate Dessert Mashup
- Nutritional Estimates for This Creamy Chilled Dessert
- Share Your Frosted Fancies Creations
Why This No Bake Tiramisu Cheesecake Recipe Works Every Time
The best part about this specific **tiramisu cheesecake recipe** is that you get all the decadent flavor without any worry about cracking, water baths, or weird baked textures. Because we skip the oven entirely, this becomes one of the dreamiest, **easy make ahead desserts** you can whip up for a party. It sets up beautifully in the fridge, guaranteeing that silky smooth finish we all dream of.
When you’re seeking that fantastic **creamy chilled dessert** experience, you need to focus on the filling structure. We’re layering bold coffee flavor onto that rich base, and it holds up perfectly. You can find great assembly tips for this fusion over at Made by Sweeney if you want another look at their process!
The Science Behind the Perfect Mascarpone Cream Cheese Dessert
As a food scientist, I can tell you that building structure without heat is all about fat and air! We rely on two key components here: perfectly softened cream cheese combined with mascarpone, and heavy cream whipped stiff. The cold temperature keeps the fats stable. When you gently fold the whipped cream into the cheeses, you incorporate millions of tiny air bubbles that mimic the lift you’d get from baking. That’s how we achieve that luscious **mascarpone cream cheese dessert** mouthfeel!
Gathering Ingredients for Your Tiramisu Cheesecake
Alright, now that you’re excited about this amazing **tiramisu cheesecake recipe**, let’s get our components ready. For a no-bake dessert, the quality and temperature of your ingredients matter a ton, especially the dairy! I’ve laid out exactly what you need to make this happen. Remember, we’re aiming for that distinct coffee flavor mixed with the rich cheesecake base, so don’t skimp on that espresso!
- 1 1/2 cups chocolate wafer crumbs (or graham cracker crumbs if you prefer a lighter base)
- 6 tablespoons unsalted butter, melted
- 1/4 cup strong brewed espresso or coffee, cooled down completely
- 1 teaspoon granulated sugar (just a pinch for the crust!)
- 1 package (3 ounces) ladyfingers
- 1 cup strong brewed espresso or coffee, cooled (This is for dipping, so make it strong—like I am!)
- 2 tablespoons coffee liqueur (Optional, but oh my goodness, it adds depth!)
- 2 packages (8 ounces each) cream cheese, make sure it is fully softened to room temperature
- 1 1/2 cups powdered sugar, sifted if it’s lumpy
- 1 teaspoon vanilla extract
- 1/2 cup granulated sugar (For the filling!)
- 1 cup heavy whipping cream, keep this really cold
- 8 ounces mascarpone cheese, softened just until pliable
- Unsweetened cocoa powder, the good stuff, for dusting right before serving
Step-by-Step Instructions for Your No Bake Tiramisu Cheesecake
Now for the fun part! Since this is a no-bake dream, preparation is key. We need everything to be ready to layer perfectly because once the filling is mixed, we don’t want it sitting around getting warm. Read all these steps through before you start mixing, especially concerning that strong coffee soak. When you’re done assembling, the hard part is waiting! Check out Cozy Kitchen Tales for another great guide on the no-bake assembly process. Remember, this beauty needs at least six hours in the fridge, but honestly, overnight is where this **tiramisu cheesecake** really shines!
Assembling the Ladyfinger Crust for the Tiramisu Cheesecake
Let’s start with the base! Grab your crumbs, melted butter, that tiny bit of sugar, and the 1/4 cup of cooled espresso. Mix it up until it feels like wet sand—you want it to hold its shape when you squeeze it. Press that mixture firmly and evenly into the bottom of your springform pan. Pop that pan into the freezer while you work on the coffee soak. For the ladyfingers, pour your main cup of coffee (and liqueur, if you’re using it) into a shallow dish. Quick dip, quick flip—that’s the motto! You want them moistened, not falling apart on you, okay?
Creating the Rich Mascarpone Filling for the Tiramisu Cheesecake
This is where the magic happens for our **coffee flavored cheesecake** center! First, take your separate big bowl and cream that softened cream cheese with both the powdered sugar and the regular sugar, plus the vanilla, until it’s totally smooth. Set that aside. Now, in a *different*, clean bowl, whip that cold heavy cream until you get those stiff peaks—don’t stop early, you need that air! Once that’s fluffy, gently fold the slightly softened mascarpone into the cream cheese mixture first. Then, gently, gently fold in the whipped cream. We want this **mascarpone cream cheese dessert** airy, not dense!
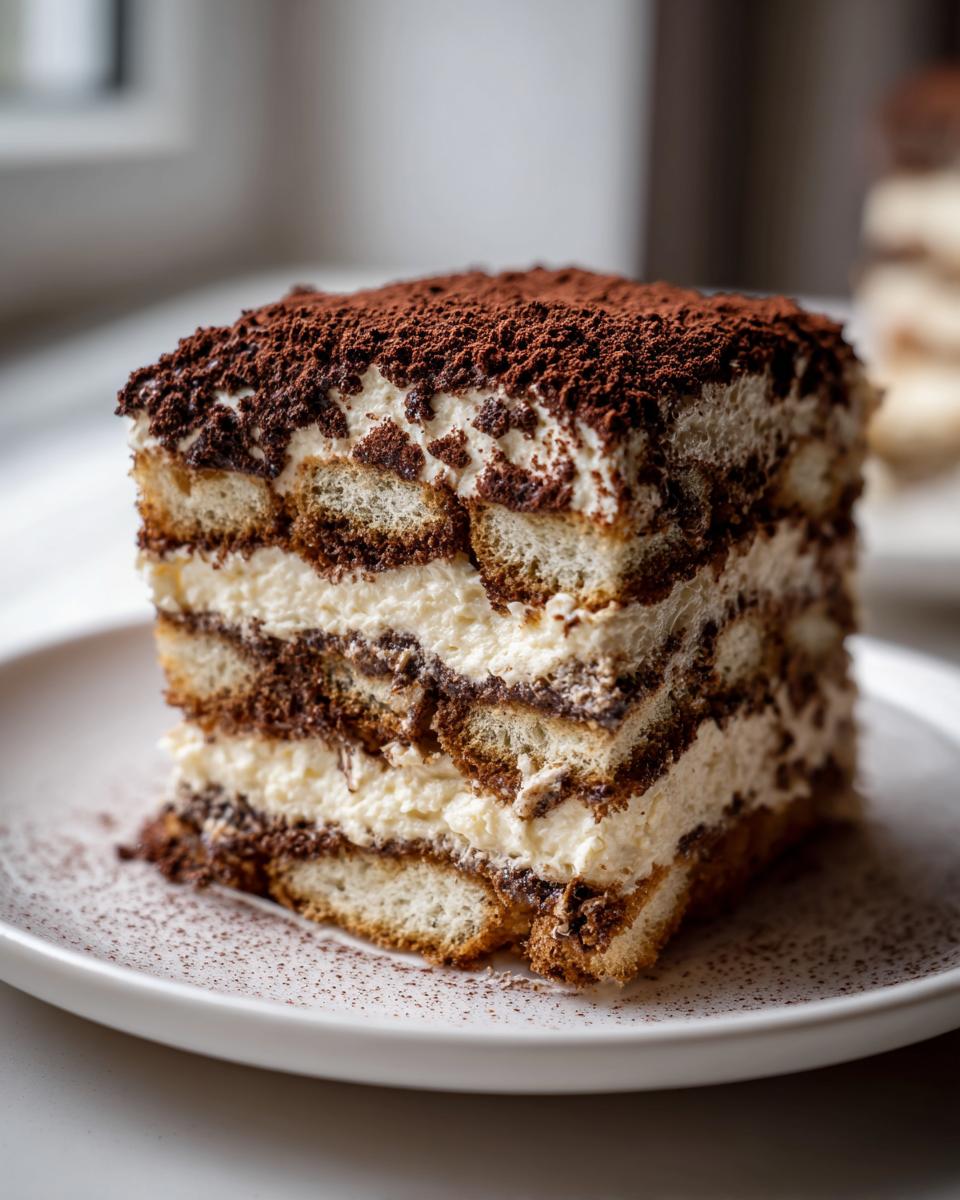
Now, layer it up! Spread half the filling over those quick-dipped ladyfingers, add the second layer of soaked ladyfingers, and smooth the rest of the filling right on top. Cover it lightly and into the fridge it goes!
Tips for Success with Your Italian Inspired Layered Dessert
Making this **Italian inspired layered dessert** is usually pretty straightforward since we aren’t baking, but a few of my pro tips from the test kitchen can take it from great to absolutely unforgettable. Since this is an **espresso cheesecake dessert**, the coffee flavor is what really makes it sing! Don’t be shy about how strong you brew it. If you want the coffee flavor to pop even more throughout the layers, you can dissolve instant espresso powder right into the cold coffee you use for soaking the ladyfingers. You can see some other lovely plating tips over on Olives + Thyme!
Ingredient Notes and Substitutions for Coffee Flavored Cheesecake
Let’s talk ingredients for this **coffee flavored cheesecake**. First up: the base. I listed chocolate wafer crumbs because they pair so nicely with the cocoa dusting, but if you only have graham crackers, go for it! Just know the flavor profile shifts a little. Secondly, for the liqueur, if you absolutely can’t use it—maybe you’re skipping the alcohol or just don’t have any on hand—don’t panic! Add about half a teaspoon of almond extract to your espresso soak instead. It brings a wonderful complexity that mimics some of those deeper vanilla and spice notes you find in aged spirits. Finally, please, use the best mascarpone you can find. Since it’s a star player in this no-bake recipe, the flavor difference between brands is honestly huge!
Serving Suggestions for Your Decadent Cheesecake Fusion
Oh my goodness, when you get to this stage, you know you’ve created something truly special! This **decadent cheesecake fusion** is incredibly rich, so you don’t want to weigh it down with heavy sides. For a truly elegant finish, especially when serving this as a **special occasion cheesecake**, think light and simple!
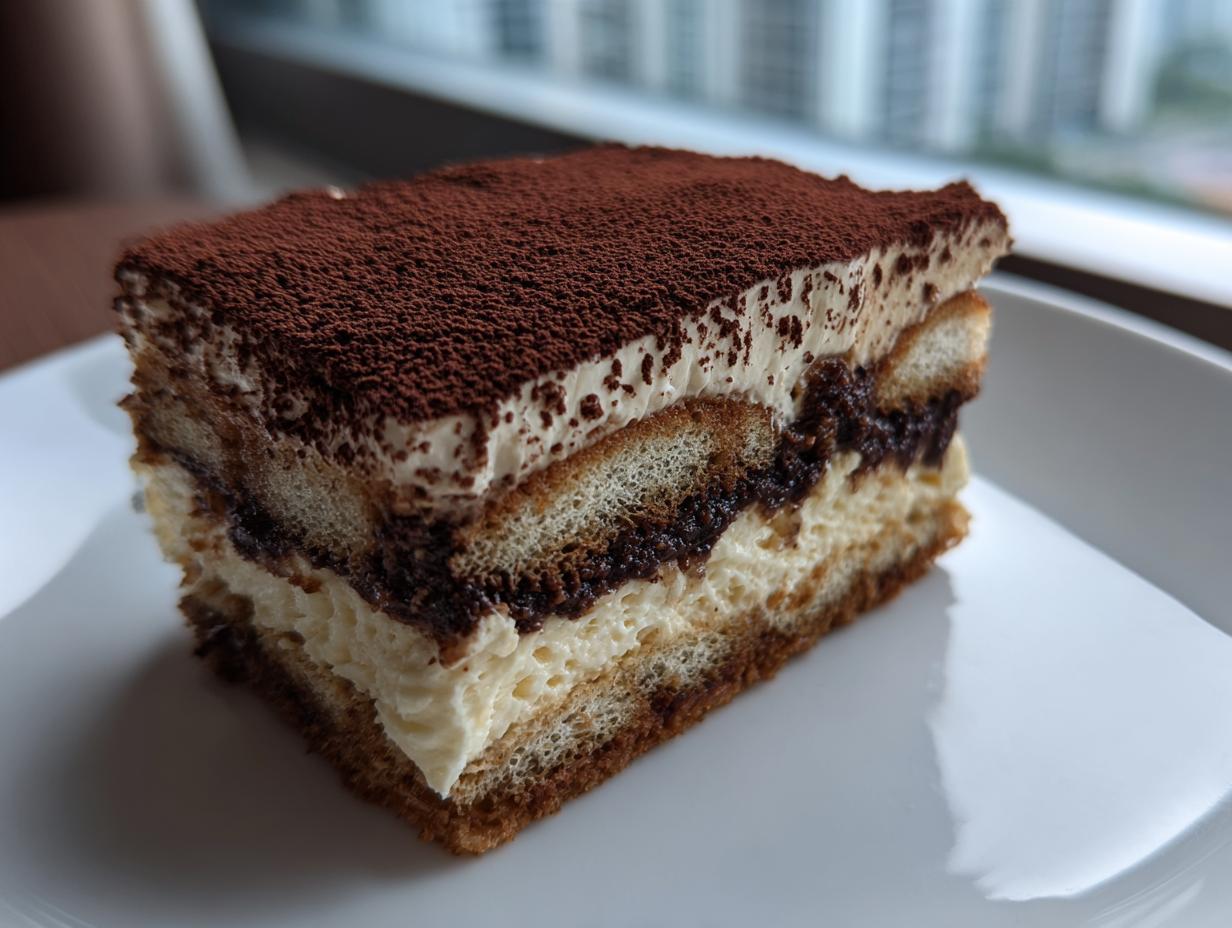
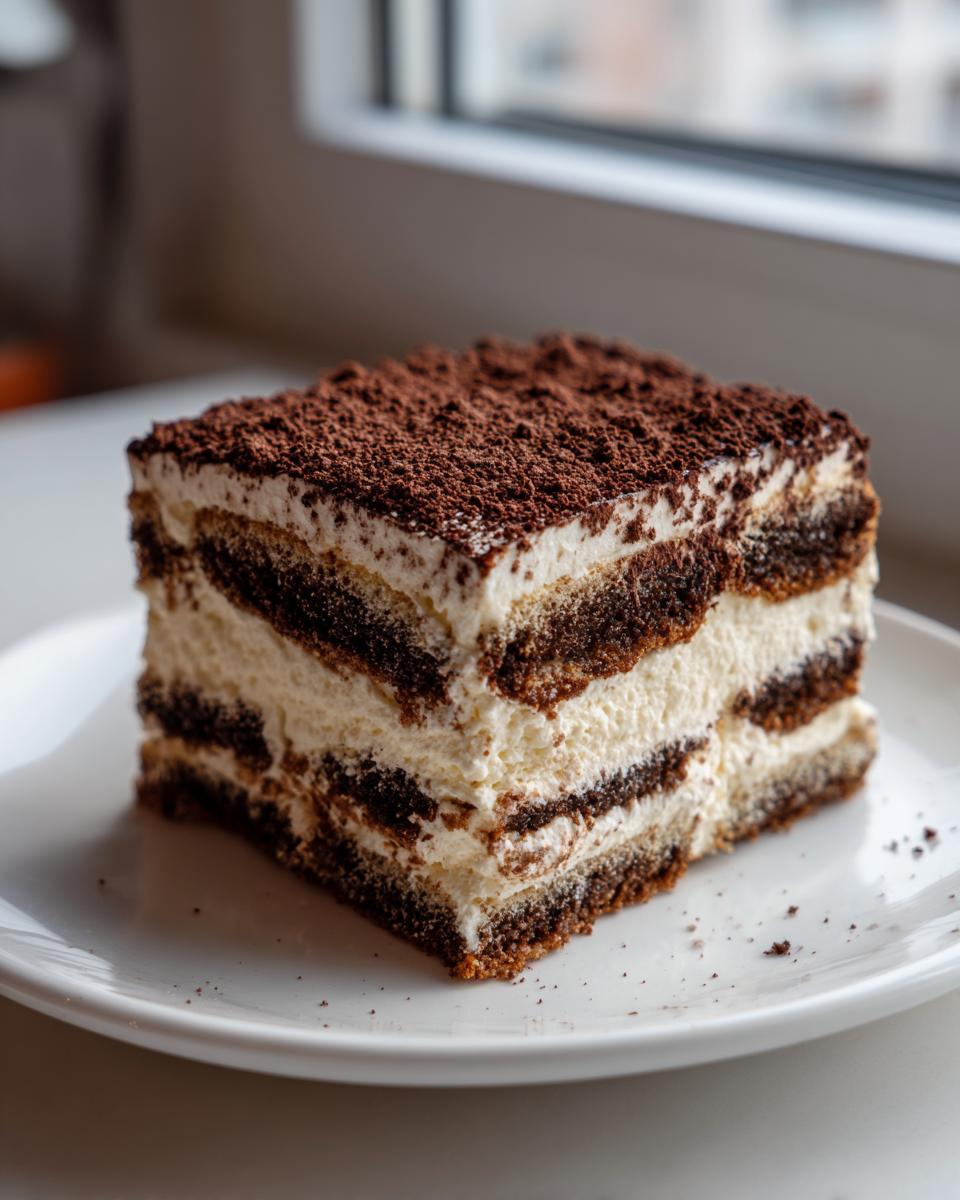
Dusting it generously with high-quality, unsweetened cocoa powder is non-negotiable—it balances the richness perfectly. That beautiful dark powder against the pale, creamy filling just screams Italian luxury. If you want to add a little extra flourish, I sometimes dust a tiny bit of powdered sugar only around the very edges of the plate, leaving the center cocoa-heavy. You can see how Rich Feast plates theirs for an extra elegant vibe!
What should you serve alongside it? Keep it simple. A few fresh raspberries or thin slices of orange zest provide a clean, bright contrast without competing with the coffee notes. Skip heavy sauces. If you absolutely must add a cream element, a tiny dollop of unsweetened, freshly whipped cream is all you need. Honestly, though, this **tiramisu cheesecake** stands perfectly tall on its own. It’s the star of the show, and everyone will be diving in for that second slice!
Storage and Make-Ahead Instructions for Tiramisu Cheesecake
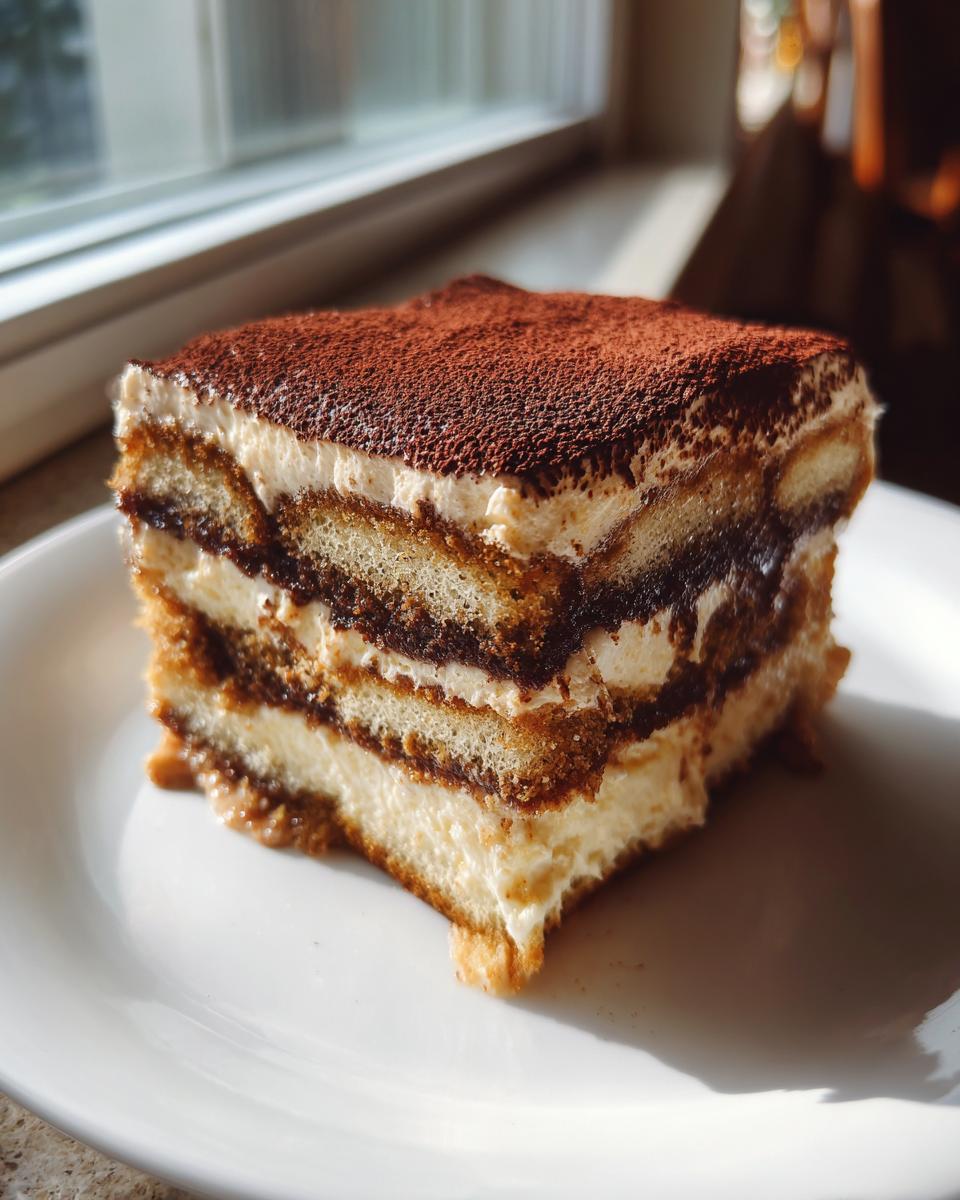
One of the absolute best features of this entire **tiramisu cheesecake** design is how perfectly it transforms into an **easy make ahead dessert**! Because this is totally no-bake, the structure actually *improves* as it chills. It needs that time for the espresso to fully soak into the ladyfingers and for the filling to firm up into that gorgeous, dense sliceable **creamy chilled dessert** texture we worked so hard to create.
You must keep this covered tightly in the refrigerator. Once the sides of the springform pan are removed—and I usually wait until just before serving to do this—place that plastic wrap directly onto the surface of the cheesecake, or use an overturned, slightly larger bowl to cover it if you can fit it in your fridge. This prevents the surface from drying out or picking up any weird fridge smells. It needs to stay cold, always!
How long can it hang out in there? I feel completely confident leaving mine for a full 24 hours before serving. In fact, that’s when the flavors are the deepest. You can definitely push it to up to three days, but honestly, I feel like the ladyfingers can start to get a little too soft after day three, even though the coffee flavor gets intense. You cannot reheat this, of course—it’s not baked! So make sure you’re planning your assembly time around that 6-hour minimum chill. We want it served cold, firm, and ready to melt in your mouth. Check out Best Recipe Site for some great storage configuration ideas for these larger desserts!
Quick Answers About This Ultimate Dessert Mashup
I know you have some lingering questions about taking this perfect **ultimate dessert mashup** from recipe to reality! It’s normal! When you’re blending two heavy-hitter desserts like this, you want to make sure you get every component just right. I’ve gathered the top few questions I always get about this specific **tiramisu cheesecake** build, so let’s clear them up right now!
Can I make a baked tiramisu cheesecake version?
That’s a fun thought! While this specific recipe is my go-to **no bake tiramisu cheesecake** because I love how creamy the texture stays when chilled, I know some folks prefer the dense texture of a baked cheesecake. You absolutely can find recipes for **baked tiramisu cheesecake** out there, but be warned: the technique is totally different! Baking changes the egg structure and the way the mascarpone sets. For this recipe, however, we are sticking to cool and creamy, which is why we skip the oven entirely!
What is the best way to prevent the ladyfingers from getting soggy?
This is the most crucial part for structure! Since we are building layers, we want the ladyfingers to be infused with flavor, not turning into coffee mush. The secret is speed! You need to dip the ladyfinger, quick as a wink, into the cooled espresso—a one-second dunk on each side, max. Don’t let them sit! Remember, they are going to continue absorbing moisture from the surrounding cheesecake filling while they chill for hours. If they start soggy, your whole **Italian inspired layered dessert** will collapse.
Also, make sure your espresso isn’t warm! Warm liquid soaks in instantly and breaks down the structure of the cookie way too fast. Cold coffee ensures the ladyfinger absorbs flavor slowly while still holding its shape!
If you are curious about how other people handle their **coffee flavored cheesecake** components, you can check out some great tips by browsing other baker’s blogs!
Nutritional Estimates for This Creamy Chilled Dessert
I always get asked about the numbers, so here’s the science side of enjoying this decadent treat! Since we are turning basic ingredients into an **ultimate dessert mashup** featuring cream cheese, mascarpone, and a chocolate crust, it’s going to be rich. That’s why we call it decadent, right?
But please remember, just like in my professional kitchen days, these figures are just my baseline estimates calculated using standard ingredient databases for one slice. Your actual macros might shift slightly based on the brands of cream cheese or the amount of cocoa you dust on top. Think of this as a guide for your **mascarpone cream cheese dessert**, not a strict rule book!
Here are the approximate figures for one generous slice of this **creamy chilled dessert**:
- Serving Size: 1 slice
- Calories: 450
- Total Fat: 30g (Be mindful of saturated fats, they are present!)
- Carbohydrates: 40g (Mostly from sugars and crust)
- Sugar: 35g
- Protein: 7g
- Cholesterol: 95mg
Enjoy it guilt-free! Knowing the science just helps you appreciate the rich layers of flavor that much more. That’s the joy of having a recipe that is both delicious and perfectly assembled!
Share Your Frosted Fancies Creations
Okay, that’s it! You’ve made the **tiramisu cheesecake**, you’ve chilled it until it’s perfectly firm, and now it’s time to enjoy your incredible accomplishment. Honestly, seeing photos from your kitchens is the absolute best part of running this site! It reminds me that all those hours testing ingredients are worth it when I see you successfully create something so beautiful and delicious.
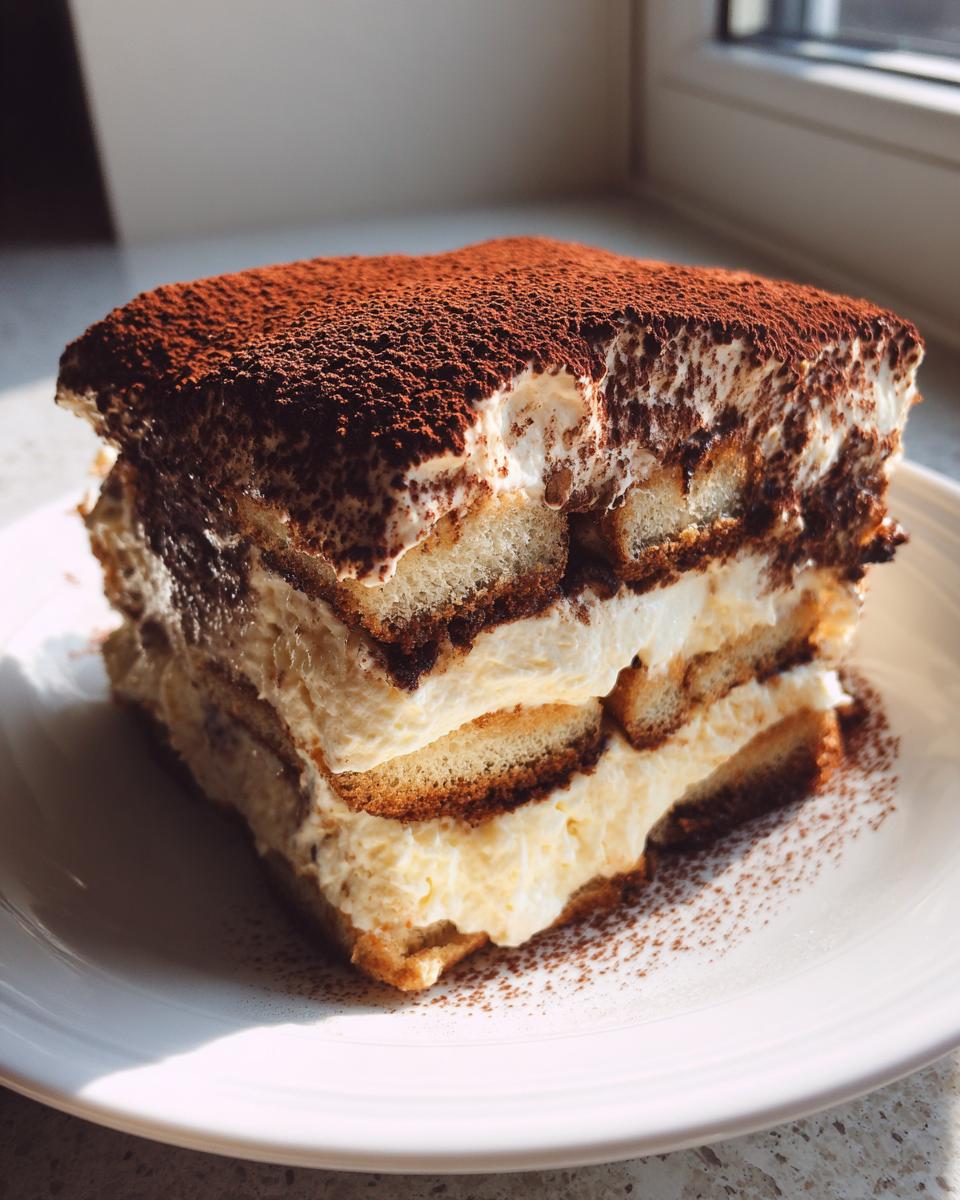
When you serve up this incredible **decadent cheesecake fusion**, please take a picture! I want to see how you dusted that cocoa powder and how those beautiful layers look when sliced. You can tag me on social media—I always check my tags! If you want to see how others have styled this dessert, check out some of the stunning presentations from recipes like the tiramisu cheesecake bars featured elsewhere!
If you followed along and this recipe truly delivered that dreamy, creamy texture you were hoping for, please swing back here and leave a quick star rating below. A rating really helps other home cooks know they can trust this recipe too! We love hearing about your successes, especially when tackling a mashup dessert like this one. I’ve already gathered some fantastic tips over at Naya’s Baker for presentation, too, if you’re looking for inspiration!
Happy baking—or chilling, in this case! Let me know how your **tiramisu cheesecake** turned out!
PrintNo-Bake Tiramisu Cheesecake with Espresso-Soaked Ladyfingers
This recipe combines creamy cheesecake with classic tiramisu flavors using espresso-soaked ladyfingers and a rich mascarpone filling. It is a decadent, make-ahead dessert perfect for special occasions.
- Prep Time: 30 min
- Cook Time: 0 min
- Total Time: 6 hours 30 min
- Yield: 10 servings 1x
- Category: Dessert
- Method: No-Bake
- Cuisine: Italian Inspired
- Diet: Vegetarian
Ingredients
- 1 1/2 cups chocolate wafer crumbs or graham cracker crumbs
- 6 tablespoons unsalted butter, melted
- 1/4 cup strong brewed espresso or coffee, cooled
- 1 teaspoon granulated sugar
- 1 package (3 ounces) ladyfingers
- 1 cup strong brewed espresso or coffee, cooled
- 2 tablespoons coffee liqueur (optional)
- 2 packages (8 ounces each) cream cheese, softened
- 1 1/2 cups powdered sugar
- 1 teaspoon vanilla extract
- 1/2 cup granulated sugar
- 1 cup heavy whipping cream, cold
- 8 ounces mascarpone cheese, softened
- Unsweetened cocoa powder, for dusting
Instructions
- Prepare the crust: Mix the chocolate wafer crumbs, melted butter, 1 teaspoon of granulated sugar, and 1/4 cup of cooled espresso in a bowl until the mixture resembles wet sand. Press this mixture firmly into the bottom of a 9-inch springform pan. Place the pan in the freezer while you prepare the filling.
- Prepare the ladyfingers: In a shallow dish, combine the 1 cup of cooled espresso with the coffee liqueur, if using. Quickly dip each ladyfinger into the coffee mixture, ensuring they are moistened but not soggy. Arrange a single layer of the dipped ladyfingers over the chilled crust.
- Make the cream cheese layer: In a large bowl, beat the softened cream cheese, powdered sugar, vanilla extract, and 1/2 cup of granulated sugar until smooth and creamy. Scrape down the sides of the bowl as needed.
- In a separate bowl, whip the cold heavy whipping cream until stiff peaks form. Gently fold the whipped cream into the cream cheese mixture until just combined.
- Gently fold the softened mascarpone cheese into the cream cheese mixture until smooth. Do not overmix.
- Spread half of the mascarpone cheesecake filling evenly over the layer of coffee-soaked ladyfingers in the springform pan.
- Arrange a second layer of coffee-soaked ladyfingers over the filling.
- Top with the remaining half of the mascarpone cheesecake filling, smoothing the top with a spatula.
- Cover the pan loosely with plastic wrap and chill in the refrigerator for at least 6 hours, or preferably overnight, until the cheesecake is firm.
- Before serving, carefully remove the sides of the springform pan. Dust the top generously with unsweetened cocoa powder. Slice and serve cold.
Notes
- For an even richer coffee flavor in the filling, you can dissolve 1 teaspoon of instant espresso powder into the 1/4 cup of espresso used for the crust.
- If you skip the coffee liqueur, add 1/2 teaspoon of almond extract to the espresso soak for complexity.
- Use high-quality mascarpone cheese for the best texture in your creamy chilled dessert.
Nutrition
- Serving Size: 1 slice
- Calories: 450
- Sugar: 35g
- Sodium: 250mg
- Fat: 30g
- Saturated Fat: 18g
- Unsaturated Fat: 12g
- Trans Fat: 0.5g
- Carbohydrates: 40g
- Fiber: 1g
- Protein: 7g
- Cholesterol: 95mg