
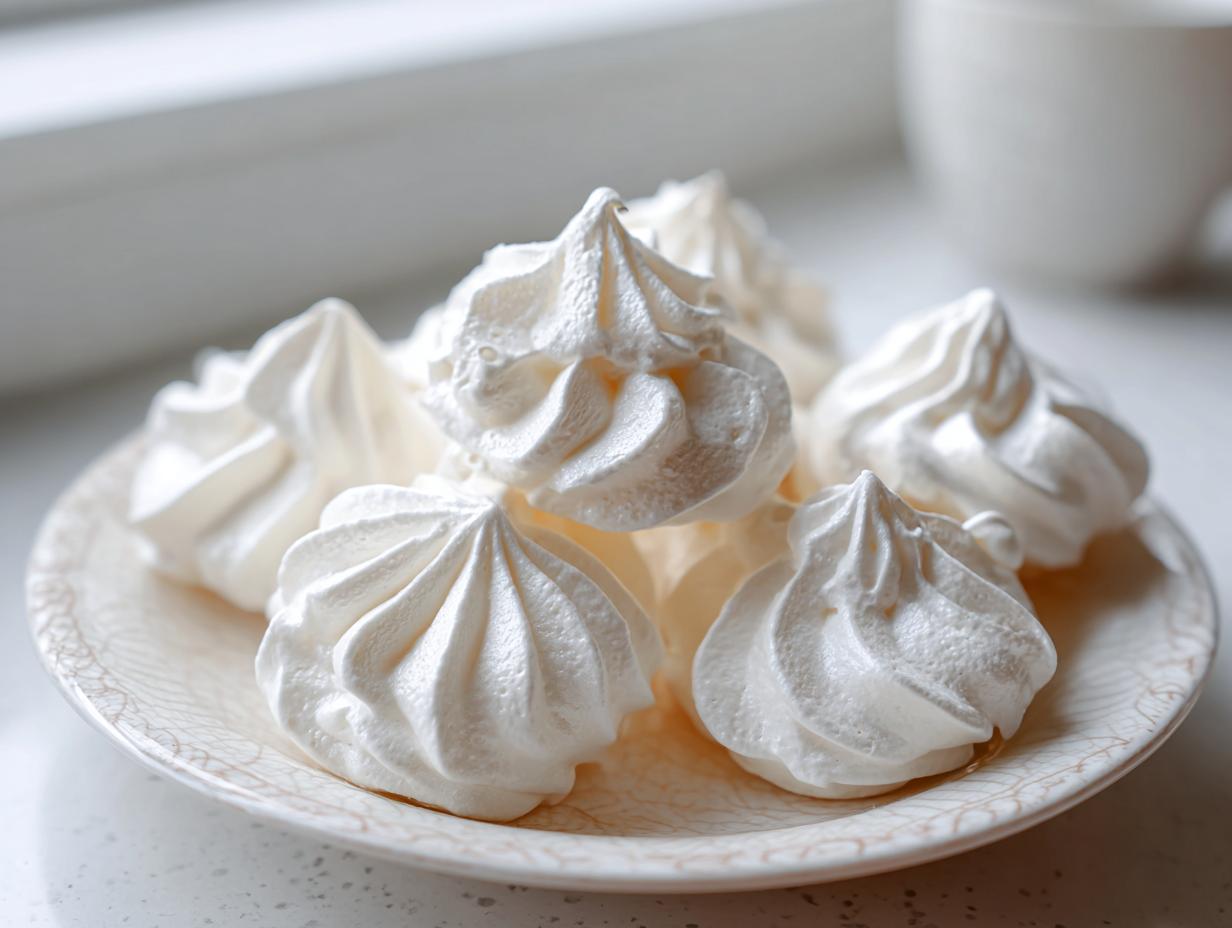
Hello there, and welcome to Frosted Fancies! I’m Katie, and I’m so excited you’re here to talk about one of my absolute favorite kitchen creations: meringue cookies. Whenever I teach a class or develop a recipe professionally, people are always nervous about egg whites, the dreaded weeping, or ending up with a sticky mess. Well, forget all that! Thanks to my background in food science and years of professional recipe testing, I’ve cracked the code. This guide isn’t just another recipe; it’s the foolproof method you need to achieve that incredible cloud-like structure. We are going to make meringue cookies that are perfectly light, wonderfully crisp on the outside, and genuinely melt in your mouth.
- Why You Will Love This Easy Meringue Cookies Recipe
- The Essential Ingredients for Perfect Meringue Cookies
- Expert Tips for Achieving Stiff, Glossy Peaks in Your Meringue Cookies
- How to Prepare Foolproof Meringue Cookies Step-by-Step
- The Critical Drying Phase for Crispy Meringue Cookie Tutorial
- Ingredient Notes and Simple Baking Recipes Substitutions
- Storage and Keeping Your Meringue Cookies Fresh
- Frequently Asked Questions About How to Make Meringue Cookies
- Nutritional Estimate for These Light and Airy Cookies
- Share Your Success with These Meringue Cookies
Why You Will Love This Easy Meringue Cookies Recipe
Honestly, I developed this recipe because I wanted something that looked impressive but barely required any effort once the mixer was running. Trust me, these are going to be your go-to when you need a stunning yet simple dessert. Here’s exactly why this becomes your new favorite Easy Meringue Cookies Recipe:
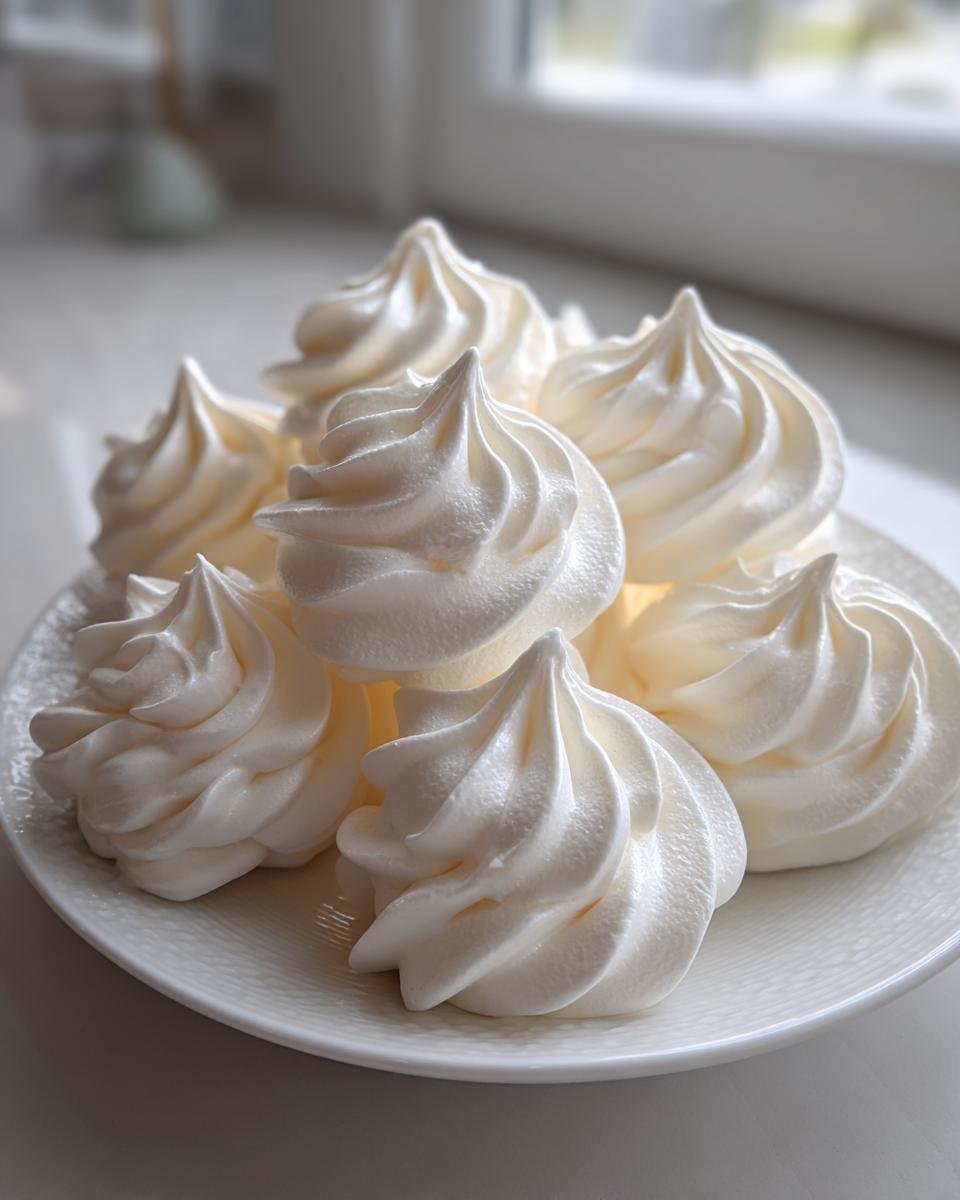
- They deliver that perfect contrast: a genuinely crisp exterior that snaps right off.
- The inside texture is pure magic—light and airy cookies that literally dissolve the second they hit your tongue.
- It’s a No Fail Cookie Recipe! If you follow my steps on cleaning your bowl, you will get stiff peaks every single time.
- You are using just five simple ingredients you probably already have in your pantry.
- Since they are naturally made of just egg whites and sugar, they are totally gluten free!
- These are fantastic for beginners. If you can turn on a mixer, you can master these Easy Meringue Cookies Recipe treats.
- They look so elegant paired with fresh berries or dipped in dark chocolate.
The Essential Ingredients for Perfect Meringue Cookies
When we talk about the Foolproof Meringue Recipe, the ingredient list is short, which means quality and preparation matter a ton! Because there’s so little going on here, every single component needs to be right. I’ve listed exactly what you need below. Make sure to grab your egg whites the night before so they can warm up on the counter! You can check out more details on why temperature matters over at this great meringue guide.
- 4 large egg whites, room temperature—this is non-negotiable!
- 1 cup granulated sugar—we need this pure white sugar for structure.
- 1 teaspoon pure vanilla extract
- 1/4 teaspoon cream of tartar (our secret stabilizer!)
- Pinch of salt
Expert Tips for Achieving Stiff, Glossy Peaks in Your Meringue Cookies
Okay, let’s talk about the make-or-break moment for all Perfect Whipped Egg White Desserts: those glossy, stiff peaks! This is where most people get scared, but I promise you, with just a little science in your corner, you’ll nail this 100% of the time. Getting that structure right is exactly how we guarantee those light and airy cookies you are dreaming of. It’s all about control and cleanliness in the mixing bowl. If you want that beautiful, crisp result mentioned over at this guide to light, crisp meringues, pay close attention here!
The Importance of Grease-Free Equipment
Listen closely: egg whites literally refuse to whip up if there’s even a whisper of fat or grease anywhere near them. A tiny bit of leftover oil from washing or even the oils on your finger can stop air bubbles from trapping. Think of it like asking soap to foam up when you’ve already used lotion—it won’t work right! Before you start, take a paper towel, dip it in white vinegar or lemon juice, and just wipe down the inside of your mixing bowl and your whisk attachment. It takes literally five seconds, and it ensures maximum volume.
Slow Sugar Addition for Foolproof Meringue Cookies
When you finally start whipping those foamy egg whites, you absolutely cannot dump all the sugar in at once. That leads to a soupy mess or, worse, a coarse, grainy final texture because the sugar crystals don’t have time to dissolve into the liquid. Instead, increase your speed to medium-high and add that cup of sugar one tablespoon at a time. You need to wait about thirty seconds between each addition. This slow process allows the sugar to melt completely into the protein matrix of the egg whites. This is the secret handshake for achieving those beautiful, stable peaks in your meringue cookies.
How to Prepare Foolproof Meringue Cookies Step-by-Step
Now that you have those incredibly stiff, glossy peaks—congratulations!—it’s time to turn that fluffy cloud into actual, edible, meringue cookies. Since this is my No Fail Cookie Recipe, we need to give these babies the gentle love they deserve during baking. We aren’t really *baking* them, we are slowly drying them out, and this low-and-slow approach is what keeps them light and airy inside!
First things first: get your oven preheated to a very low 200°F (95°C). Grab your baking sheets and line them only with parchment paper. Seriously, skip the silicone mats here; I’ve found the cookies suction right to them unless they are completely dry, and removing them after causes cracks. Don’t forget to wipe down your bowl with vinegar first—remember our rule about grease!
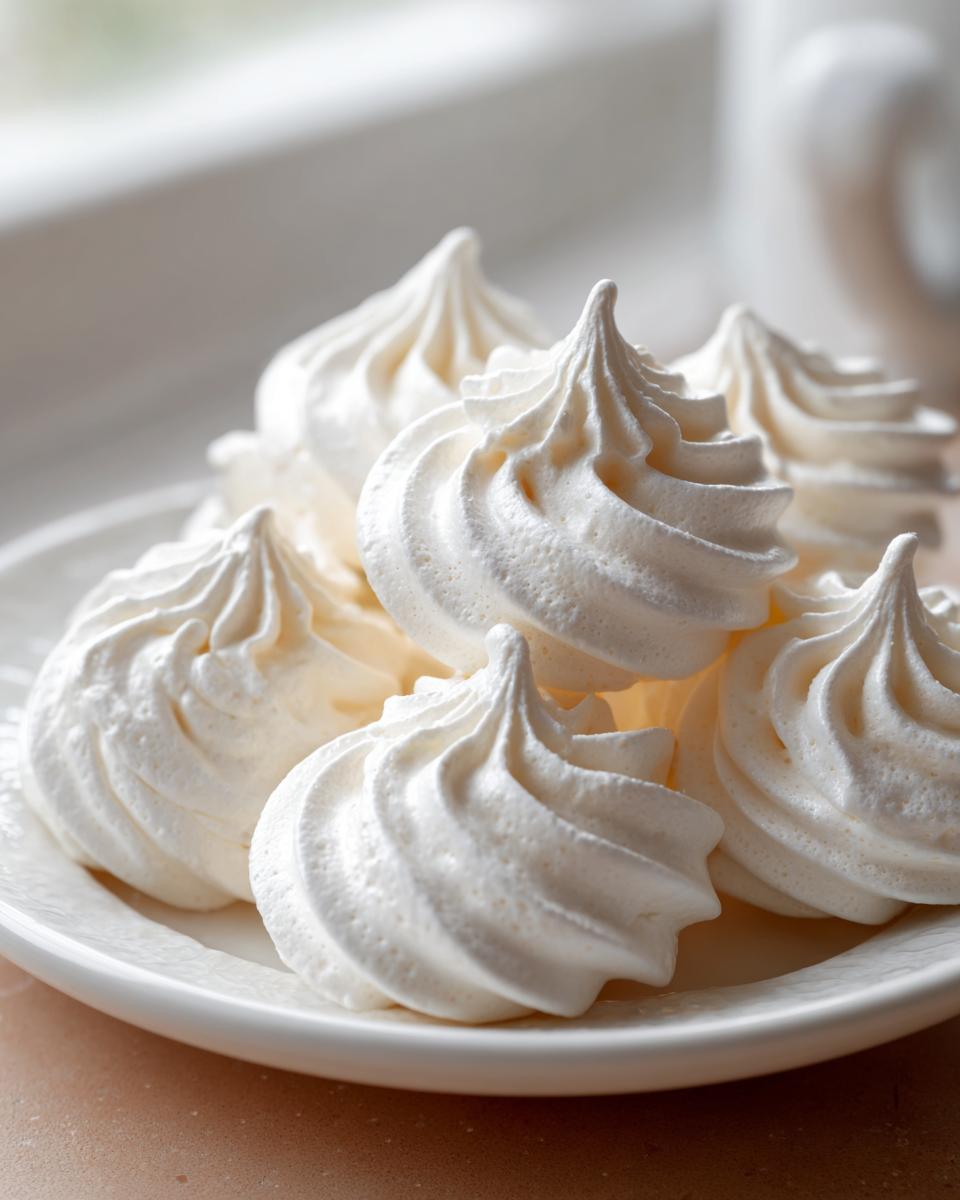
- Once your meringue is perfectly whipped, you need to get it onto the sheets fast before it starts to deflate slightly. Grab your piping bag—I love using a large star tip, like a Wilton 1M, because it makes them look like beautiful little kisses right away.
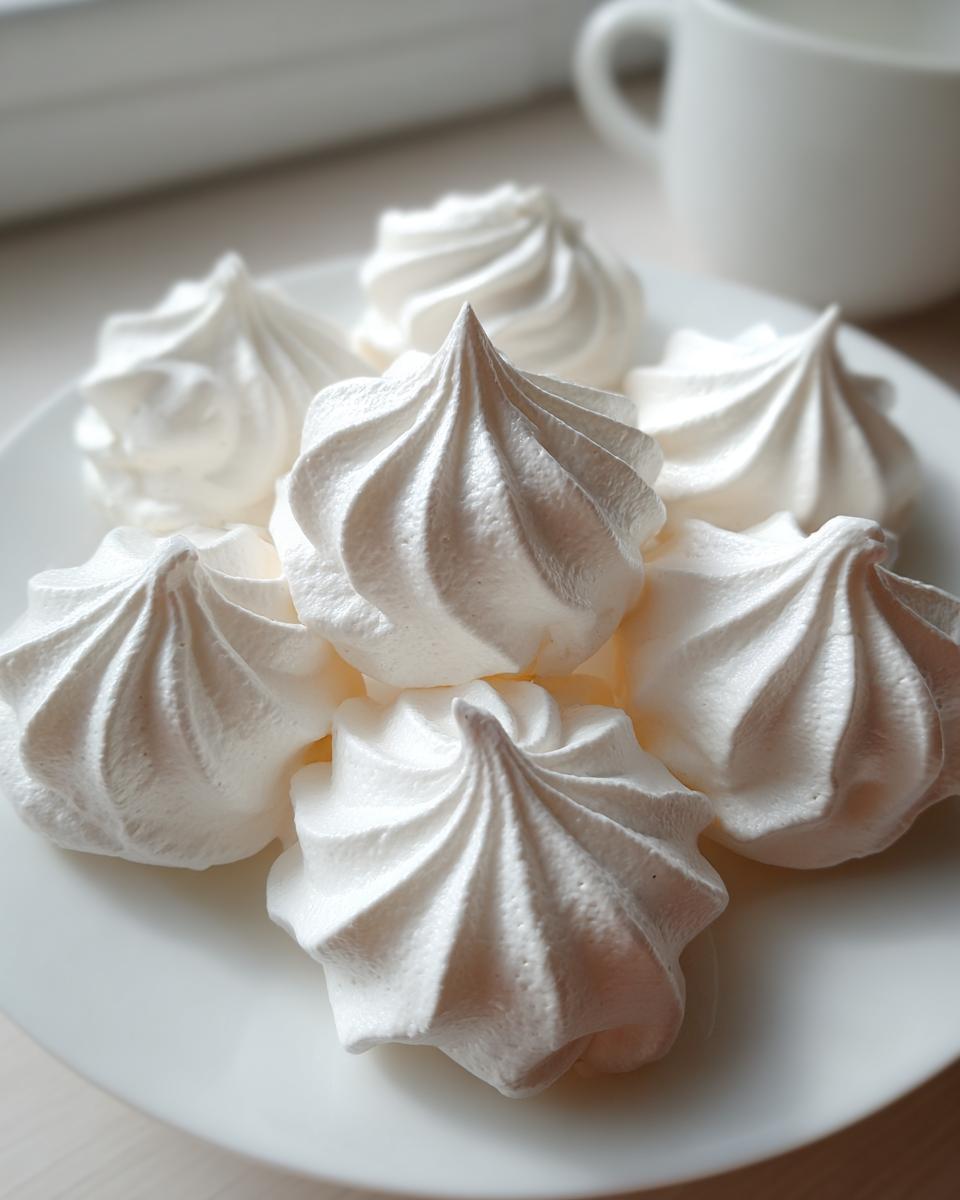
- Pipe out small swirls or kisses, making sure they are all roughly the same size so they bake evenly. Leave about an inch of space between them because while they don’t spread much, they are delicate and you don’t want them bumping while they bake.
- Pop those trays into your low oven for about 1 hour and 15 minutes to an hour and a half. You are looking for them to be dry to the touch and lift easily. Check the link over at Cooking Classy if you need visual confirmation on thickness!
Piping Your Delicate Sweet Treats
When you are piping, don’t overthink the size, but do try to keep the height consistent. If you pipe a short, flat blob, it will dry out too fast and might taste hollow. If you make it super tall, the outside will brown before the center has managed to dry even a little bit. I aim for about a one-inch base and a nice swirl on top—that perfect kiss shape! Remember, the goal here is visual appeal alongside that melt-in-your-mouth texture, so go ahead and make them pretty!
The Critical Drying Phase for Crispy Meringue Cookie Tutorial
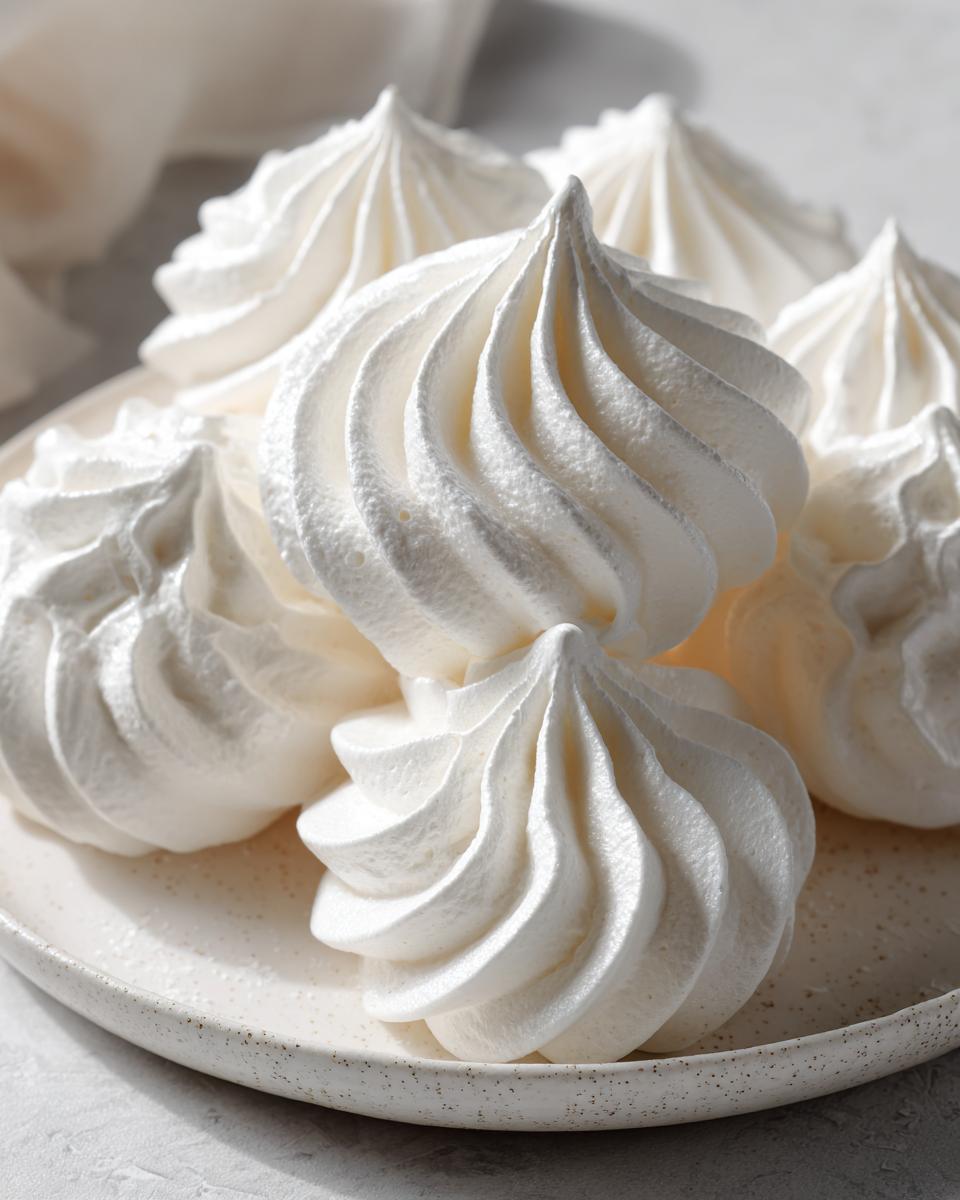
I cannot stress this enough: the baking time is the least important part of making perfect meringue cookies! We aren’t baking them, we are *drying* them, and that is a totally different ballgame. This low-and-slow process is what guarantees that fantastic snap—the crisp exterior you want—while keeping those centers soft, achieving those incredible Melt in Your Mouth Desserts you’re aiming for. You must bake them at 200°F (95°C) for at least an hour and a quarter until they look dry and lift easily off the parchment.
But the real magic happens after you turn the oven off. Seriously, do not pull them out! When they look done, just switch the oven power off, prop the door open slightly with a wooden spoon, and just leave them inside to cool down completely. I usually leave mine overnight. This slow, gradual decrease in temperature prevents the sudden contraction that causes those awful cracks that ruin the look of your beautiful confections. This step guarantees your meringue cookies stay crisp, light, and utterly perfect!
Ingredient Notes and Simple Baking Recipes Substitutions
Since this recipe falls under the category of Simple Baking Recipes, it really keeps things streamlined, but we do need to talk about a couple of key players. First, let’s tackle the cream of tartar. I absolutely swear by it because it stabilizes all those air bubbles we spent so long whipping in. It helps prevent the raw egg whites from collapsing, which is a lifesaver, especially if you’re nervous about the recipe!
Now, room temperature egg whites are a must. Cold whites just don’t whip up to the volume you need for that light texture. It’s worth the advance planning! If you’re wondering about flavoring, vanilla is what I stick to for the classic look, but you can certainly experiment with almond or peppermint extract.
As for sugar substitutes, please don’t try them here! Meringue cookies need the power of granulated sugar’s structure to hold everything up. If you want to see some flavorful variations, check out the ideas shared on this light and airy cookie post.
Storage and Keeping Your Meringue Cookies Fresh
Once you’ve successfully navigated the low oven, you’ve earned your beautiful, crisp treats! But you have to store them right, or humidity will ruin all your hard work in minutes. Meringue cookies are like little sugar sponges—they instantly absorb moisture from the air, turning that perfect snap into a sticky, chewy mess. That’s why you must seal them up immediately.
Keep your finished meringue cookies in a completely airtight container at room temperature. Don’t even think about putting them in the fridge; that’s the ultimate humidity trap! If you notice they start getting soft after a day or two, pop them back in your turned-off oven for about 15 minutes just to re-dry them out. They’re delicate, but they’re worth the effort!
Frequently Asked Questions About How to Make Meringue Cookies
I know you might still have a few lingering questions when tackling a recipe as delicate as this! It’s totally normal when you’re aiming for those perfect meringue cookies. Here are some of the things I get asked most often when helping folks master these delicate sweet treats.
Can I use cold egg whites instead of room temperature ones?
You really, really shouldn’t! Cold egg whites are harder to whip and they won’t incorporate as much air as they absolutely need to. Remember, we are aiming for a high volume for these light and airy cookies. If you forgot to set them out, you can place the measured whites in a clean metal bowl set over a pot of barely simmering water for about 3 minutes, whisking gently until they feel warm to the touch. Then, dry that bowl off completely and get whipping!
Why is my meringue weeping (leaking sugary liquid)?
Weeping is almost always caused by one of two things: humidity (avoid rainy days!) or under-beating the sugar. If that sugar isn’t fully dissolved into the egg whites, it separates out later during baking or storage. This is why for this How to Make Meringue Cookies guide, I stress tasting the mixture to check for grittiness! If you follow the slow sugar addition, this shouldn’t happen.
Can I add food coloring or flavor extracts other than vanilla?
Absolutely, you can get creative, especially if you are aiming for Holiday Meringue Cookies! For coloring, use gel food coloring, not the liquid drops, which can add too much water content. Gel colors are highly concentrated. If you check out the ideas over at Delicious Dishes Blog, you can see some fun color ideas. For flavor, a teaspoon of peppermint or even almond extract works wonderfully, but make sure you add it right at the very end!
Are these meringue cookies truly gluten free?
Yes! That’s one of the huge benefits of this dessert. Because they are made solely from egg whites and sugar, they are naturally gluten free, making them a safe and stunning option for friends with sensitivities. For chocolate variations, you can gently fold in mini chocolate chips at the very end—for inspiration, look at the chocolate version linked here!
Nutritional Estimate for These Light and Airy Cookies
When we are talking about sweet treats that are light as air, it’s natural to wonder about the nutritional side of things. Since these desserts are primarily made of egg whites and sugar, the composition is pretty straightforward! I always say that enjoyment is the best ingredient, but for completeness, here is the breakdown. Please remember, this is just an estimate based on the granulated sugar and egg whites as listed in the recipe, using standard ingredient calculations.
This rough estimate is based on yields of about 3 dozen cookies, which means the numbers are nice and low per cookie!
- Serving Size: 1 cookie
- Calories: 45
- Sugar: 11g (Don’t forget, sugar is absolutely essential for structure here!)
- Fat: 0g
- Protein: 0g
- Carbohydrates: 11g
Since we aren’t using any butter, oils, or flour, these delightful little confections come in very low on the fat scale. They are definitely a delicate sweet treat that satisfies that sugar craving without feeling heavy!
Share Your Success with These Meringue Cookies
I truly hope you’ve had wonderful luck making this meringue cookies recipe! Seriously, once you nail the stiff peaks, you’ll be whipping these out all the time. When you do make them, please come back and tell me how they turned out! Did you try any fun colors or maybe make some cute Holiday Meringue Cookies? Drop a star rating below so others know this recipe is foolproof. Happy baking, friends!
PrintFoolproof Classic Meringue Cookies: Light, Crisp, and Melt-in-Your-Mouth
This is the ultimate guide to making perfect French meringue cookies. Achieve a light, airy texture with a crisp exterior and a soft center that melts in your mouth. This recipe is naturally gluten-free and simple enough for beginner bakers.
- Prep Time: 20 min
- Cook Time: 90 min
- Total Time: 2 hours 50 min
- Yield: About 3 dozen 1x
- Category: Dessert
- Method: Baking
- Cuisine: American
- Diet: Gluten Free
Ingredients
- 4 large egg whites, room temperature
- 1 cup granulated sugar
- 1 teaspoon pure vanilla extract
- 1/4 teaspoon cream of tartar
- Pinch of salt
Instructions
- Preheat your oven to 200°F (95°C). Line two large baking sheets with parchment paper. Do not use silicone mats, as the meringues may stick.
- Wipe your mixing bowl and whisk attachment with a paper towel dipped in white vinegar or lemon juice to remove any trace of grease. This step is crucial for stiff peaks.
- Place the egg whites and cream of tartar into the clean bowl of a stand mixer fitted with the whisk attachment. Beat on medium speed until the mixture becomes foamy and opaque.
- Increase the speed to medium-high. Slowly add the granulated sugar, one tablespoon at a time, waiting about 30 seconds between additions. This slow addition allows the sugar to dissolve completely.
- Once all the sugar is added, continue beating on high speed until the meringue is very stiff, glossy, and holds firm peaks when you lift the whisk. When you rub a small amount between your fingers, you should not feel any sugar granules.
- Beat in the vanilla extract until just combined.
- Transfer the meringue to a piping bag fitted with a large star tip (like a Wilton 1M) or a round tip.
- Pipe small kisses or swirls onto the prepared baking sheets, leaving about one inch between each cookie.
- Bake for 1 hour and 15 minutes to 1 hour and 30 minutes. The time depends on the size of your cookies. They should look dry and lift easily from the parchment paper.
- Turn off the oven, prop the oven door open slightly with a wooden spoon, and allow the meringue cookies to cool completely inside the oven for at least 2 hours, or preferably overnight. This slow cooling prevents cracking and ensures a dry, crisp texture.
- Store your finished meringue cookies in an airtight container at room temperature.
Notes
- Use room temperature egg whites; they whip up to a higher volume than cold ones.
- Ensure your mixing bowl is completely free of fat or grease; even a tiny drop will prevent stiff peaks from forming.
- For the best melt-in-your-mouth texture, bake low and slow, and let them dry out completely in the turned-off oven.
- If you live in a humid area, baking time might be longer, and the cookies may take longer to dry. Avoid making these on rainy days if possible.
Nutrition
- Serving Size: 1 cookie
- Calories: 45
- Sugar: 11
- Sodium: 2
- Fat: 0
- Saturated Fat: 0
- Unsaturated Fat: 0
- Trans Fat: 0
- Carbohydrates: 11
- Fiber: 0
- Protein: 0
- Cholesterol: 0