
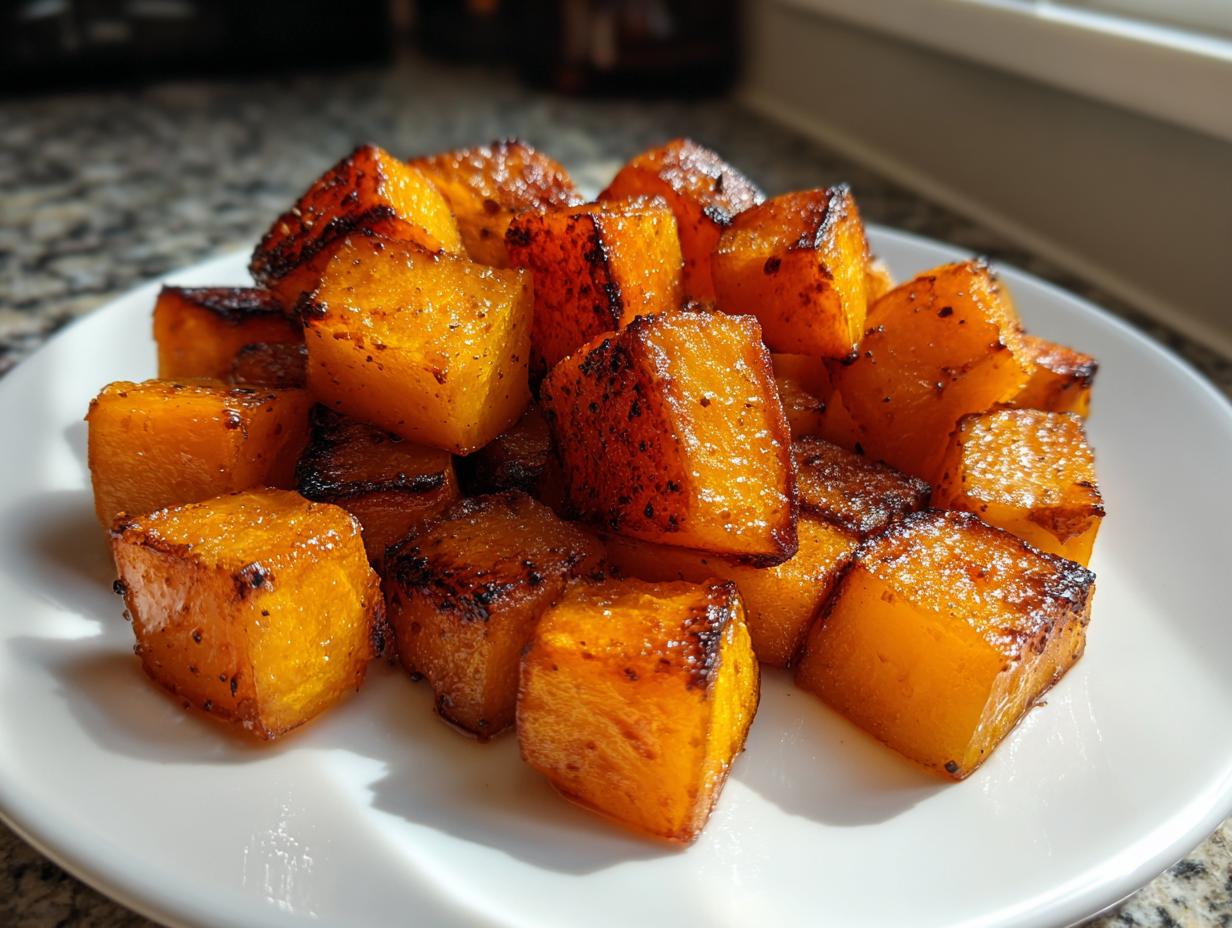
When the air starts getting crisp and the holidays loom—whether it’s a cozy weeknight or a massive Thanksgiving spread—you need sides that taste incredible without taking over your whole day. That’s why I’m revealing my very favorite way to make roasted butternut squash. Forget limp, undercooked chunks! We are aiming for edges that are beautifully caramelized and a center so creamy it melts right in your mouth. It’s honestly shockingly simple, using just a handful of ingredients to hit that perfect sweet and savory note. Trust me, my background in food science taught me exactly how heat hits starches, and this method is foolproof for getting that gorgeous texture every single time.
- Why This Simple Roasted Butternut Squash Recipe Works Every Time
- Ingredients for Your Best Roasted Butternut Squash
- How to Roast Butternut Squash in Oven: Step-by-Step Instructions
- Tips for Perfect Roasted Butternut Squash Every Time
- Serving Suggestions for Your Easy Butternut Squash Side Dish
- Storage and Reheating Instructions for Leftover Roasted Butternut Squash
- Frequently Asked Questions About Roasted Butternut Squash
- Nutritional Estimates for Roasted Butternut Squash
- Share Your Perfectly Cooked Butternut Squash Creations
Why This Simple Roasted Butternut Squash Recipe Works Every Time
You’re going to love how little effort this side requires, making it the ultimate Quick Butternut Squash Recipe for busy nights or major holiday cooking. Having developed so many vegetable recipes professionally, I know the secret is often in how you arrange things on the pan!
- It’s fast! Prep takes practically nothing, and it’s hands-off roasting time once it hits the oven.
- The sweet-and-savory profile means it pairs well with almost anything—chicken, pork, or as a vegetarian centerpiece. We use simple seasonings that really sing.
- We nail that texture obsession: crispy edges and a soft interior, guaranteed, thanks to making sure we use a good base like the one found over at this roasted butternut squash method.
Achieving Perfectly Tender Butternut Squash Cubes
Science check! The key here is uniformity. We cut the squash into 1-inch cubes so everything cooks evenly at 400°F. This temperature is hot enough to encourage the maple syrup and natural sugars in the squash to brown nicely, giving us that coveted Caramelized Butternut Squash look and flavor without burning the outside before the inside gets tender.
Ingredients for Your Best Roasted Butternut Squash
As I mentioned, this recipe is all about simplicity, which is exactly what we want when we’re pairing it with rich holiday meals or rushing through a weeknight! We only need six things, and that combination of olive oil, maple syrup, cinnamon, nutmeg, and salt is what hits that perfect sweet and savory vibe. Remember, when you’re looking for the best flavor combinations, simple is often the secret weapon. You can check out this simple side for inspiration too!
Ingredient Notes and Substitutions for Roasted Butternut Squash
I know some of you might be watching sugars, so please know you can definitely cut back on the maple syrup! If you only use 1 tablespoon, just bump that salt up a tiny bit to keep that savory counterpoint strong. Also, if you happen to have garlic powder handy, toss in about half a teaspoon with the spices. It adds such a wonderful background layer that makes this feel gourmet, even though it’s technically a ‘quick’ dish. Trust me, these little tweaks are what seasoned cooks learn over time!
How to Roast Butternut Squash in Oven: Step-by-Step Instructions
Okay, let’s get this spectacular roasted butternut squash into the oven! Learning How to Roast Butternut Squash in Oven is really just about getting the heat distribution right. Once you master the simple steps below, you won’t need a recipe card hanging around—it’ll just be muscle memory, I promise. We need a hot oven to get those deep, nutty flavors going. If you’re looking for inspiration on technique, check out some great tips on how to roast butternut squash in the oven!
Preparation: Peeling and Cubing the Squash
First things first: the peel. This is usually the scariest part, right? Here’s my trick: I microwave the whole squash for about two minutes beforehand. It softens things just enough so the peeler glides right off without fighting you. Then, cut it into uniform 1-inch cubes. If they aren’t the same size, some will turn to mush while others are still hard. We want consistency!
The Roasting Technique for Caramelized Butternut Squash
Seasoning happens in a big bowl—get everything coated! The most vital rule for any good roasted vegetable, and especially for achieving these delicious Sweet and Savory Roasted Vegetables, is this: Do NOT overcrowd the pan. If the cubes are touching too much, they steam instead of roast, and you lose all that crisp, caramelized goodness. This is the same rule I always stress when I show people the perfect roasting method. Then, about halfway through the cooking time, you have to flip them so every side gets that beautiful browning.
Tips for Perfect Roasted Butternut Squash Every Time
I’ve worked in professional kitchens where precision is everything, and thankfully, those lessons translate perfectly to making the Best Roasted Butternut Squash right here at home. The technical details might sound fussy, but they make a huge difference between an ‘okay’ side dish and one everyone raves about!
First off, let’s talk uniformity again because it’s so important. If your cubes aren’t roughly the same size, you are guaranteed to have some hard chunks lurking on the pan. I try to stick rigorously to the 1-inch size, or maybe just slightly smaller if I’m in a huge rush. Before you even start seasoning, take a minute and check every piece!
Secondly, oven thermometers lie sometimes! If your oven runs hot, those 25 minutes might be too long. I highly recommend you stick this recipe in alongside another dish you happen to be roasting—it helps stabilize the oven temperature. Always check on your squash a few minutes early if you’re unsure. You can see how seriously I take even roasting over here when I talk about other roasted vegetable success stories!
Serving Suggestions for Your Easy Butternut Squash Side Dish
Now that you have this gorgeous, caramelized side ready, where do you put it? This simple dish screams versatility! For a super easy pairing on a Tuesday night, I often serve this alongside some pan-seared chicken breast or pork chops—it makes for excellent Weeknight Roasted Vegetables with zero fuss.
But don’t save it just for weekdays! This squash truly shines as a star among your Thanksgiving Side Dishes Butternut options. It’s wonderful tossed cold into a mixed green salad the next day, too. Honestly, it’s delicious next to almost any protein you can imagine. See how great it works with other simple meals over at this easy dinner idea spot!
Storage and Reheating Instructions for Leftover Roasted Butternut Squash
No matter how amazing this roasted butternut squash tastes, sometimes you just can’t finish it all in one sitting. Don’t you hate when that happens? Good news: leftovers store really well! Just pop them into an airtight container and pop them into the fridge—they should be perfect for about three to four days.
When you go to reheat them, please, please avoid the microwave if you can! It turns those beautiful caramelized edges totally soggy. To bring back some of that lovely crispness, I highly recommend spreading them on a baking sheet and popping them back into a hot oven (around 375°F) for about five to seven minutes. If you have an air fryer, that works like a charm too!
Frequently Asked Questions About Roasted Butternut Squash
I always get questions when I post about my simple fall recipes, so I thought I’d clear up a few things right here before you grab the big bowl and start tossing those cubes!
Can I use brown sugar instead of maple syrup in this roasted butternut squash recipe?
Absolutely! Brown sugar works fine, but maple syrup tends to encourage a slightly more even, glossy caramelization. Brown sugar can sometimes clump a little more because it holds onto moisture differently. Both give you that lovely sweetness, though!
What is the best way to cut butternut squash for roasting?
The absolute best way is to aim for 1-inch cubes, and you must make them uniform! If you have some pieces that are tiny and others that are huge, the tiny ones will burn by the time the big ones cook through. Uniformity means even tenderness in every bite.
Is this a good Thanksgiving Side Dishes Butternut option?
It’s one of my absolute favorites for the holidays! It’s savory enough to balance everything but sweet enough to feel special. Plus, you can prep and roast this ahead of time, keep it refrigerated, and quickly reheat it in the oven before serving, just like I explained!
If you are curious about other ways people prepare their squash, you can always check out a reliable source like this recipe inspiration hub!
Nutritional Estimates for Roasted Butternut Squash
Now, I know some of you look at the maple syrup and spices and wonder where these fall nutritionally. Since I came up through food science, I always like to give a general idea of what you’re looking at when you make this side dish! Remember, these numbers are just estimates based on the specific recipe I laid out above, using the 1-inch cubes and the exact ingredient amounts.
When you make this Simple Oven Roasted Squash, you’re getting a healthy dose of fiber along with those cozy fall flavors. Here’s a quick breakdown:
- Serving Size: 1 cup cooked
- Calories: 180
- Sugar: 12g
- Sodium: 150mg
- Fat: 6g (1g Saturated Fat)
- Carbohydrates: 32g
- Fiber: 6g
- Protein: 2g
It’s fantastic to remember that even with the maple syrup, this is still a super healthy side dish packed with nutrients, making it perfect for your Healthy Roasted Vegetable Sides rotation!
Share Your Perfectly Cooked Butternut Squash Creations
I just love seeing what you all make in your kitchens! Once you’ve created your incredible sweet and savory roasted butternut squash, please come back and leave a star rating right here on the recipe card. I’d be so thrilled if you shared photos of your caramelized beauties on social media—tag me so I can see all your amazing holiday spreads or weeknight dinner successes! Don’t forget to tell me if you tried adding garlic powder or if you stuck with the maple syrup over at this delicious spot!
Print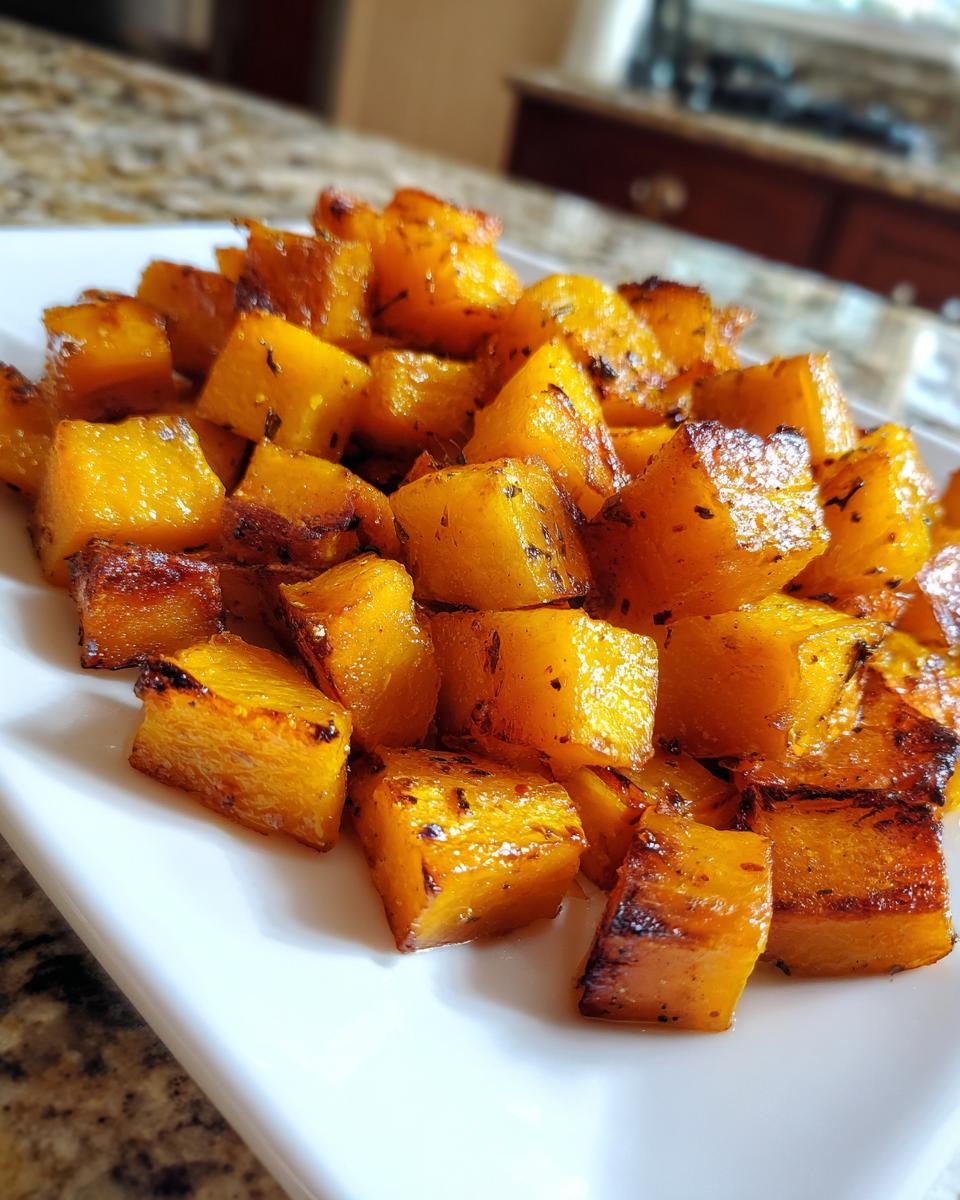
Simple & Perfectly Caramelized Roasted Butternut Squash
This recipe shows you how to roast butternut squash to achieve crispy, golden edges and a soft, creamy interior. It is a simple, sweet and savory side dish perfect for weeknight dinners or holiday spreads.
- Prep Time: 10 min
- Cook Time: 30 min
- Total Time: 40 min
- Yield: 4 servings 1x
- Category: Side Dish
- Method: Oven Roasting
- Cuisine: American
- Diet: Vegetarian
Ingredients
- 1 medium butternut squash (about 3 lbs)
- 2 tablespoons olive oil
- 2 tablespoons maple syrup
- 1/2 teaspoon ground cinnamon
- 1/4 teaspoon salt
- 1/8 teaspoon ground nutmeg
Instructions
- Preheat your oven to 400 degrees Fahrenheit (200 degrees Celsius). Line a large baking sheet with parchment paper for easier cleanup.
- Peel the butternut squash, scoop out the seeds, and cut the flesh into 1-inch cubes. Place the cubes in a large bowl.
- Drizzle the olive oil, maple syrup, cinnamon, salt, and nutmeg over the squash cubes. Toss everything together until the squash is evenly coated.
- Spread the seasoned squash cubes in a single layer on the prepared baking sheet. Do not overcrowd the pan; use two sheets if necessary to promote caramelization.
- Roast for 25 to 30 minutes, flipping the cubes halfway through, until the edges are caramelized and the squash is tender when pierced with a fork. Serve immediately.
Notes
- For extra flavor, add 1/2 teaspoon of garlic powder along with the other seasonings.
- If you prefer a less sweet side dish, reduce the maple syrup to 1 tablespoon and increase the salt slightly.
- To ensure crispy edges, make sure the squash pieces are in a single layer on the baking sheet.
Nutrition
- Serving Size: 1 cup cooked
- Calories: 180
- Sugar: 12
- Sodium: 150
- Fat: 6
- Saturated Fat: 1
- Unsaturated Fat: 5
- Trans Fat: 0
- Carbohydrates: 32
- Fiber: 6
- Protein: 2
- Cholesterol: 0