
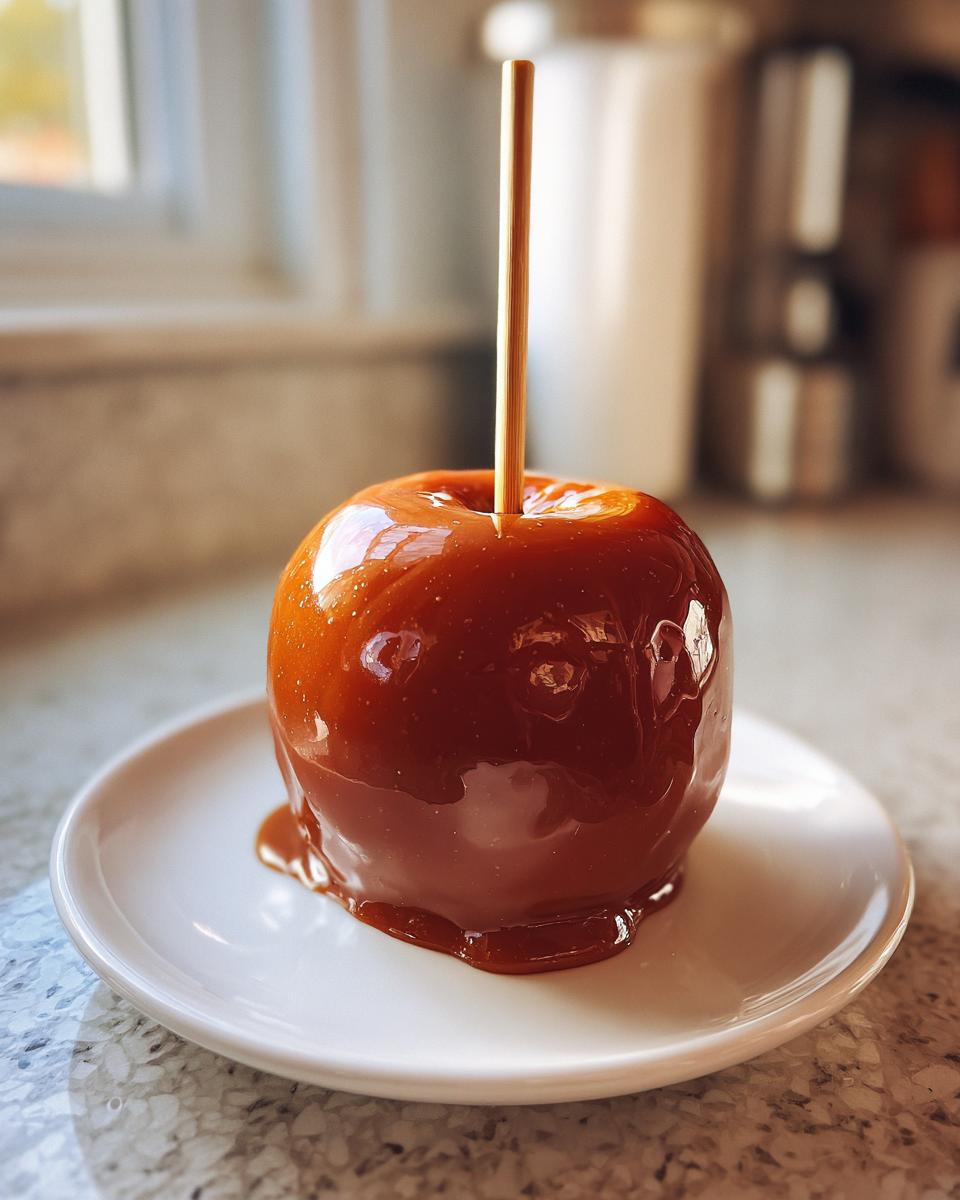
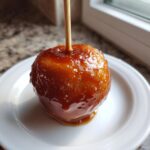
Hello there, and welcome to Frosted Fancies! I’m Katie, and honestly, there’s nothing that screams “Fall” louder than a perfectly created caramel apple. But oh my goodness, I know the struggle. You spend all that time making the caramel, you dip the apple, and then what happens? It slides right off in a sticky, sad puddle! Not acceptable!
That mess stops right here. Because I spent years in professional test kitchens studying the science behind why things stick (or don’t!), I’ve perfected this formula. Trust me when I say this is the best caramel apple recipe you will ever try. We are talking about a rich, wonderfully chewy coating that actually stays put. Say goodbye to runny caramel forever!
- Why This is the Best Caramel Apple Recipe for Guaranteed Success
- Gathering Your Ingredients for Perfect Caramel Apples
- Essential Equipment for Making Caramel Apples
- How to Prepare Apples: The Secret to Making Caramel Apples Stick
- Step-by-Step Instructions for Chewy Caramel Apples Instructions
- Gourmet Caramel Apples: Toppings and Variations
- Tips for Success with Homemade Caramel Apples
- Storing and Reheating Caramel Apples
- Frequently Asked Questions About Caramel Apples
- Nutritional Estimates for Your Caramel Apples
- Share Your Homemade Caramel Apples Experience
Why This is the Best Caramel Apple Recipe for Guaranteed Success
I designed this recipe to give you absolute confidence every time you make homemade caramel apples. After years of seeing home cooks struggle with sticky messes, I focused purely on reliability. This isn’t just candy; it’s a science experiment that yields delicious results!
If you follow the temperature guide, you guarantee that wonderful, firm texture. That’s the secret to getting those sought-after chewy caramel apples instructions that actually work.
- You get a thick, even layer – perfect for that sought-after no slide caramel coating.
- The cooking time ensures the caramel sets firmly but remains pleasantly chewy, not hard as a rock.
- It’s built for beginners, which is why it’s my favorite approach for busy fall weekends.
If you want the full breakdown on why this method beats the three-ingredient versions that always slide, check out my in-depth guide on getting the perfect dip here: Foolproof Homemade Caramel Apples.
Key Features of Our Foolproof Caramel Apples
The main differences between a slide-off mess and a perfect coat come down to technique. We are targeting 245°F exactly—that’s the Firm Ball Stage. Hitting this ensures the caramel has the right structure when it cools.
Also, and this is huge, we let the caramel cool for about five minutes off the heat before dipping. This small rest allows the mixture to thicken just enough so it hugs the apple instead of running off prematurely. It’s the little physics tricks that make all the difference!
Gathering Your Ingredients for Perfect Caramel Apples
Okay, let’s look at what we need for this easy caramel apple recipe! Because we are aiming for that chewy texture, the ingredients matter a lot. I’ve learned from my Food Science background that cheap ingredients can lead to weird textures, so try to stick to the list. We need six firm apples—Granny Smith or Honeycrisp are my go-tos for parties because they hold up well.
For the caramel itself, we’re using staples: a full cup of good unsalted butter, two cups of packed light brown sugar for that deep flavor, corn syrup, a whole 14-ounce can of sweetened condensed milk, vanilla, and salt. Don’t skimp on the butter; it adds richness that oil just can’t replicate!
Ingredient Notes and Substitutions
Let’s talk apples first. You absolutely need firm apples. Soft, mealy apples will just turn to mush when you dip them. Also, remember what I said about cleanliness? If the apples still have that waxy coating from the grocery store, the caramel will slide right off, no matter how perfect your cooking temperature is. That’s why we’re cleaning them aggressively!
Now, the corn syrup. I know some people try to skip it, but don’t! It’s essential because it prevents the sugar from crystallizing. If it crystallizes, your beautiful caramel turns gritty and hard. Light corn syrup keeps everything beautifully smooth and flowing while we cook it, guaranteeing those classic caramel apples everyone dreams about.
Essential Equipment for Making Caramel Apples
You don’t need a giant suite of fancy gear for caramel apple dipping tips, but there are a few non-negotiables if you want that foolproof result. Having everything ready before you even turn on the stove makes the dipping process so much less stressful!
First up, you will need sturdy wooden sticks or, if you prefer, those cute parchment-lined lollipop sticks. Make sure they are inserted securely—we don’t want any wobbly apples!
But here is my absolute MVP for this recipe: A reliable candy thermometer. Seriously, if you try to guess when the caramel is done by staring at it, you are gambling. Hitting exactly 245 degrees Fahrenheit is the difference between a chewy coat and a runny disaster. I love a digital instant-read one because they are fast and accurate, which is important when you are working with hot sugar!
Other than that, you just need a medium, heavy-bottomed saucepan (heavy means less scorching on the bottom, trust me!), a whisk for the initial stir, and a baking sheet lined with parchment or a silicone mat for setting the finished apples.
How to Prepare Apples: The Secret to Making Caramel Apples Stick
I know, I know, you want to get to the cooking part, but listen to Katie for just a minute! If you skip what I’m about to tell you in this section, all that careful candy-making is wasted. This is the most crucial step for achieving those professional-looking, non-sliding caramel apples. The primary goal here is wax and moisture removal.
First, you must wash those apples really well. I mean scrub them! Apples, especially firm ones like Granny Smiths, are coated in wax to make them shiny for the grocery store shelf. That wax thinks it’s your enemy right now because caramel hates slick surfaces. Remove the stems completely—you need a clean entry point for your stick.
Next, and this is my professional trick for those stubborn supermarket finishes, if you suspect your apples are heavily waxed, try briefly boiling them whole for about 5 seconds, then immediately dry them—and I mean *completely* dry them—with paper towels. This opens up the pores and lifts some of that waxy barrier. Trust me, it helps the caramel grab on tightly. Dry them again after the dunk!
Once they are spotless and bone-dry, insert your wooden stick firmly into the core. Make sure you get it in there nice and deep so it feels secure. Head over to Adventures of a DIY Mom for some great visual tips on setting up your dipping station before you start dipping: Tips for Perfect Homemade Caramel Apples. Having that station ready means you can move quickly once the caramel is at the perfect temperature!
Step-by-Step Instructions for Chewy Caramel Apples Instructions
Alright, the apples are clean and stick-ready, and your station is waiting. Now comes the fun, slightly nerve-wracking part: making the caramel! Don’t worry, this is where my obsessive temperature obsession really pays off. We are going to make sure these caramel apples instructions lead you straight to chewy perfection.
First, combine your butter, brown sugar, corn syrup, and sweetened condensed milk in that heavy saucepan. Start heating it over medium heat. Whisk constantly! You have to keep whisking until that sugar is completely dissolved and the mixture just starts to bubble. If you stop stirring too early, you risk gritty caramel later on!
Achieving Perfect Caramel Consistency
Once it politely boils, take your whisk out! That’s right, stop stirring! If you stir while it’s boiling, you mess with the crystal structure and it won’t set right. Now, clip that candy thermometer on and let it cook until it hits exactly 245 degrees Fahrenheit. This is non-negotiable for that beautiful, no slide caramel coating we promised!
When you hit that temperature, pull the pot OFF the heat immediately. If you leave it on the burner, it keeps cooking, and you might end up with hard candy. See why the thermometer is our best friend?
Dipping and Setting Your Caramel Apples
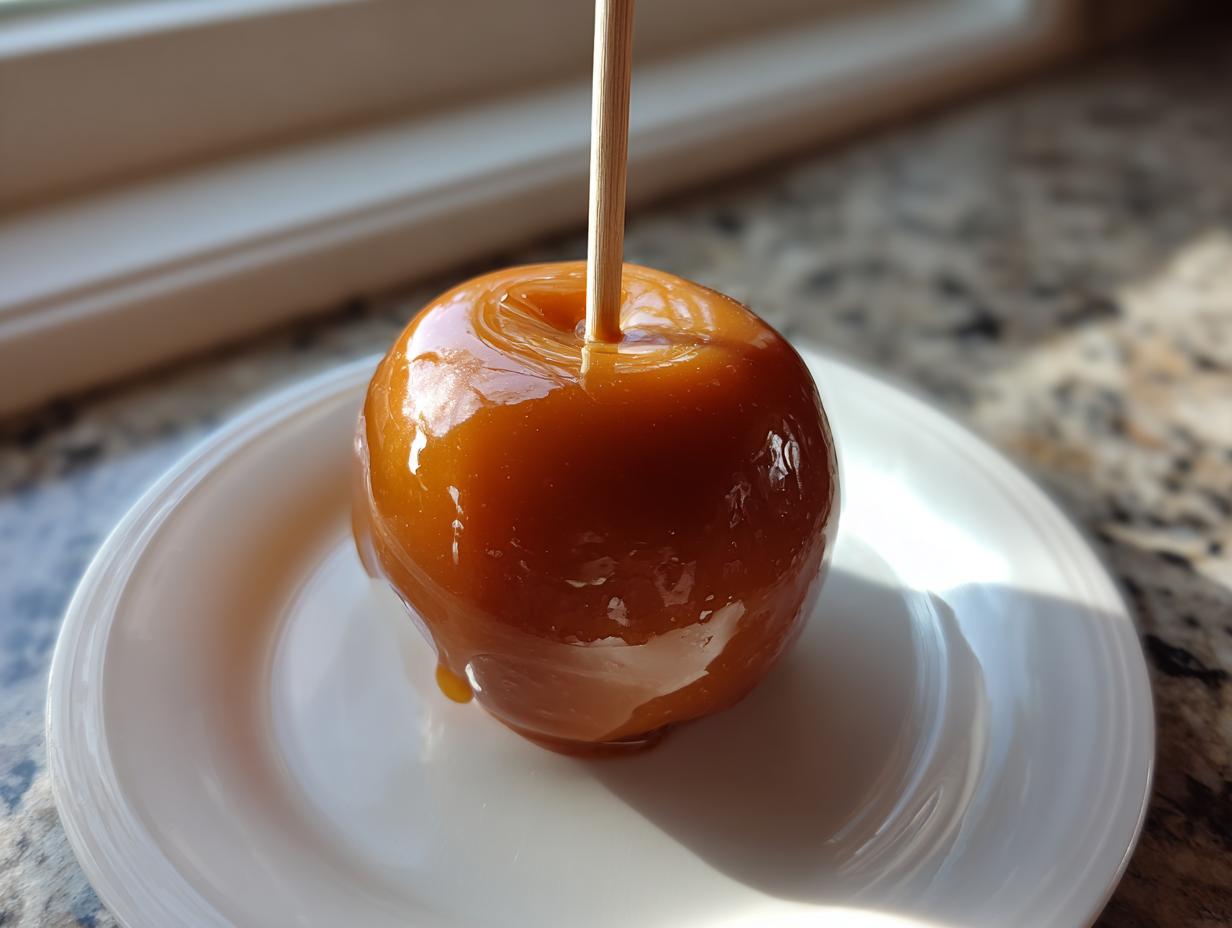
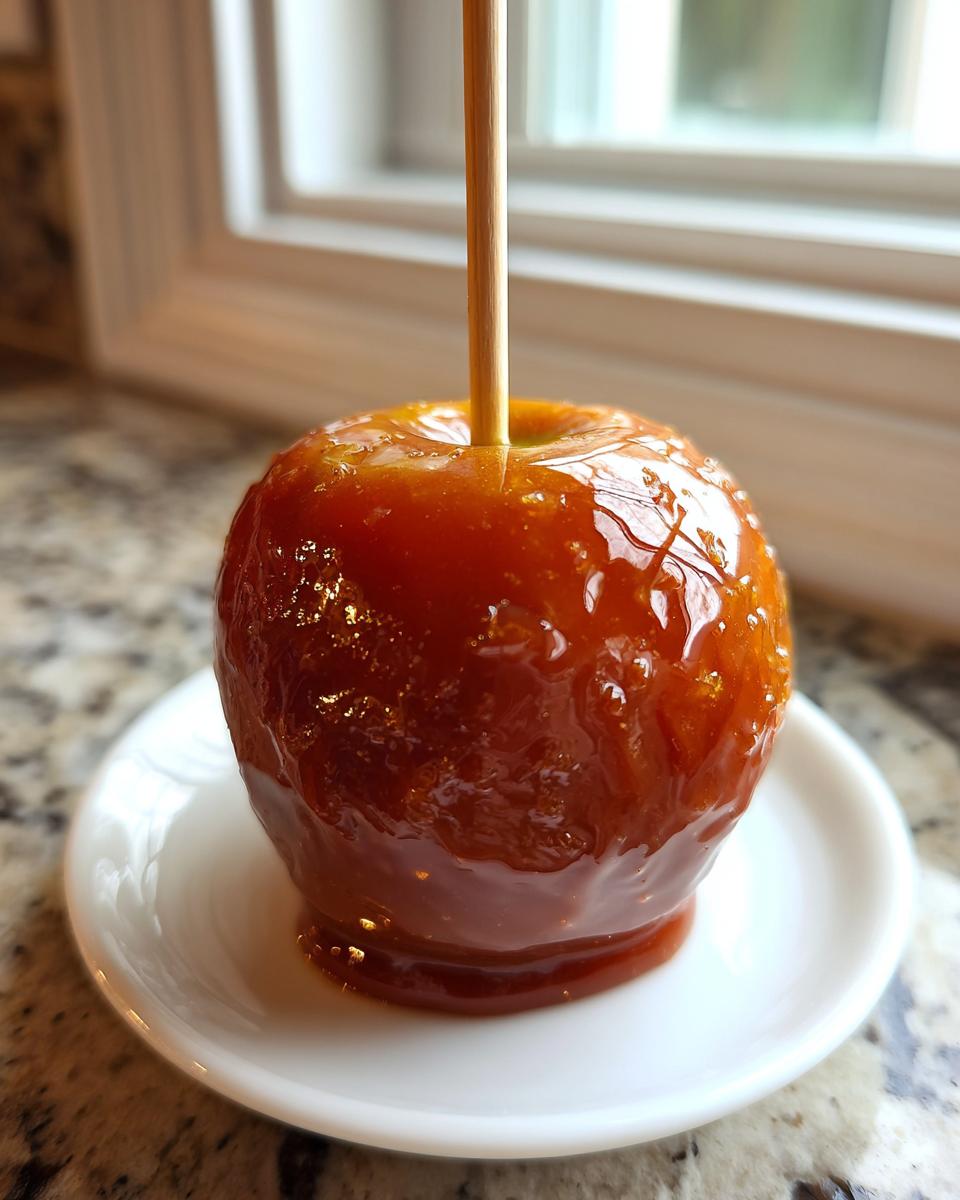
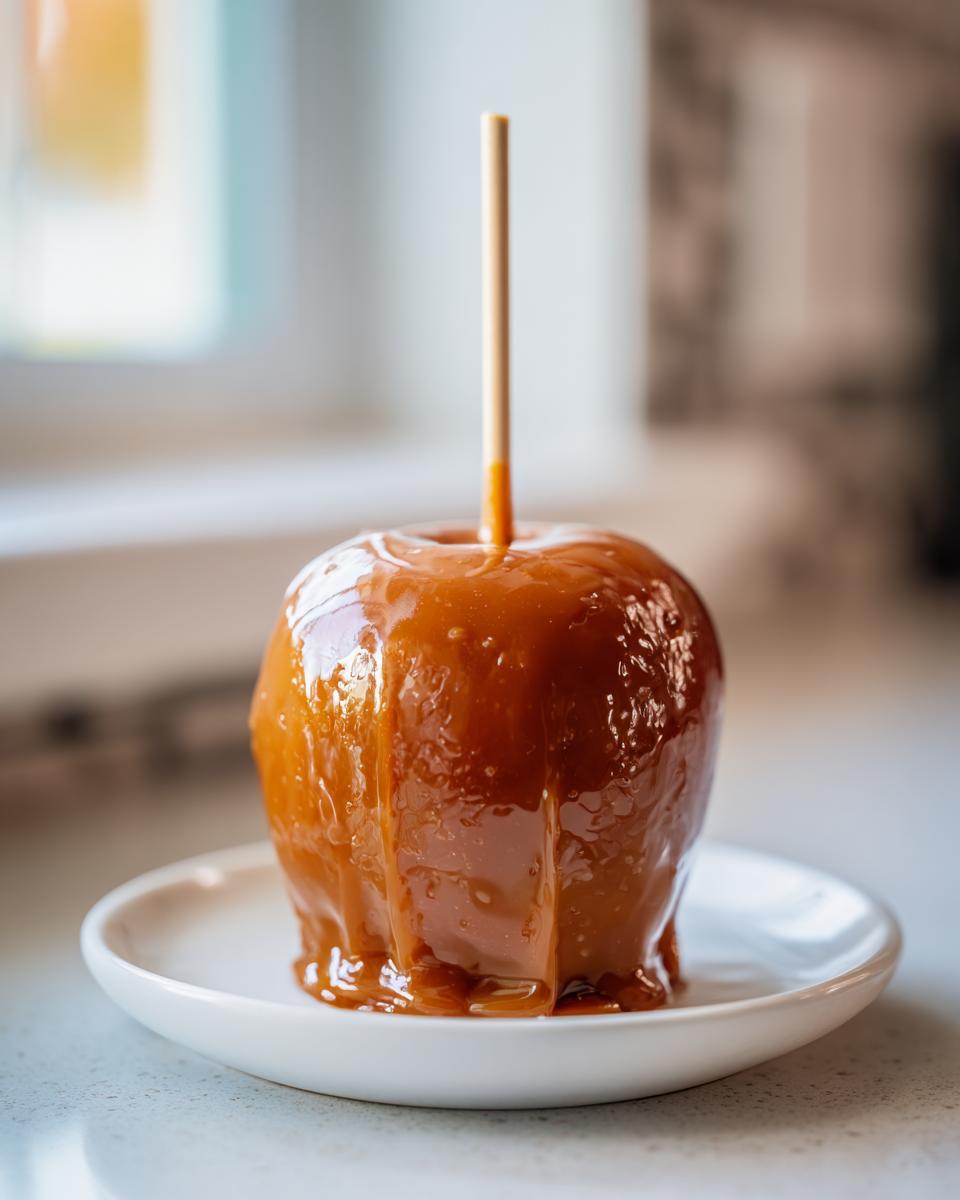
Now for the moment of truth! You need to let that caramel cool down for about 5 to 10 minutes off the heat. This lets it thicken up just enough. Hold your scrubbed apple by the stick and dip it in completely, swirling it around. Gently lift it out and hold it over the pot, letting the excess drip back down. Don’t try to scrape it off; just let gravity do the work!
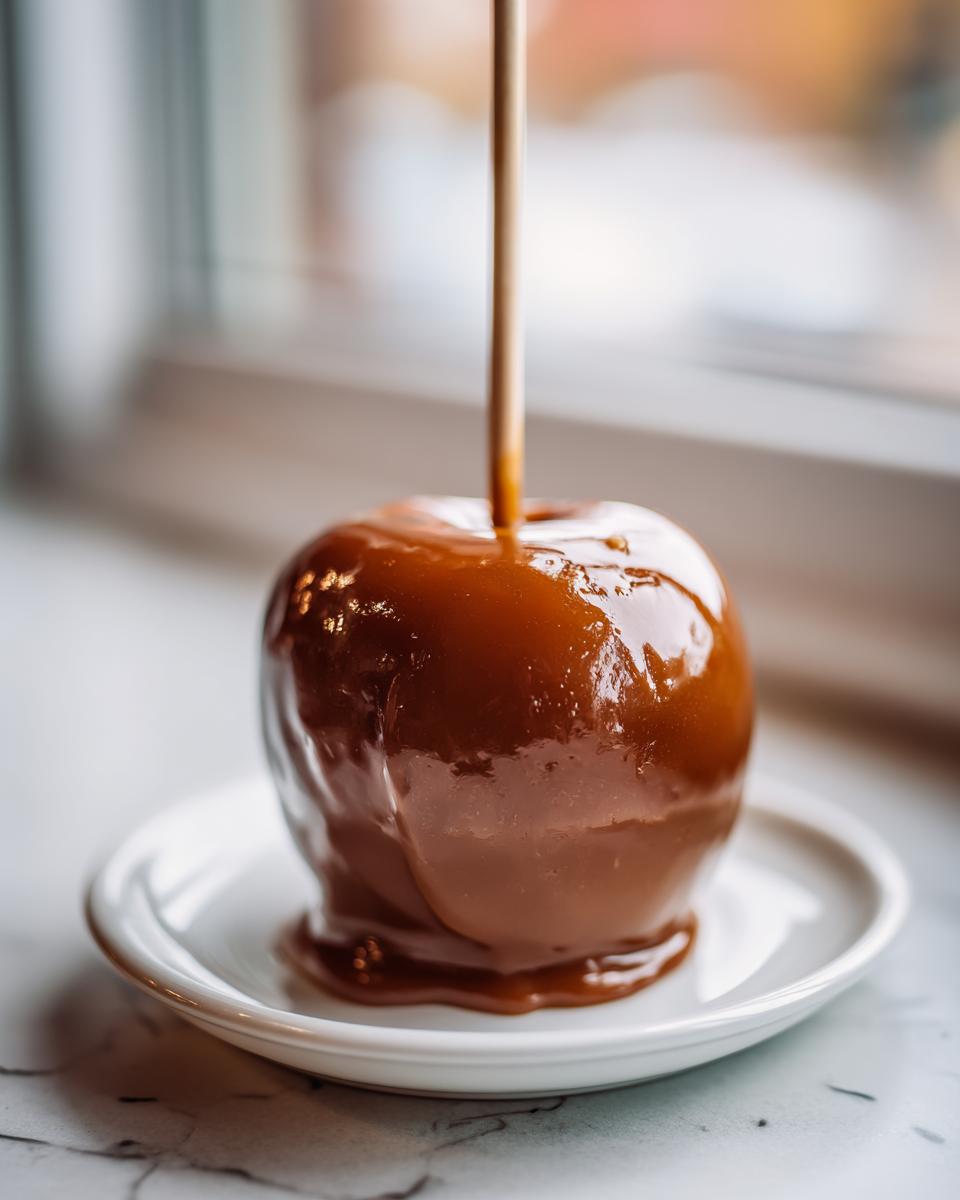
If you’re adding nuts or chocolate, do it right now while the coating is still warm and sticky. Then, place those gorgeous treats onto your parchment-lined sheet. They need to sit completely undisturbed for at least an hour at room temperature or about 30 minutes in the fridge to set up firm. If you rush this setting time, they *will* slide! If you want to see some great topping ideas for the next batch, check out this wonderful list: homemade easy caramel apple recipe.
Gourmet Caramel Apples: Toppings and Variations
Once your caramel has set beautifully—isn’t that amazing?—we can take these homemade caramel apples to the next level! This is where you can really show off and make them totally gourmet caramel apples for your fall gatherings. Think beyond basic peanuts; this is your chance to get creative!
If you love crunch, try rolling your warm, sticky apples in finely chopped pretzels, toasted pecans, or even crumbled shortbread cookies. For an extra layer of decadence, you can melt down some good quality dark or white chocolate. Use a fork or a piping bag to create those beautiful, delicate drizzle lines across the set caramel. It looks so fancy, but honestly, it’s so easy!
If you happen to have some leftover caramel but don’t want to hassle with dipping whole fruit, you should absolutely try making caramel apple slices! They are perfect for serving at parties because they eliminate the whole sticky stick problem. Want a huge list of inspiration for what to drizzle next? I found some amazing ideas over here: 20 Ideas for Caramel and Candied Apples. Happy decorating!
Tips for Success with Homemade Caramel Apples
Even with the best recipe, sometimes candy making throws a little curveball. Don’t panic! I’ve seen it all in the test kitchen, and most issues with caramel apples are easily fixed. The key to mastering these caramel apple dipping tips is understanding what the caramel is *trying* to tell you.
If your caramel seems too stiff while you are dipping, don’t worry, it hasn’t gone bad. Just put the pot back on the lowest heat setting for just a minute or two, stirring constantly, until it loosens up enough to coat the apple nicely. Remember, we want flow, but not runniness!
Conversely, if you let it cool too long and it becomes almost un-dippable, don’t try to force a thick layer onto the apple—that’s how you get massive slides later! Just reheat the entire batch gently according to the instructions above until it flows smoothly again. You can find my detailed notes on fixing common texture issues right here: Foolproof Homemade Caramel Apples: The Chewy Recipe That Actually Sticks!
Now, for my big personal secret from the Midwest: humidity is your caramel’s sneaky enemy. If it’s a super muggy October day, the moisture in the air can sometimes make candy softer in general. If you know it’s a swampy day outside, you might need to cook the caramel just a degree or two higher than 245°F—say, 247°F—to account for the extra environmental moisture. It’s subtle, but that extra degree helps guarantee that chewy, no-slide coating!
Storing and Reheating Caramel Apples
Once you’ve achieved that perfect, chewy, non-sliding coat, the next question is always: how long can I keep these beautiful caramel apples around? Honestly, they are best enjoyed the day you make them—that fresh apple crunch against the soft caramel is just unbeatable. But I know we often make these for parties or for fall dessert prep, so let’s talk storage!
My first piece of advice, and this comes from personal trial and error: try your best to avoid the refrigerator for long-term storage if you can. I know it seems logical because cold hardens things, but the fridge is a damp environment. That moisture eventually migrates into the caramel, and I’ve noticed it can make the coating either sticky or slightly crystallized over time, sometimes even causing a little weepiness around the base.
The ideal spot is actually just at cool room temperature, away from direct sunlight. If your house is warm, that’s when you should definitely chill them. If you need to refrigerate them, aim for an airtight container—maybe wrap each one individually in plastic wrap first, then put them in a sealed container. This helps protect them from that humidity. Don’t store them for more than three or four days max, though; the apples inside start to suffer.
When you take them out of the fridge, let them sit on the counter for at least 30 minutes before serving. Reheating isn’t really recommended, especially if you added toppings like chocolate. Just bring them back to room temperature slowly for the best eating experience!
Frequently Asked Questions About Caramel Apples
I’ve gathered up a few of the questions I get asked most often about this easy caramel apple recipe. Honestly, 99% of the time, the answers come back to my core advice: nail the preparation and nail the temperature!
Can I use different types of apples for this recipe?
You sure can! But remember my emphasis on firmness? Granny Smith and Honeycrisp are favorites because they are tart enough to cut through the sweet caramel and sturdy enough to handle the dipping process without breaking. Avoid softer apples like McIntosh, as they tend to break down too easily. If you are making caramel apple slices instead of whole apples, almost any crisp variety works well because there’s less weight involved!
Why did my caramel slide off even though I cooked it?
Ah, the classic runner! This usually boils down to apple prep or cooling time. If the apple surface wasn’t wiped 100% dry—or if it had any leftover wax—the caramel has nothing to adhere to. If you skipped the 5 to 10-minute cooling period after pulling the pot off the heat, the caramel was simply too thin. That short rest period is vital for achieving a perfect, non-runny coat. For more troubleshooting secrets, you can check out how my friends at The Carefree Kitchen tackle this issue: How to Make Caramel Apples.
Can I make the caramel sauce ahead of time?
This is a tricky one, and here’s my honest, science-based answer: I strongly advise against it for true chewy caramel apples. Candy making works best when you use the sauce immediately after cooking it to the correct temperature and allowing that crucial slight cool-down. If you make it ahead, you’ll have to reheat it later, and reheating can throw off the sugar structure, making it grainy or too soft when you dip later.
How do I get that chewy texture instead of hard candy?
That wonderful chew comes entirely from hitting the right temperature on that candy thermometer! We aim for 245°F, which is the Firm Ball Stage. If you cook it longer, say past 250°F, you move into the Hard Ball Stage, and your caramel will be very prone to cracking or becoming too hard against the apple. Stick to 245°F, and you’ll have that perfect chew every single time.
Nutritional Estimates for Your Caramel Apples
As much as I love diving into the pure joy of making these classic caramel apples, I always believe in being informed about what we’re eating, right? Since we are dealing with butter, sugar, and corn syrup, it’s good to have a rough idea of what’s going into these gorgeous treats. Remember, these are just estimates—they can change depending on the size of your apples or if you choose to use extra toppings!
Based on the ingredients provided for a standard serving size of one apple, here is what you can generally expect from this recipe. It’s definitely a decadent moment, not an every-day snack, so enjoy it fully!
- Serving Size: 1 apple
- Calories: Approximately 550
- Sugar: Around 85 grams (That’s where all the chew comes from!)
- Fat: About 22 grams
- Protein: Around 4 grams
- Carbohydrates: Close to 90 grams
I always stress with candy recipes that these numbers are based on the caramel coating and the apple itself. If you decide to roll yours in chocolate or fancy nuts, you’ll want to add those values in as well. The sodium number listed is fairly low because the salt we add is mostly for flavor balance, not preservation, so that’s good news!
Share Your Homemade Caramel Apples Experience
Wow, we made it! You followed the steps, patiently waited for that magical temperature, and now you have a batch of the most beautiful, non-sliding, super chewy caramel apples sitting on your counter. I truly hope you are immensely proud of yourself!
Making treats like this is so much more fun when we can share the victories. Did you try the trick of boiling the apples first? Did you manage to get that perfect swirl when dipping? I absolutely want to hear all about it!
Please, please, please leave a comment right down below letting me know how this recipe worked for you. You can rate the recipe right there, too. Your feedback lets me know what I’m doing right and helps other home cooks approaching their first batch of homemade caramel apples!
And if you snap a picture of your beautiful array of fall treats—maybe some are drizzled with chocolate or rolled in sea salt—snap a pic and tag me on social media! Seeing your creations always fills my heart right up. Happy eating, and I can’t wait to see your wonderful work!
PrintFoolproof Homemade Caramel Apples: The Chewy, No-Slide Coating Recipe
Make perfect homemade caramel apples with this easy recipe. You get a rich, chewy caramel coating that sticks every time, eliminating runny caramel issues. This is the best caramel apple recipe for your fall parties and Halloween treats.
- Prep Time: 20 min
- Cook Time: 15 min
- Total Time: 135 min
- Yield: 6 servings 1x
- Category: Dessert
- Method: Stovetop Cooking
- Cuisine: American
- Diet: Vegetarian
Ingredients
- 6 large, firm apples (like Granny Smith or Honeycrisp)
- 6 wooden or parchment-lined lollipop sticks
- 1 cup (2 sticks) unsalted butter
- 2 cups packed light brown sugar
- 1 cup light corn syrup
- 1 (14-ounce) can sweetened condensed milk
- 1 teaspoon vanilla extract
- 1/2 teaspoon salt
- Optional: 1 cup chopped nuts or chocolate chips for coating
Instructions
- Prepare the apples: Wash the apples thoroughly. Remove the stems. Insert one stick firmly into the core of each apple. Wipe the apples completely dry with a paper towel; this step is crucial for the caramel to stick.
- Prepare your station: Line a baking sheet with parchment paper or a silicone mat. If using toppings, spread them out on a separate plate or shallow dish.
- Make the caramel: In a medium, heavy-bottomed saucepan, combine the butter, brown sugar, corn syrup, and sweetened condensed milk.
- Cook the caramel: Heat the mixture over medium heat, stirring constantly until the sugar dissolves and the mixture comes to a boil. Once boiling, stop stirring.
- Use a candy thermometer: Continue to cook the mixture without stirring until it reaches 245 degrees Fahrenheit (Firm Ball Stage). This usually takes 10 to 15 minutes.
- Finish the caramel: Remove the saucepan from the heat immediately. Stir in the vanilla extract and salt. Let the caramel cool slightly for about 5 to 10 minutes. This slight cooling helps prevent sliding.
- Dip the apples: Hold an apple by the stick and carefully dip it into the warm caramel, tilting the pan to cover the apple evenly. Lift the apple out, allowing excess caramel to drip back into the pan.
- Coat (Optional): If using toppings, immediately dip or roll the caramel-coated apple into your prepared nuts or chocolate chips.
- Set the apples: Place the finished caramel apples on the prepared baking sheet. Let them cool and set completely at room temperature for at least 1 hour, or refrigerate for 30 minutes until the caramel is firm.
Notes
- For the best results and to guarantee the caramel sticks, ensure your apples are completely free of wax and moisture before dipping. You can briefly dip them in boiling water for 5 seconds, then dry them completely.
- If your caramel becomes too thick while dipping, return the saucepan to low heat briefly to thin it out, but avoid overheating.
- For a gourmet finish, drizzle melted dark or white chocolate over the set caramel apples.
Nutrition
- Serving Size: 1 apple
- Calories: 550
- Sugar: 85
- Sodium: 150
- Fat: 22
- Saturated Fat: 14
- Unsaturated Fat: 8
- Trans Fat: 0
- Carbohydrates: 90
- Fiber: 1
- Protein: 4
- Cholesterol: 75