
Hello and welcome to Frosted Fancies! I’m Katie, and if you’ve ever felt like your homemade chocolate chip cookies were *good* but just not quite *amazing*, I think I know what’s missing. We’re skipping the standard soft butter step today because we’re making the ultimate brown butter chocolate chip cookies. Seriously, this one technique—browning the butter—is the secret sauce that takes them from basic to bakery style. From a food science angle, what we’re really doing is transforming the milk solids into those deeply flavorful, nutty, caramelized bits. Trust me, once you taste the depth that toasted butter adds to a gooey, chewy cookie, you’ll never go back!
- Why These Are The Ultimate Brown Butter Chocolate Chip Cookies
- Gathering Ingredients for Your Brown Butter Chocolate Chip Cookies
- Mastering the Easy Brown Butter Technique for Brown Butter Cookies
- Step-by-Step Instructions for Perfect Brown Butter Chocolate Chip Cookies
- Tips for Success with Your Brown Butter Cookies
- Ingredient Notes and Substitutions for Caramelized Butter Cookies
- Storage and Reheating Instructions for Brown Butter Chocolate Chip Cookies
- Frequently Asked Questions About Browned Butter Chocolate Chip Cookies
- Estimating the Nutrition in Your Homemade Chocolate Chip Cookies
- Estimating the Nutrition in Your Homemade Chocolate Chip Cookies
Why These Are The Ultimate Brown Butter Chocolate Chip Cookies
I know there are a million cookie recipes out there, but these really stand apart, and I can promise you that because I’ve tested hundreds in the lab! We’re aiming for that perfect, satisfying experience when you bite in. You want that deep, toasted flavor right away, which is why we use the brown butter.
- They deliver authentic, unbelievably rich, nutty chocolate chip cookies.
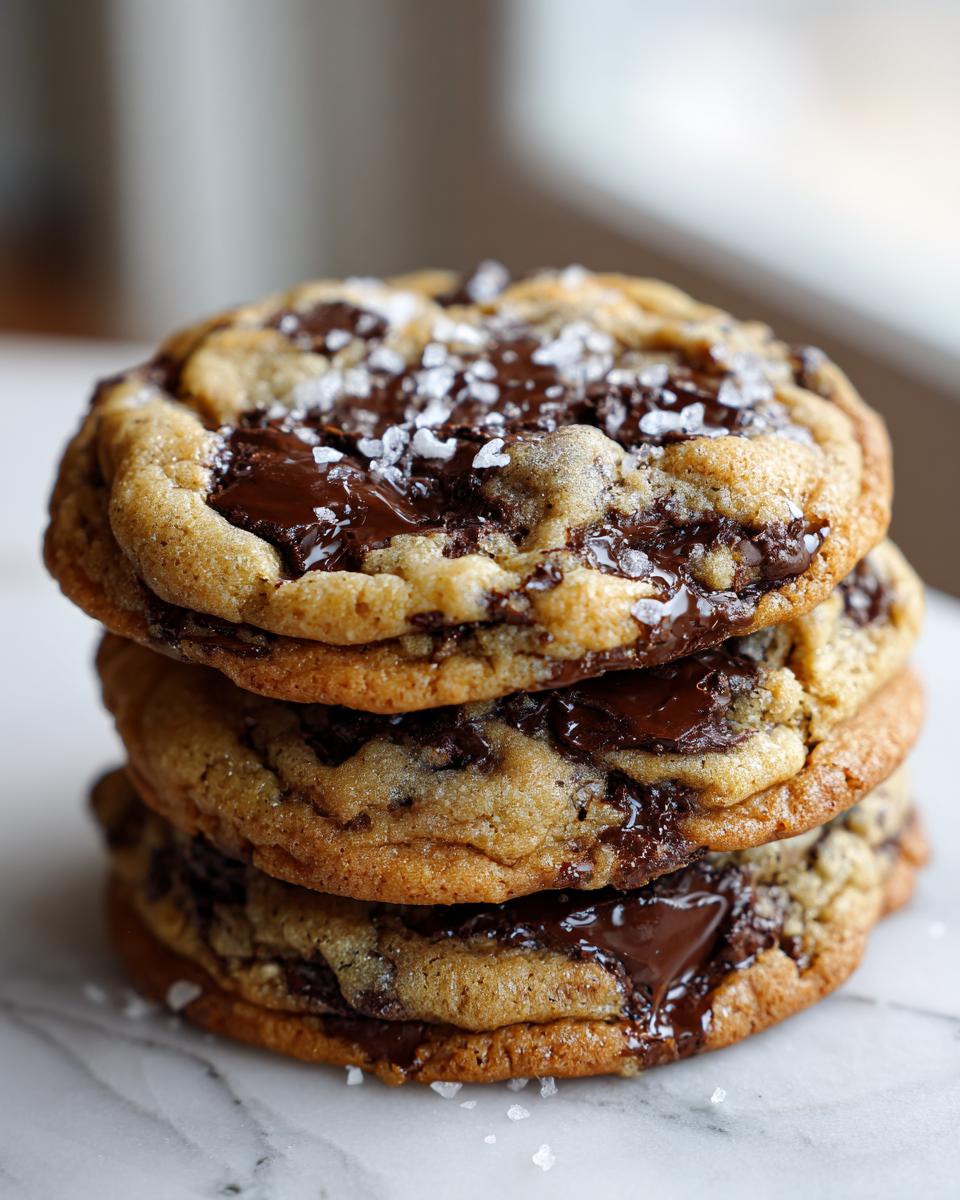
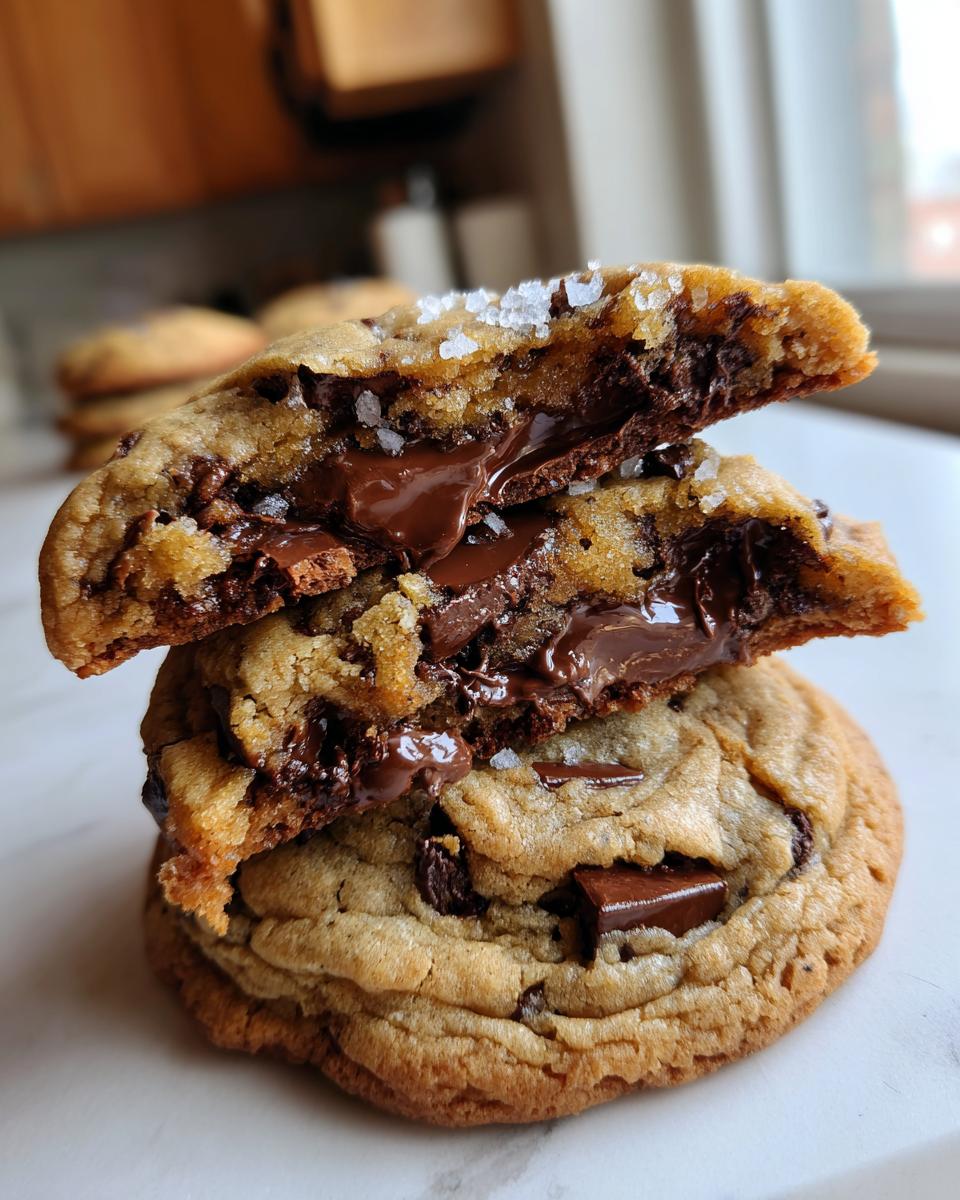
- The texture is specifically engineered for those irresistible, chewy chocolate chip cookies with slightly crispy edges.
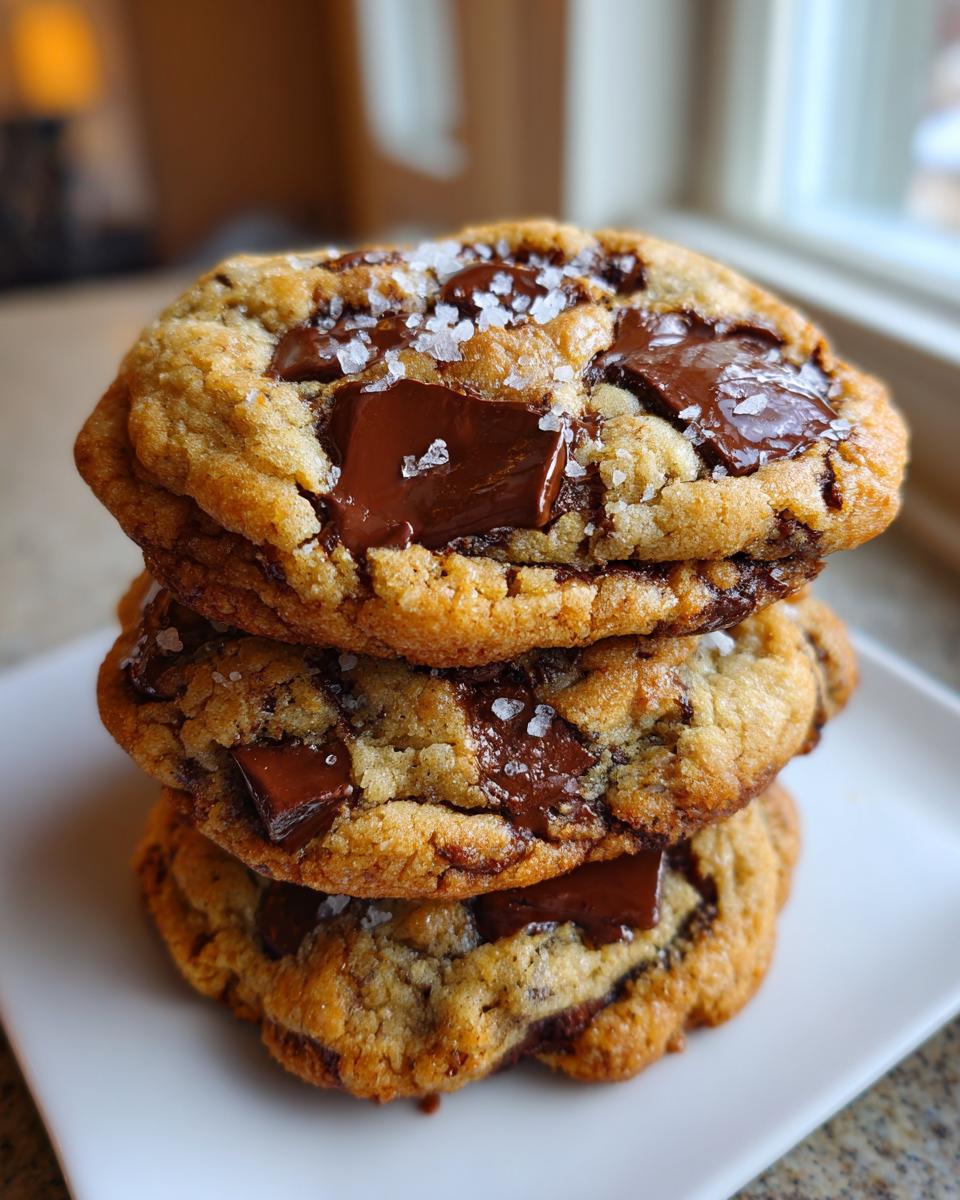
- We are getting true, legitimate bakery style cookies right in your home oven—no fancy equipment needed!
If you want to dive deeper into the technique for getting that perfect chew, check out my detailed guide on getting seriously chewy brown butter chocolate chip cookies. It’s all about balance!
Gathering Ingredients for Your Brown Butter Chocolate Chip Cookies
Okay, so before we melt anything, let’s get our lineup ready. Remember, ingredient quality really sets the stage for how fantastic your brown butter chocolate chip cookies will taste. Since we are putting the butter front and center, use a good quality unsalted butter! Room temperature eggs are crucial for proper emulsification, so plan ahead just a tiny bit.
Here’s what you need for about two dozen gourmet cookies:
- 1 cup (226g) unsalted butter
- 1 cup (200g) packed light brown sugar
- 1/2 cup (100g) granulated sugar
- 2 large eggs, room temperature
- 1 tablespoon vanilla extract
- 2 1/4 cups (270g) all-purpose flour
- 1 teaspoon baking soda
- 1 teaspoon kosher salt
- 1 1/2 cups (255g) semi-sweet chocolate chips or chopped chocolate
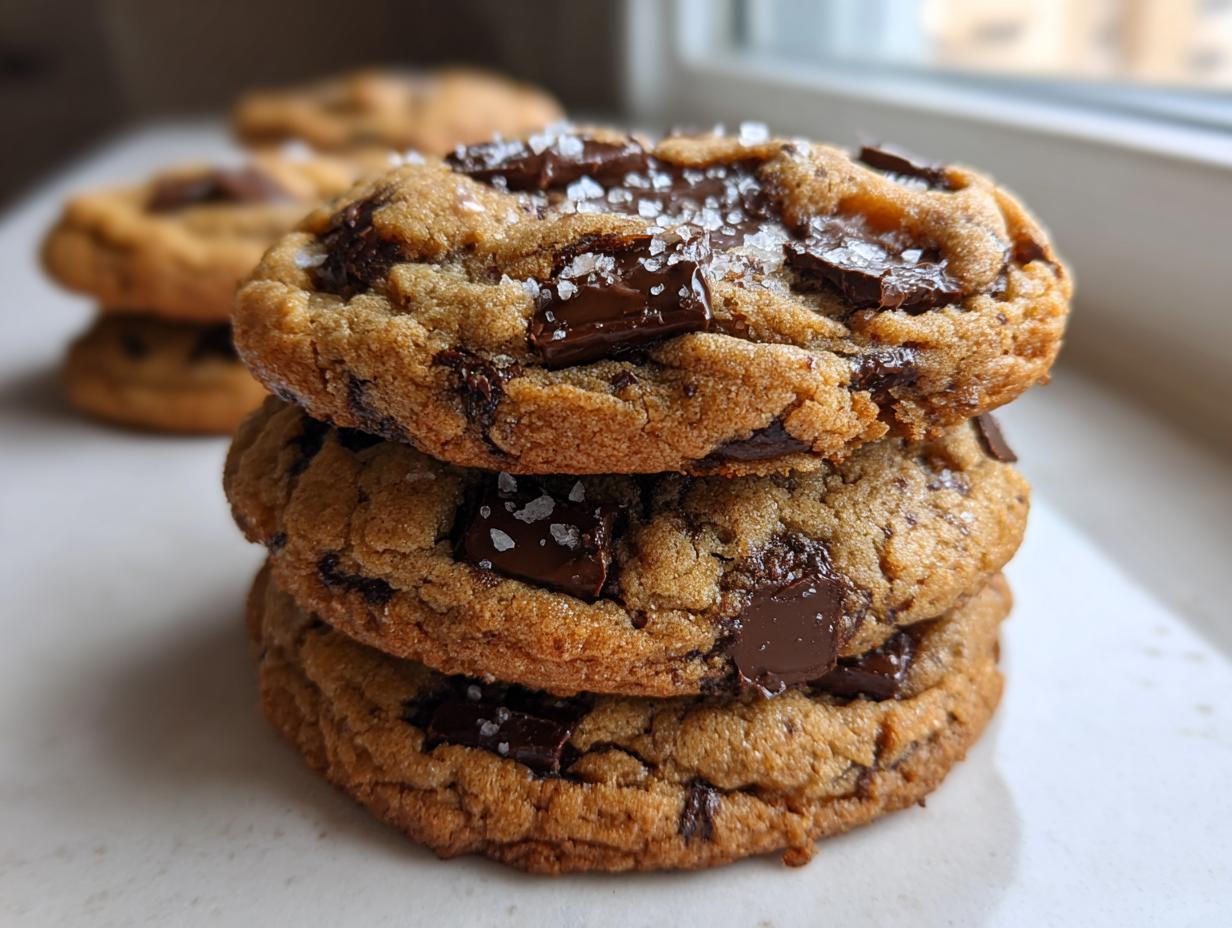
- Flaky sea salt, for sprinkling
That flaky sea salt sprinkle at the end? Don’t skip it! It really enhances the caramelized flavor we develop from the butter.
Mastering the Easy Brown Butter Technique for Brown Butter Cookies
Alright, folks, this is where the magic happens! Browning butter—or making brown butter cookies—sounds fancy, but honestly, it’s the simplest way to inject deeply complex, toasted, and nutty flavor into whatever you’re baking. It’s really just low and slow cooking of the butterfat until the milk solids toast up enough to start smelling incredible. That aroma alone is worth the extra five minutes, I promise you. This technique is crucial because it ramps up the flavor profile far beyond regular melted butter, giving us those gourmet, caramelized butter cookies.
The key here is constant vigilance right at the end so you don’t go from perfect to burnt in a blink! Once you achieve that signature smell, you whisk everything together and then you absolutely *must* let that gorgeous brown butter cool down for about 15 minutes before mixing in those sugars. We want it warm, not scalding hot, or we risk scrambling our eggs later. If you want a really deep dive into that toasty flavor, I covered my whole process linked here on making brown butter chocolate chip cookies.
What to Look for When Browning Butter
When you first put the butter in the pan, it just melts and foams up like crazy—don’t worry! After the bubbling settles down, you’ll start seeing tiny brown specks forming at the bottom. That’s the good stuff! The smell shifts from creamy dairy to this wonderfully sweet, toasty aroma. As soon as it smells deeply nutty (think toasted hazelnuts!), pull it off the heat immediately so those bits don’t scorch. That’s your cue!
Step-by-Step Instructions for Perfect Brown Butter Chocolate Chip Cookies
Okay, now that we have our glorious, nutty butter base, it’s time to assemble these beauties! We are following a very specific order here because that’s how we guarantee we get those thick and chewy cookies instead of sad, flat puddles. Just follow these steps, and I know you’ll see why everyone goes crazy for these brown butter chocolate chip cookies.
- First thing first: whisk that cooled brown butter with your brown and white sugars until they are totally combined.
- Now, beat in your room temperature eggs one at a time, making sure you mix well after adding each one. Don’t forget that vanilla extract!
- In a separate bowl, switch over to dry ingredients: whisk the flour, baking soda, and kosher salt together really well. We want that baking soda evenly distributed!
- Gently add your dry mix into the wet ingredients. You’re mixing on low here—only until you just see the last white streaks disappear. Don’t you dare overmix, or we’ll activate too much gluten!
- Next, gently fold in all those luxurious chocolate chips. You can check out some great techniques for incorporating chocolate over at this excellent baker’s post.
- This is the most important, non-negotiable step: Cover the bowl and chill that dough for a minimum of two hours. Trust me, this develops the flavor!
- When you’re ready, preheat your oven to 375°F (190°C) and line those baking sheets with parchment paper (I always use my homemade cake release goo for insurance!).
- Scoop out about two tablespoons of dough per cookie, leaving plenty of space (about 2 inches!) between them on the sheet.
- Bake them for 10 to 13 minutes. You are looking for golden brown edges and centers that still look a little soft.
- Pull them out! Immediately sprinkle that flaky sea salt on top while they are still hot.
- Let them rest on the hot baking sheet for five minutes before moving them to a wire rack to cool completely.
The Importance of Chilling Brown Butter Chocolate Chip Cookie Dough
Listen up: if you skip the chilling, you end up with a crispier, flatter cookie. Chilling slows down the spread of the fats in the oven, which keeps the cookies thick. More importantly, those long hours in the fridge allow the flour to hydrate fully and intensify all that amazing, deep flavor from the brown butter. We need at least two hours, but honestly, 24 or even 72 hours is when these brown butter chocolate chip cookies really shine. It’s truly worth the wait!
Baking Time and Achieving Crispy Edge Cookies
Don’t wait until the whole cookie looks totally done before you pull it out. That usually means they will be hard as rocks by the time they cool down! You want the edges to look nice and set—golden brown, maybe even slightly darker in spots—but the center should look slightly shiny or underbaked. That residual heat finishes the center perfectly, guaranteeing those soft, gooey center cookies you want, contrasting beautifully with the crispy edge cookies we are aiming for.
Tips for Success with Your Brown Butter Cookies
Even with the best recipe, a couple of little things can make or break your batch of brown butter cookies. First off, let’s talk about those eggs—please make sure they are at room temperature! Cold eggs shock the creamed butter mixture when you add them, which can sometimes cause it to curdle a bit. That messes up the final texture, and we really want those thick and chewy cookies, not greasy ones.
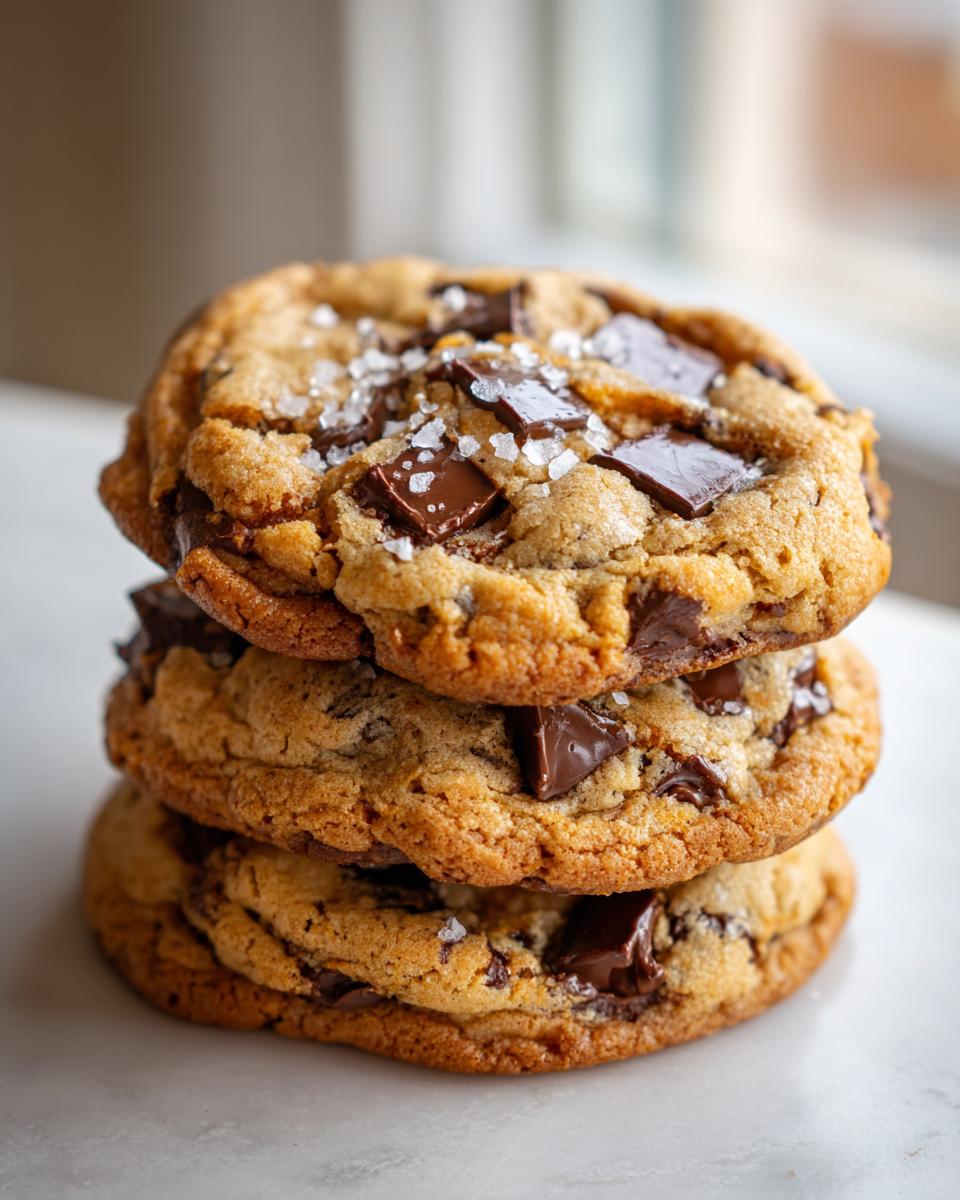
Also, please be careful when adding the flour mixture. Mix only until it *just* comes together. As a recipe developer, I see so many gooey centers turn tough because of overmixing once the flour hits the bowl. Chocolate quality matters too! If you want true gourmet cookies, ditch the standard chips and use high-quality chopped chocolate bars instead. When you chop a bar, you get those irregular chunks that create pockets of melty chocolate gold, which is way better than uniform chips. You can find some great tips on selecting the right chocolate over at this great resource!
Ingredient Notes and Substitutions for Caramelized Butter Cookies
Let’s talk specifics, because when you’re elevating something as classic as chocolate chip cookies, the details count! When it comes to the butter, I absolutely insist on unsalted. Why? Because we are adding salt separately, and the process of browning butter concentrates flavor—including salt! If you use salted butter, you might end up with cookies that taste too aggressive on the finish, and we want that nice balance for those gooey center cookies.
For the chocolate, you have some amazing leeway here! If you like a sweeter cookie, stick with semi-sweet chips. If you want the deeper, richer flavor that really pops against the nutty caramelized butter cookies, go for dark chocolate chunks. When I’m feeling particularly indulgent, I grab a high-quality bar and rough chop it; those uneven pieces create better melty pockets. If you want to see some fantastic chocolate pairing ideas that work perfectly with our browned butter base, you should definitely peek at the notes on this recipe. You won’t regret using better chocolate!
Storage and Reheating Instructions for Brown Butter Chocolate Chip Cookies
Good news! These brown butter chocolate chip cookies are just as good the next day—if they last that long! Store the completely cooled cookies in an airtight container at room temperature for up to four days. Don’t put them in the fridge unless your kitchen is super hot, because sometimes the cold can dry them out a little.
If you want that perfect fresh-from-the-oven gooey center back, just pop a cookie onto a microwave-safe plate for about 8 to 10 seconds. Amazing!
My favorite trick for future happiness is freezing the dough balls! Scoop them, put them on a parchment-lined tray, freeze until solid, and then bag them up. You can bake them straight from frozen; just add about 2-3 extra minutes to your baking time. You can find more storage ideas over at this great cookie collection!
Frequently Asked Questions About Browned Butter Chocolate Chip Cookies
I know you might have a few lingering questions before diving into the oven, and that’s totally normal, especially when you’re trying a new technique like browning butter! I’ve answered the top things people ask me about achieving these perfect, **gourmet cookies**.
Can I skip browning the butter?
Oh, you absolutely *could* just use melted butter, but honestly, if you skip the browning step, you’re skipping the entire point of this recipe! Browning the butter is what gives us that deep, toasty, nutty base that transforms these into the **best chocolate chip cookie recipe**. Using regular melted butter will still give you a tasty cookie, but it won’t have that signature depth you get from the caramelized milk solids. If you’re after that next-level flavor, stick with the browning step. See some great flavor comparisons linked here.
Why are my cookies flat instead of thick and chewy?
This usually comes down to two culprits, and luckily, both are easy to fix for your next batch of **brown butter cookies**. First, if your butter wasn’t cooled enough when you mixed it in, or if you forgot to chill the dough, they will spread too much. That long chill time is crucial for keeping those cookies thick! Second, check your baking soda; if it’s old, it won’t activate properly, leading to a flatter final product. Make sure you are using the amount specified for the **thick and chewy cookies** texture we want!
Can I use salted butter instead of unsalted?
I wouldn’t recommend it for this recipe, and here’s why: since the browning process concentrates every flavor, using salted butter often results in cookies that taste far too salty, even with the one teaspoon of added kosher salt we use. Since we are adding flaky sea salt at the end for a beautiful finish, we need total control over the salt foundation. For perfect results in these **caramelized butter cookies**, please stick to unsalted butter and add the salt yourself!
What’s the trick to getting that sea salt finish just right?
The trick is timing! You have to sprinkle the flaky sea salt right after the cookies come out of the oven. The heat of the cookie melts the salt grains just enough to adhere perfectly, but not so much that it dissolves completely. This ensures you get that little pop of salinity on top of the **chewy chocolate chip cookies**. You can find my favorite brand of finishing salt over at this site!
Estimating the Nutrition in Your Homemade Chocolate Chip Cookies
Baking with love means knowing what’s in every delicious bite! Because these are homemade, the nutrition can change based on what brand of chocolate or sugar you use. But, based on using the ingredients listed above, here is a careful estimate for one cookie serving size. Remember, this is just a guideline for your amazing homemade chocolate chip cookies!
- Serving Size: 1 cookie
- Calories: 220
- Sugar: 18g
- Sodium: 180mg
- Fat: 13g
- Saturated Fat: 8g
- Unsaturated Fat: 5g
- Trans Fat: 0g
- Carbohydrates: 25g
- Fiber: 1g
- Protein: 3g
- Cholesterol: 45mg
Enjoy every single one guilt-free—they are totally worth the splurge!
PrintThe Ultimate Chewy Brown Butter Chocolate Chip Cookies with Sea Salt Finish
You will bake bakery-style chocolate chip cookies with a deep, nutty flavor by using browned butter. This recipe produces cookies with chewy centers and crisp edges.
- Prep Time: 20 min
- Cook Time: 15 min
- Total Time: 2 hours 35 min
- Yield: About 2 dozen cookies 1x
- Category: Dessert
- Method: Baking
- Cuisine: American
- Diet: Vegetarian
Ingredients
- 1 cup (226g) unsalted butter
- 1 cup (200g) packed light brown sugar
- 1/2 cup (100g) granulated sugar
- 2 large eggs, room temperature
- 1 tablespoon vanilla extract
- 2 1/4 cups (270g) all-purpose flour
- 1 teaspoon baking soda
- 1 teaspoon kosher salt
- 1 1/2 cups (255g) semi-sweet chocolate chips or chopped chocolate
- Flaky sea salt, for sprinkling
Instructions
- Place the butter in a light-colored saucepan over medium heat. Melt the butter completely, then continue cooking, swirling the pan often. The butter will foam, then subside. Watch closely as brown bits form at the bottom and the aroma becomes nutty. This takes about 5 to 8 minutes.
- Immediately pour the brown butter into a heatproof bowl. Let it cool for 15 minutes until it is slightly warm but not hot.
- In a large bowl, whisk the cooled brown butter with the brown sugar and granulated sugar until fully combined.
- Beat in the eggs one at a time, mixing well after each addition. Stir in the vanilla extract.
- In a separate medium bowl, whisk together the flour, baking soda, and kosher salt.
- Gradually add the dry ingredients to the wet ingredients, mixing on low speed until just combined. Do not overmix.
- Fold in the chocolate chips.
- Cover the bowl and chill the dough for at least 2 hours, or up to 72 hours, for the best flavor and texture.
- Preheat your oven to 375°F (190°C). Line baking sheets with parchment paper.
- Scoop the dough into balls, about 2 tablespoons each, and place them 2 inches apart on the prepared sheets.
- Bake for 10 to 13 minutes, or until the edges are golden brown and the centers look slightly underdone.
- Remove the sheets from the oven. Immediately sprinkle the tops of the cookies with flaky sea salt.
- Let the cookies cool on the baking sheet for 5 minutes before transferring them to a wire rack to cool completely.
Notes
- Browning butter is the key to achieving that deep, caramelized flavor in your homemade chocolate chip cookies.
- Chilling the dough is necessary for thick and chewy cookies; do not skip this step.
- For a gourmet touch, use a mix of semi-sweet and dark chocolate chunks instead of chips.
Nutrition
- Serving Size: 1 cookie
- Calories: 220
- Sugar: 18g
- Sodium: 180mg
- Fat: 13g
- Saturated Fat: 8g
- Unsaturated Fat: 5g
- Trans Fat: 0g
- Carbohydrates: 25g
- Fiber: 1g
- Protein: 3g
- Cholesterol: 45mg