
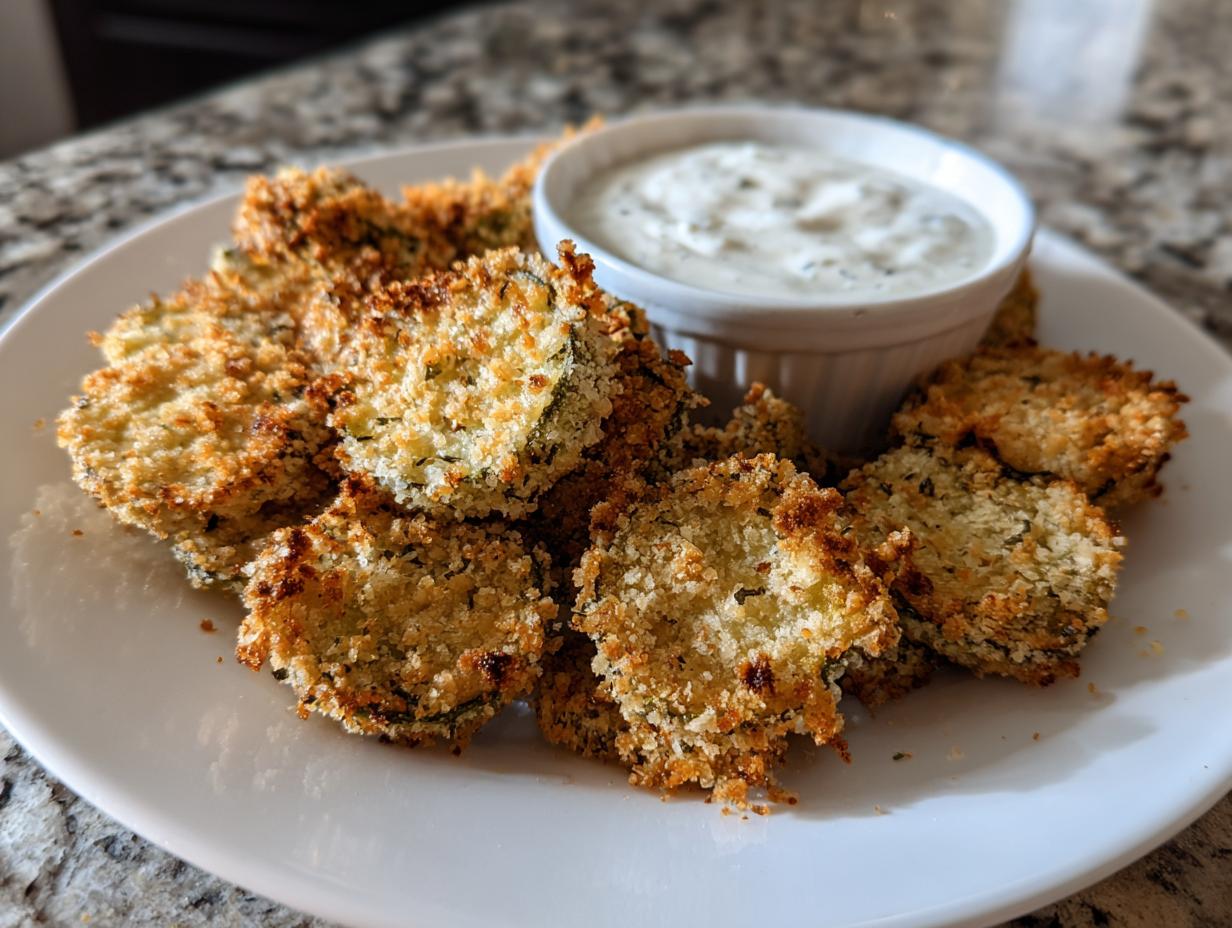
Hello and welcome! I’m Katherine Hayes, and I am so thrilled you stopped by Frosted Fancies today. If you’ve ever scrolled past a plate of perfectly golden-brown snacks and thought, “I could never make them that crispy,” I’m here to tell you that you absolutely can! Today we are conquering the mighty **Fried Pickles**.
These aren’t just any pub snack; they are the ultimate combination of tangy dill and an unbelievably crunchy, seasoned crust. Trust me, because I spent years in professional kitchens developing foolproof recipes, and I promise you this approach delivers maximum crispiness every single time. The best part? You can have these irresistible appetizer wonders ready from start to finish in about 30 minutes. Let’s get frying!
- Why You Will Make These Crispy Fried Pickles Again and Again
- The Science Behind Perfect Crispy Fried Pickles
- Gathering Ingredients for Your Homemade Fried Pickles
- Step-by-Step Instructions for Perfect Fried Pickles
- Making Quick Snack Recipes: The Easy Appetizer Recipe Ranch Dip
- Serving Suggestions for These Fried Pickles
- Storage and Reheating Instructions for Crunchy Fried Pickles
- Frequently Asked Questions About Fried Pickles
- Nutritional Estimates for These Fried Pickles with Ranch Dip
Why You Will Make These Crispy Fried Pickles Again and Again
You need a snack that delivers on flavor without taking over your whole afternoon. That’s why I put so much work into this specific formula. Once you see how easy this is, these will become your official go-to party food ideas.
- They are genuinely ready in about 30 minutes total—talk about a quick snack recipe!
- We use panko to lock in that incredible, shattering crunch that you just have to hear to believe. I know you’ll want to check out some other crunchy takes over on this site for inspiration.
- The flavor balance is perfect: super tangy from the dill pickle spears contrasted by the savory, seasoned crust.
- They make the best game day snacks because they are perfect finger food ideas served hot with ranch.
The Science Behind Perfect Crispy Fried Pickles
When I was developing recipes professionally, my food science background taught me one non-negotiable rule for anything fried: moisture is the enemy of crunch. This is why we are treating these briny little guys like they are about to enter a sauna before they ever hit the oil! If you skip the drying step, you end up steaming the breading, and nobody wants a soggy snack. We want that audible *crack* when you bite in.
We also specifically call for panko breadcrumbs because they are flakier and coarser than standard breadcrumbs, trapping air which crisps up beautifully. And finally, maintaining that oil temperature is crucial science; aim for a steady 375°F (190°C). If the oil drops, the breading soaks in grease instead of frying quickly. You can read more about keeping great textures over at The Cozy Cook.
Essential Tips for Achieving Maximum Crunch in Your Fried Pickles
For that next-level texture that keeps everyone reaching for more appetizers, just follow these small steps when you prepare your breading station.
- Pat Them Dry, Then Pat Them Again: Seriously, take the time to press the drained pickles between several layers of paper towels. They need to be as dry as possible before the flour even touches them.
- Don’t Skip the Flour Dusting: The initial coat of seasoned flour creates a dry surface that gives the egg wash something to stick to, setting up the first layer of your crust.
- Panko Pressure: When you press them into the panko, apply firm, even pressure. You want to crush those flakes right onto the pickle surface so there are no bare spots underneath.
- Temperature Stability: Don’t put too many pieces in the hot oil at once! Overcrowding cools the oil instantly, leading to sad, greasy results instead of happy, golden ones. Keep the batches small and quick.
Gathering Ingredients for Your Homemade Fried Pickles
Okay, let’s talk gear! A successful batch of **Fried Pickles**—especially if we want them ultra-crispy—relies on having our little assembly line ready to go. We are dividing this up into three main groups: the pickles themselves, the dredging station players, and the flavor-packed dip that brings it all home. Honestly, the dipping sauce is half the fun! You can find a great example of the perfect pairing, including using a creamy ranch, over at Elva’s Food.
Ingredients for the Best Fried Pickle Batter
For the coating, we need three shallow bowls set up dynasty style. Remember, dry, wet, crunch!
- You’ll need one full jar (about 16 ounces) of dill pickle chips or spears—don’t forget to drain them super well!
- For the dry flour mix, grab one cup of all-purpose flour, one teaspoon each of salt and pepper, one teaspoon of paprika, half a teaspoon of garlic powder, and a pinch of cayenne if you like that little kick.
- For the wet element, whisk up two eggs with half a cup of milk.
- And for the star of the crunch show? One full cup of plain panko breadcrumbs. I can’t stress enough: panko is your best friend here!
Components for the Tangy Ranch Dipping Sauce
This cool, herby ranch dip is the absolute perfect counterpoint to the salty, tangy fried coating. It just makes everything better, I swear!
- Start with half a cup of mayonnaise and a quarter cup of sour cream for creaminess.
- Next, splash in a quarter cup of buttermilk to thin things out just a bit.
- For the herbs and spice, grab one teaspoon of dried dill, half a teaspoon each of onion powder and garlic powder, plus a tiny pinch of salt and pepper. Whisk it all up until it’s gorgeously smooth!
Step-by-Step Instructions for Perfect Fried Pickles
Alright, the science part is done, and our ingredients are prepped—now for the fun part! This is where we turn those sad, wet pickles into golden, crunchy beauties. Remember, precision matters here just like in my old test kitchen days. We need to keep moving quickly through the coating steps, and we absolutely must manage that oil temperature like it’s our most precious treasure. Keep an eye on things, and you’ll have a batch ready in minutes. You can grab a look at a quick 15-minute method over at Chasety if you’re in a huge hurry, but stick close for the best results!
Preparing the Pickles and Dredging Station
First order of business is conquering moisture. Take those drained pickles and lay them flat on a couple of layers of paper towels. Press down firmly! Really try to wick up as much liquid as you can. Once they are as dry as possible, set up your three shallow bowls in assembly line order: flour mix first, egg/milk mixture second, and finally, those gorgeous panko breadcrumbs.
Coating and Frying Your Fried Pickles
We begin the coating dance! Work in small batches—don’t overload—to keep things moving fast. First, toss your dry pickles in the seasoned flour, shaking off the extra dust. Next, dip them into the egg wash, letting the excess drip off completely. This is key! Finally, press them firmly into the panko, coating every single surface. Place the breaded beauties on a clean, dry sheet. Now, preheat your oil to a steady 375°F (190°C). Carefully lower your pickles in small batches—just enough so they aren’t touching. Fry for only 1 to 2 minutes per side until they are a deep, happy golden color. Remove them immediately to a wire rack to drain. We are looking for crisp, not greasy!
Making Quick Snack Recipes: The Easy Appetizer Recipe Ranch Dip
You simply cannot serve hot, tangy bites without a cool, creamy counterpoint, right? I used to just buy that bottled stuff, but honestly, making your own ranch dip is a game-changer. It takes literally two minutes, and the fresh flavor makes these easy appetizer recipe snacks feel gourmet! You’ll be using these same components for all your favorite quick snack recipes after you try this homemade version.
Just whisk together your mayonnaise, sour cream, and buttermilk until you get a lovely, pourable texture. Then, stir in that dried dill, onion powder, garlic powder, and salt and pepper. Cover it up and let it chill while the pickles are frying. That chill time lets all those flavors really marry together. Trust me, you won’t want to go back to the store-bought kinds after tasting this!
Serving Suggestions for These Fried Pickles
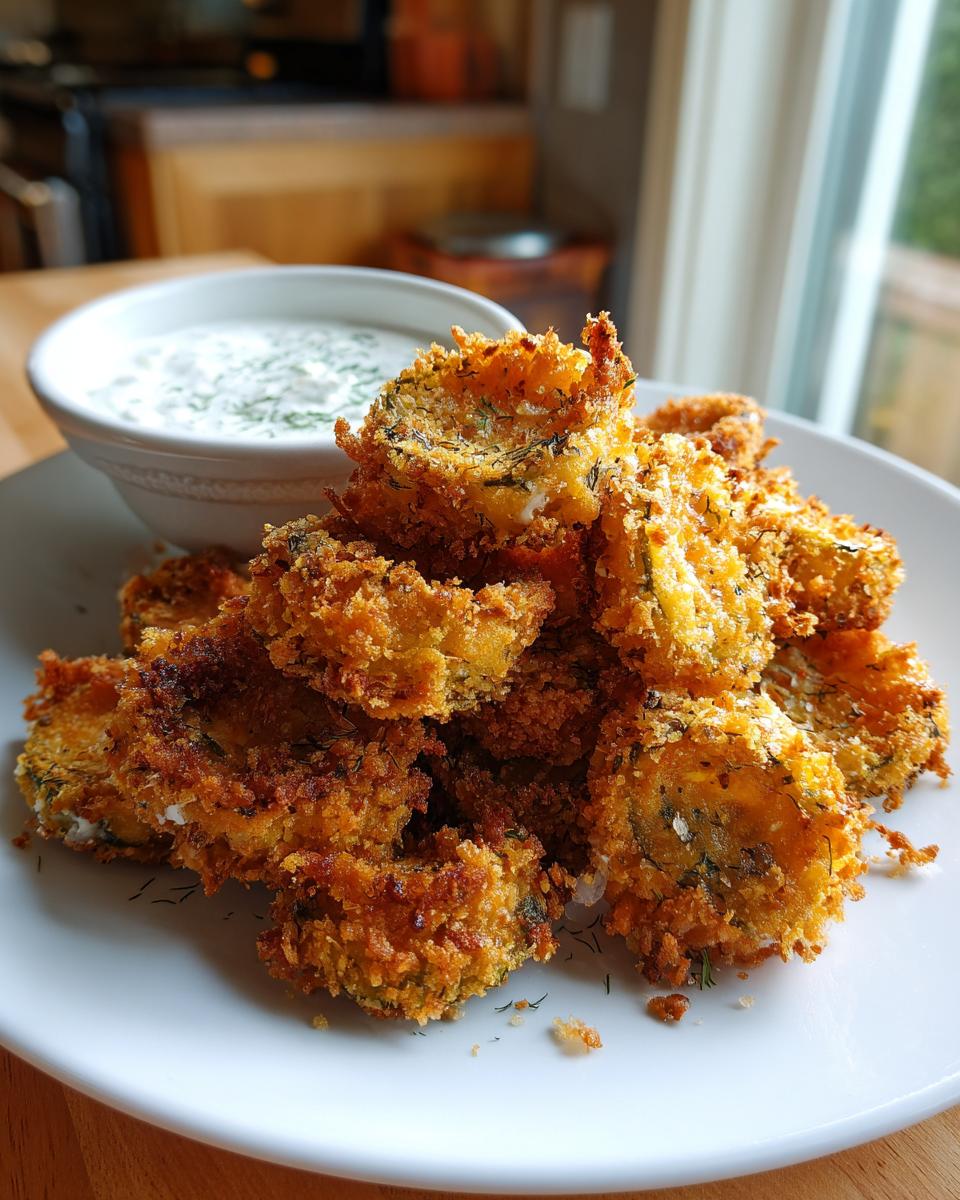
Okay, the moment of truth for these amazing **Fried Pickles** is when they come straight from the rack! They absolutely must be served right away while they’re piping hot and that crust is at peak crunchiness. They shine brightly as the ultimate party food ideas.
I always pile them high on a platter lined with some fresh parchment paper just to make sure any residual oil drips away before they hit the table. These are the undisputed champions of game day snacks, but honestly, they’re too good to save just for football. Make a double batch; I promise they disappear faster than you can dip!

Storage and Reheating Instructions for Crunchy Fried Pickles
Let’s be honest, like almost every deep-fried treat, the very best way to enjoy these **Fried Pickles** is fresh out of the oil when the coating is at its absolute crispiest. They really don’t keep well sitting around, so try to time your batches for maximum dipping satisfaction!
If you must save leftovers, avoid the microwave—it turns that amazing crust into sad, soft mush. Instead, use the oven or, even better, the air fryer! Preheat your air fryer to about 380°F (195°C) and give them just 3 or 4 minutes; you’ll bring back that satisfying crunch beautifully. You can find a great guide on using the air fryer for snacks right here!
Frequently Asked Questions About Fried Pickles
I know sometimes the details can get a little fuzzy when you’re standing over hot oil, so let’s clear up a few things about getting these crunchy snacks perfect every time. These are some of the questions I get asked most often about making these delicious **party food ideas**!
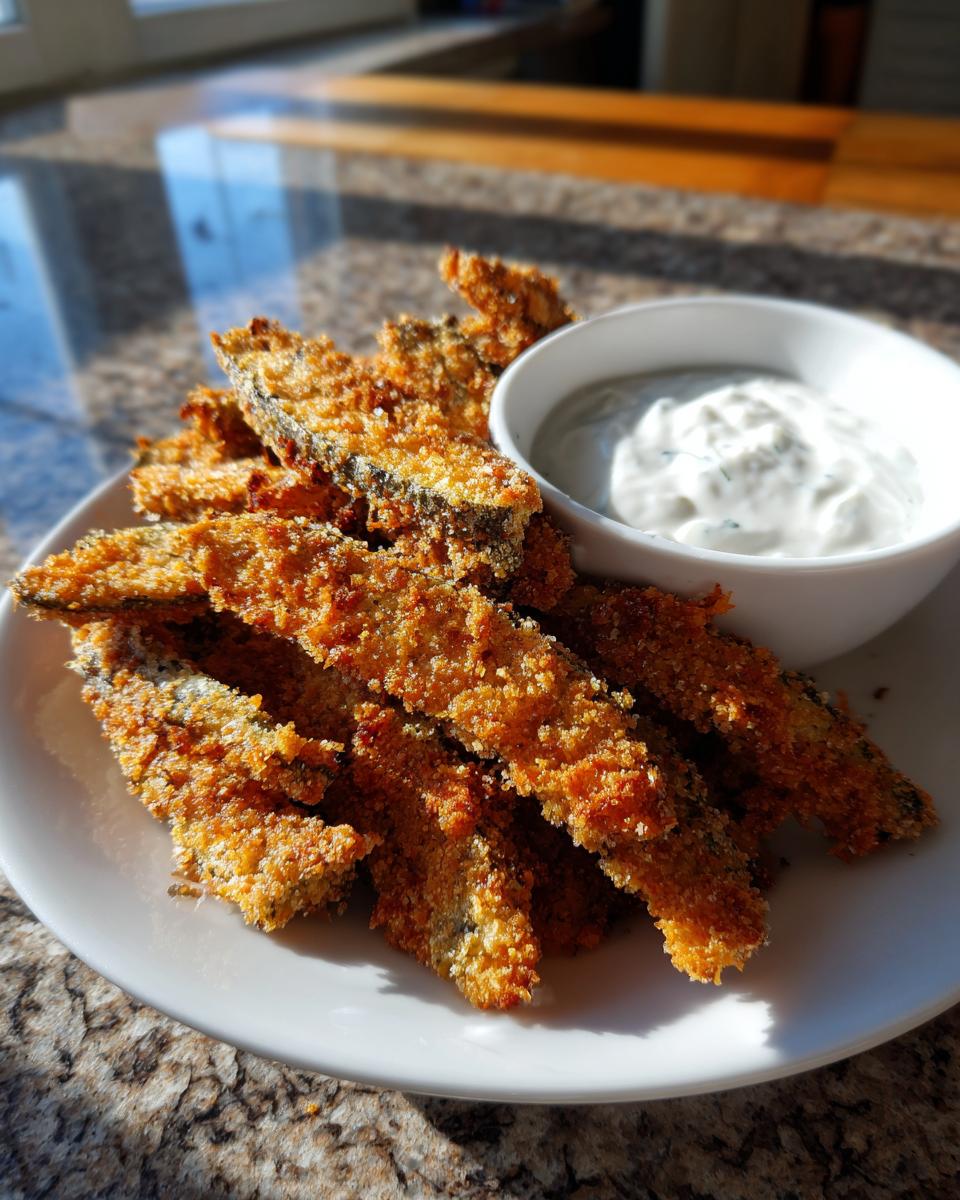
Can I use pickle chips instead of spears for these Fried Pickles?
Oh, absolutely! I use spears because I like that hearty bite, but chips work perfectly well, especially if you want to make a really big batch quickly. The main thing you need to watch out for is cooking time. Chips are much thinner than spears, so they will go from golden perfection to burnt in the blink of an eye. You’ll probably only need about 60 to 90 seconds per side in the oil, so really pay close attention during that frying stage. They still make a fantastic, tangy snack recipe!
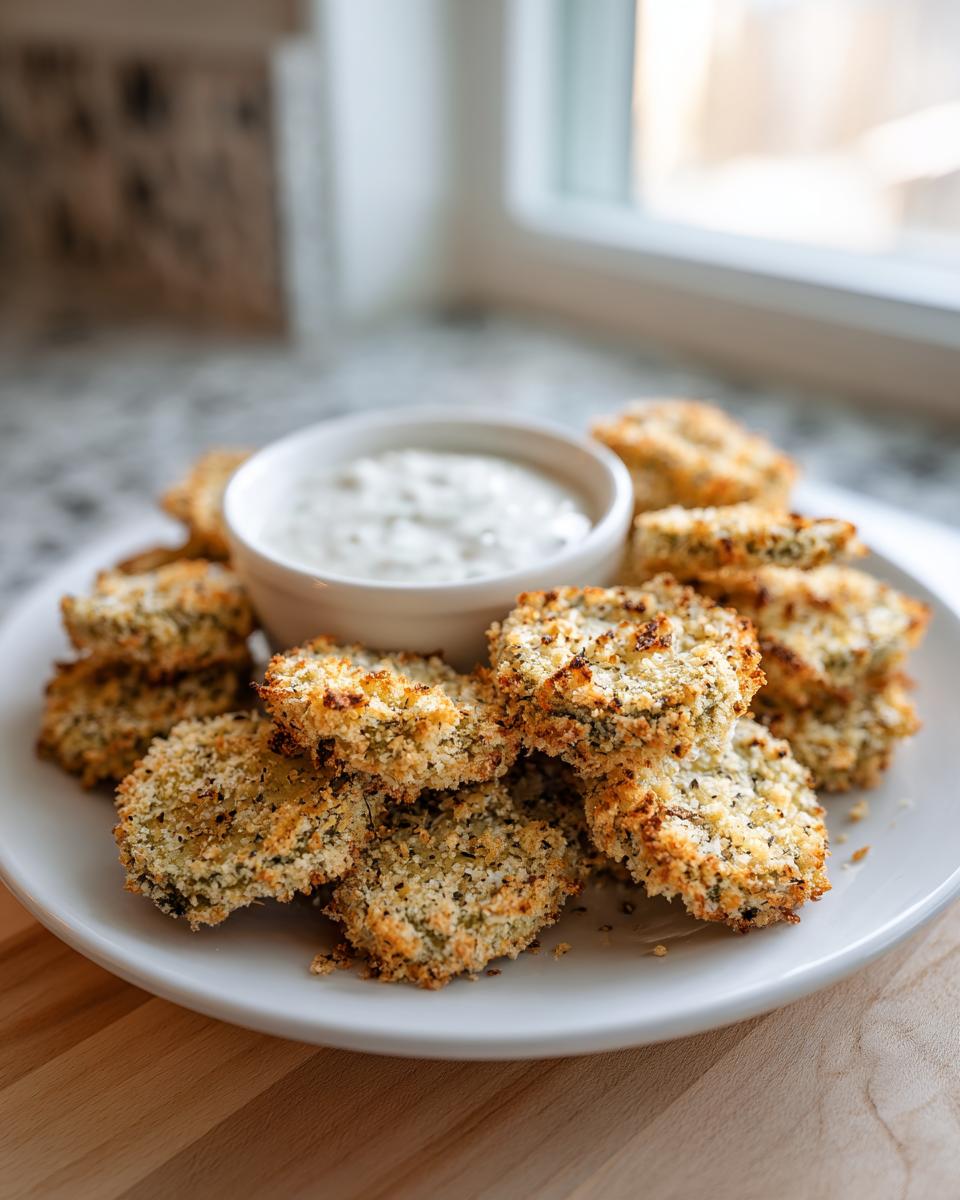
What is the best way to make Air Fryer Pickles?
I love my air fryer for a healthier, less messy option, too! It’s a great alternative if you want to cut down on the oil but still get fantastic results. So, after you’ve done the full dredging process—flour, egg, panko—you don’t deep fry them, obviously. Instead, you just spray them lightly all over with a little cooking spray right on the breading. Pop them in your air fryer basket and cook at 400°F (200°C) for about 8 to 10 minutes total. Don’t forget to flip them halfway through their time so you get that nice even golden color on both sides. They come out surprisingly crispy!
Nutritional Estimates for These Fried Pickles with Ranch Dip
I always think it’s helpful to have a peek at the numbers, even when indulging in the most delicious appetizer recipes! As someone with a background in Food Science, I strive for accuracy, but please remember that these figures are indeed best estimates. They are based on the exact quantities listed in the recipe above and calculated using standard professional nutritional databases.
The deep frying oil will impact the final fat content, of course, but this gives you a great baseline for enjoying this tangy and crunchy treat! Don’t forget to check out some general recipe tips over at Yummfully if you’re curious about other ingredient substitutions.
- Serving Size: 1/4 of recipe
- Calories: 350
- Fat: 25g (Including 4g Saturated Fat)
- Carbohydrates: 25g (with 1g Fiber)
- Protein: 6g
- Sugar: 3g
- Sodium: 850mg
We work hard to ensure our recipes are reliable and delicious, rooted in that solid science background! Enjoy knowing what’s in your snack while you focus on watching the game or chatting with friends.
PrintCrispy Fried Pickles with Easy Ranch Dip

Make these perfectly crunchy fried pickles at home. This recipe delivers a golden, seasoned crust and a tangy pickle center, perfect as a game day snack or party appetizer. Serve with a simple homemade ranch dip.
- Prep Time: 15 min
- Cook Time: 15 min
- Total Time: 30 min
- Yield: 4 servings 1x
- Category: Appetizer
- Method: Deep Frying
- Cuisine: American
- Diet: Vegetarian
Ingredients
- 1 jar (16 ounces) dill pickle chips or spears, drained well
- 1 cup all-purpose flour
- 1 teaspoon salt
- 1 teaspoon black pepper
- 1 teaspoon paprika
- 1/2 teaspoon garlic powder
- 1/4 teaspoon cayenne pepper (optional, for heat)
- 2 large eggs
- 1/2 cup milk
- 1 cup panko breadcrumbs
- Vegetable oil, for frying
- For the Ranch Dip: 1/2 cup mayonnaise, 1/4 cup sour cream, 1/4 cup buttermilk, 1 teaspoon dried dill, 1/2 teaspoon onion powder, 1/2 teaspoon garlic powder, pinch of salt and pepper
Instructions
- Prepare the pickles: Lay the drained pickles on several layers of paper towels and pat them very dry. Moisture prevents crispiness.
- Set up the dredging station: In one shallow bowl, combine the flour, salt, pepper, paprika, garlic powder, and cayenne pepper. Mix well.
- In a second shallow bowl, whisk together the eggs and milk until combined.
- In a third shallow bowl, place the panko breadcrumbs.
- Coat the pickles: Take a few pickles at a time and dredge them thoroughly in the flour mixture, shaking off any excess.
- Dip the floured pickles into the egg mixture, allowing excess to drip off.
- Press the pickles firmly into the panko breadcrumbs, coating them completely. Place the coated pickles on a clean, dry baking sheet.
- Prepare the ranch dip: In a small bowl, combine the mayonnaise, sour cream, buttermilk, dill, onion powder, garlic powder, salt, and pepper. Whisk until smooth. Cover and chill while you fry the pickles.
- Heat the oil: Pour about 2 inches of vegetable oil into a heavy-bottomed pot or deep fryer. Heat the oil to 375°F (190°C). Use a thermometer to monitor the temperature.
- Fry in batches: Carefully lower a small batch of pickles into the hot oil. Do not overcrowd the pot. Fry for 1 to 2 minutes, turning once, until they are golden brown and crisp.
- Remove the fried pickles with a slotted spoon and place them immediately on a wire rack set over a baking sheet to drain excess oil. Sprinkle lightly with extra salt if desired.
- Repeat with the remaining pickles, allowing the oil temperature to return to 375°F (190°C) between batches.
- Serve the hot, crispy fried pickles immediately with the chilled homemade ranch dipping sauce.
Notes
- For the best crunch, make sure your oil temperature stays steady at 375°F. If the oil is too cool, the pickles will absorb too much oil and become soggy.
- If you prefer an air fryer method, spray the coated pickles lightly with cooking spray and air fry at 400°F (200°C) for 8 to 10 minutes, flipping halfway through, until golden brown.
- You can substitute dill pickle spears for chips if you prefer a larger bite.
Nutrition
- Serving Size: 1/4 of recipe
- Calories: 350
- Sugar: 3
- Sodium: 850
- Fat: 25
- Saturated Fat: 4
- Unsaturated Fat: 21
- Trans Fat: 0
- Carbohydrates: 25
- Fiber: 1
- Protein: 6
- Cholesterol: 75